
Campervan electrical system guide
Expert advice on your campervan electrical system from scientists and engineers 🤓
How can we help?

After writing our best selling book, The Van Conversion Bible, and setting up our business designing off-grid electrical systems, we’ve spent thousands of hours researching campervan electrics. Our team has backgrounds in science and engineering and years of experience designing electrical systems. Plus, we’re certified in BS7671, the official standard for electrical systems.
So, we want to share all of the knowledge our team has accumulated over the past few years to help you tackle your own camper electrical system.
This page acts as a ‘hub’ to all of our campervan electrical system content. It includes guides about all of the major components within a system, as well as articles that deep dive on specific topics.
If you read all of the content below and know exactly what to do next, our electrical store has all the components you’ll need. However, if you’re not confident you know quite what to do (don’t worry, you’re not alone!), our free electrical system design service can help. We’ll design your system, provide every single component you need, as well as a bespoke wiring diagram.
A lot of the content on the internet surrounding campervan electrical systems is tailored to combustion engine vehicles. As electric vehicles become more widely available, EV campervans are starting to exist. The electrical system in an EV is very different to that in a diesel van, so we’ve started to write a series of articles about EV campervans. Scroll down to the end of the page to read more.
Before diving into the detail, if you want an overview of how to wire a campervan electrical system, read our detailed article below. It includes an example wiring diagram from our own campervan conversion. We’ve also written an article covering the most common mistakes we see people make in their systems, so you can avoid making them too.
As there’s a lot of information to share, we’ve provided a contents below to help you navigate your way through this page. The information on our website is a mixture of articles, guidebook pages and resources that are all free to use. So read on, swat up, and dive into the nitty gritty of campervan electrics.
Campervan electrics leaving you confused?


12V electrics
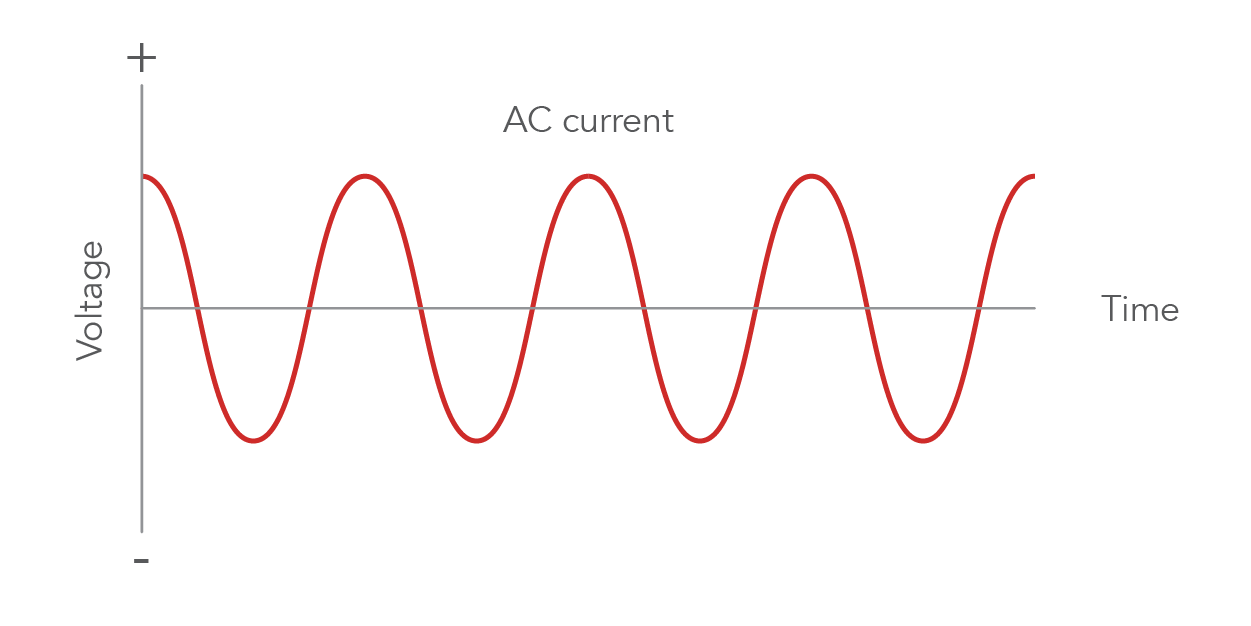
12V is the standard voltage of a car battery, and is a direct current (DC). When you plug your phone into your cigarette lighter in your car to charge it, you are using 12V power. On the other hand, when you plug your phone into the wall socket at home, you are using 230V alternating current (AC) electricity, or 120V if you’re in North America.
So if all you want to do in your van is charge your phone, run some lights and perhaps install a fridge, you can keep it simple and use 12V. Most appliances built specifically for a boats and campervans such as fridges run on 12V for specifically this reason.

Helpful articles
230V electrics
Things get slightly more complicated when you want to plug in a domestic appliance, such as charging a laptop or powering a hairdryer. These devices require more than 12V (e.g. a laptop charger will use somewhere between 20- 25V) and usually have a mains plug connected, designed to plug into a wall socket in a house.
To use these appliances, you will need to install an inverter or be connected to shore power. You can purchase a 12V laptop charger. However, these will not charge your devices properly as a laptop requires a higher voltage to charge. Therefore, we’d recommend you instead use one of the following methods of powering 230V appliances.
Inverters ⚡
An inverter converts the DC electricity from the leisure batteries into AC electricity, and converts the 12V input voltage to the desired output voltage depending on your country. The two most popular types of inverter are pure sine wave and quasi sine wave.
Quasi sine wave inverters create an approximation of the AC waveform found in household wall sockets, whereas a pure sine wave inverter exactly reproduces the AC waveform. Quasi sine wave inverters will be able to run basic electrical items such as kettles, hairdryers, laptops and blenders, but they’ll struggle to run certain appliances such as sensitive electrical devices. It’s therefore worth checking the appliances you plan to power before purchasing an inverter.
Read our campervan inverter guide to understand the basics of 230V off-grid electrics.
Find out moreHelpful articles
Ready-to-go inverter kits Designed by experts 🔧
Our kits are designed by engineers to be safe and robust. Plus – when you purchase, we’ll send you a free wiring diagram and installation guide.
Shop now
Electric hook up 🔌
Electric hook up, sometimes known as shore power, uses a socket fitted to the outside of your van to connect to an electric hook up at a campsite, or even your own power supply at home. The socket is connected to a consumer unit, much like a domestic fuse box. This is an important safety device to stop you from being electrocuted if there’s an earth fault in the system. You can power your 230V devices using shore power via the consumer unit.
It’s worth noting that most UK and European campsites have an electricity supply of 10A (2300W) or 16A (3680W). If you exceed this total wattage, you will trip the charging post and likely be charged to restore the supply to your pitch.
Read our electric hook up guide to learn about the world of inverter chargers and recharging your batteries whilst on-grid.
Find out moreHelpful articles
Ready-to-go inverter/charger kits Designed by experts 🔧
Our kits are designed by engineers to be safe and robust. Plus – when you purchase, we’ll send you a free wiring diagram and installation guide.
Shop nowCampervan leisure batteries
Your batteries will likely be one of the most expensive single items within your van build. It can feel like there’s an overwhelming amount of options, and it’s easy to end up spending much more than you need to due to confusing information online. There are a number of different types of leisure battery available, and the type and size you will need will depend on your usage.
Read our leisure battery guide to learn about the best type of battery for your campervan electrical system.
Find out moreHelpful articles
Ready-to-go battery kits Designed by experts 🔧
Our kits are designed by engineers to be safe and robust. Plus – when you purchase, we’ll send you a free wiring diagram and installation guide.
Shop nowBattery & system monitoring 🔋
When you have spent so much money on your batteries, it’s important to make sure you look after them properly. An important component of the electrical system is a battery monitor, which can range from a simple voltmeter to a much more sophisticated battery monitor. Battery monitors are key to ensuring you don’t deplete your batteries below their recommended depth of discharge by providing an accurate account of the battery’s state of charge.
A cheap voltmeter will only show you the voltage of your battery to a single decimal place, and a battery’s voltage is directly related to its incoming and outgoing loads. This means that to get an accurate state of charge reading, all loads need to be disconnected for at least 2-3 hours.
A more sophisticated battery monitor can monitor the health of your battery to much higher precision. As well as providing readings of voltage and current, it will measure amp hours used, the temperature of your battery and the exact percentage charge your battery is on.
A full system monitoring device such as Victron’s Cerbo GX takes things one step further. This allows you to monitor all components within your electrical system, and even tank level and temperature, from one single hub.
Helpful articles
Charging your batteries
There are a number of options when it comes to the ‘inputs’ for your camper van electrical system:
- Solar power
- Shore hook up (via a battery charger or MultiPlus)
- Vehicle alternator (via a VSR or battery to battery charger)
The device you choose will largely depend on how you plan to use your campervan. If you will spend a lot of time on a campsite, it makes sense to install a shore hook up point on the side of your campervan. If you plan to spend most of your time off-grid, you should consider solar panels and a VSR or battery to battery charger.
Solar panels ☀️
Solar panels are an obvious choice for most van conversions wishing to spend time off-grid. They are a great choice for van life because the sun is essentially an endless source of power, making them perfect for charging your batteries.
And the downsides? Although solar panels do still work if it is cloudy, they’re a lot less efficient. On a hazy day where a thin film of cloud covers the sun, the efficiency will decrease to around
50%, and on a day with heavy cloud and rain, you’re unlikely to get any power from your panels. The angle of the sun on the panels will also affect the power output of the panels, meaning you’ll get less power from your solar panels in winter than you will in the summer, as the sun will be lower in the sky.
Monocrystalline or polycrystalline? Rigid or flexible? Parallel or series? Our solar panel guide dives into everything there is to know about your van’s solar array.
Find out moreHelpful articles
Ready-to-go solar kits Designed by experts 🔧
Our kits are designed by engineers to be safe and robust. Plus – when you purchase, we’ll send you a free wiring diagram and installation guide.
Shop nowCharge controllers 📟
To use the power from your solar panels to charge your leisure batteries, you will need to install a solar charge controller. They regulate the voltage from the solar panels and use it to charge your batteries effectively whilst preventing overcharging.
There are two different types of solar charge controller, PWM and MPPT. Additionally, each charge controller is rated for the maximum input wattage, voltage and current. So you need to make sure you match this up to your solar array.
Find out moreBattery to battery chargers and VSRs 🚐
A VSR (voltage sensing relay, sometimes known as a split charge relay) can charge your leisure battery via the vehicle alternator as you drive. At one end they’re connected to your leisure batteries, and at the other, to your starter battery. They essentially act as a switch controlled by the voltage of your starter battery. Most VSRs will switch on when the voltage rises above 13.7V and start charging your batteries. When the voltage drops below a certain threshold (around 12.8V) they will turn off again. It’s a simple and inexpensive way of charging your leisure batteries. However, they are not suitable for vehicle’s with a Euro 6 engine, and they can’t fully charge your leisure batteries.
A battery to battery charger (sometimes known as a DC-DC or B2B charger) is more intelligent than a VSR. They take the variable voltage from the starter battery and output a stable voltage. They are able to match the required charging profile of different battery types to fully charge your leisure batteries, which a VSR can’t do.
Helpful articles
Ready-to-go B2B kits Designed by experts 🔧
Our kits are designed by engineers to be safe and robust. Plus – when you purchase, we’ll send you a free wiring diagram and installation guide.
Shop now
Wires, fuses, busbars & electrical accessories
Correctly sizing wires, fuses, busbars and all of the other components required to connect your system together is important business. It’s certainly just as important as correctly sizing the components themselves – getting it wrong is a major safety risk and could see melting wires and electrical fires!
Helpful articles
Electrical appliances
Whilst it’s possible to use all of your domestic appliances in a campervan, this isn’t always practical (and will quickly make your electrical system very expensive!). So, there are a range of DC appliances that have been made specifically for use in campervans and boats. These appliances tend to be more efficient, and can be connected to a 12V fuse box.
Any domestic appliances you want to use in your van will need to be powered by your inverter, so you should make sure you size it according to your maximum power usage.
Campervan fridges ❄️
Arguably the most important appliance in your conversion is a fridge. Whilst for most other appliances you can simply include what you would use in a domestic setting, a campervan fridge is slightly different.
An electric cool box, sometimes known as a thermoelectric cool box, uses a thermoelectric heat pump and a fan to transfer heat from the inside of the cool box to the outside using electric power, usually 12V.
A compressor refrigerator designed for a campervan works in the same way as your fridge at home, except it will use 12V power rather than mains power, and will usually have been designed to have a very low energy consumption. They also come in a smaller size to fit within the limited space available, and many have a small freezer compartment to store some frozen goods.
A 3 way fridge, sometimes known as an absorption fridge or gas fridge, works similarly to a compressor fridge and can run on either LPG or 12V electricity. They’re completely silent when running which is a big positive, as the compressor fridges are quite noisy, but they’re also more complicated to install than a compressor fridge. Their performance also relies on the surrounding ambient temperature, so they may not be as effective in a hot climate.
Our campervan fridge guide explores all of the different options you have when it comes to keeping things cool on the road.
Find out moreHelpful articles
Portable power stations
A portable power station is an all-in-one solution to a campervan electrical system. They consist of a battery, an inverter and a charge controller in one, and have both 12V and 230V power outlets. They can be charged via a mains plug socket, or by using portable solar panels. If you’re converting a small van for weekend use and you only need to charge phones and perhaps a laptop, this can be a great option. The magic of a power bank is that they are plug-and-play.
This does have its limitations – if you wanted to install lights in your campervan, then you would need to plug these into the power bank each time you wanted to turn them on. This option won’t work for everyone, but if you are looking for simplicity and wince at the idea of having to install your electrical system, this could be the answer.
Helpful articles
EV campervans
As more and more EVs are released, the prospect of an electric campervan is becoming more plausible. Our series of articles about electric campervans explores how viable they currently are, and deep dives into what’s needed for an electrical system in an EV camper.
Helpful articles
Meet our technical content writers
We pride ourselves on employing scientists and engineers who 100% understand the concepts and products they’re writing about. As well as our Nohma engineers, all of our content writers are also from a technical background. Find out more about our content team below.