
Camper van solar panels
How do solar panels work?
Camper van solar panels are made of photovoltaic cells, made from a material such as silicon. When particles of light (photons) reach the solar panel, they knock the electrons within the silicon free, generating electricity. Solar panels are a great choice for van life because the sun is essentially an endless source of power, making them perfect for charging your leisure batteries.

Flexible vs rigid solar panels
When deciding on what solar panels to install on your camper van, you have a choice to make. There are two main types of fixed solar panel available: flexible solar panels and rigid solar panels. The type you require will depend on both your usage and your vehicle. Portable solar panels are also available if you don’t want a solar panel permanently fixed to your vehicle.
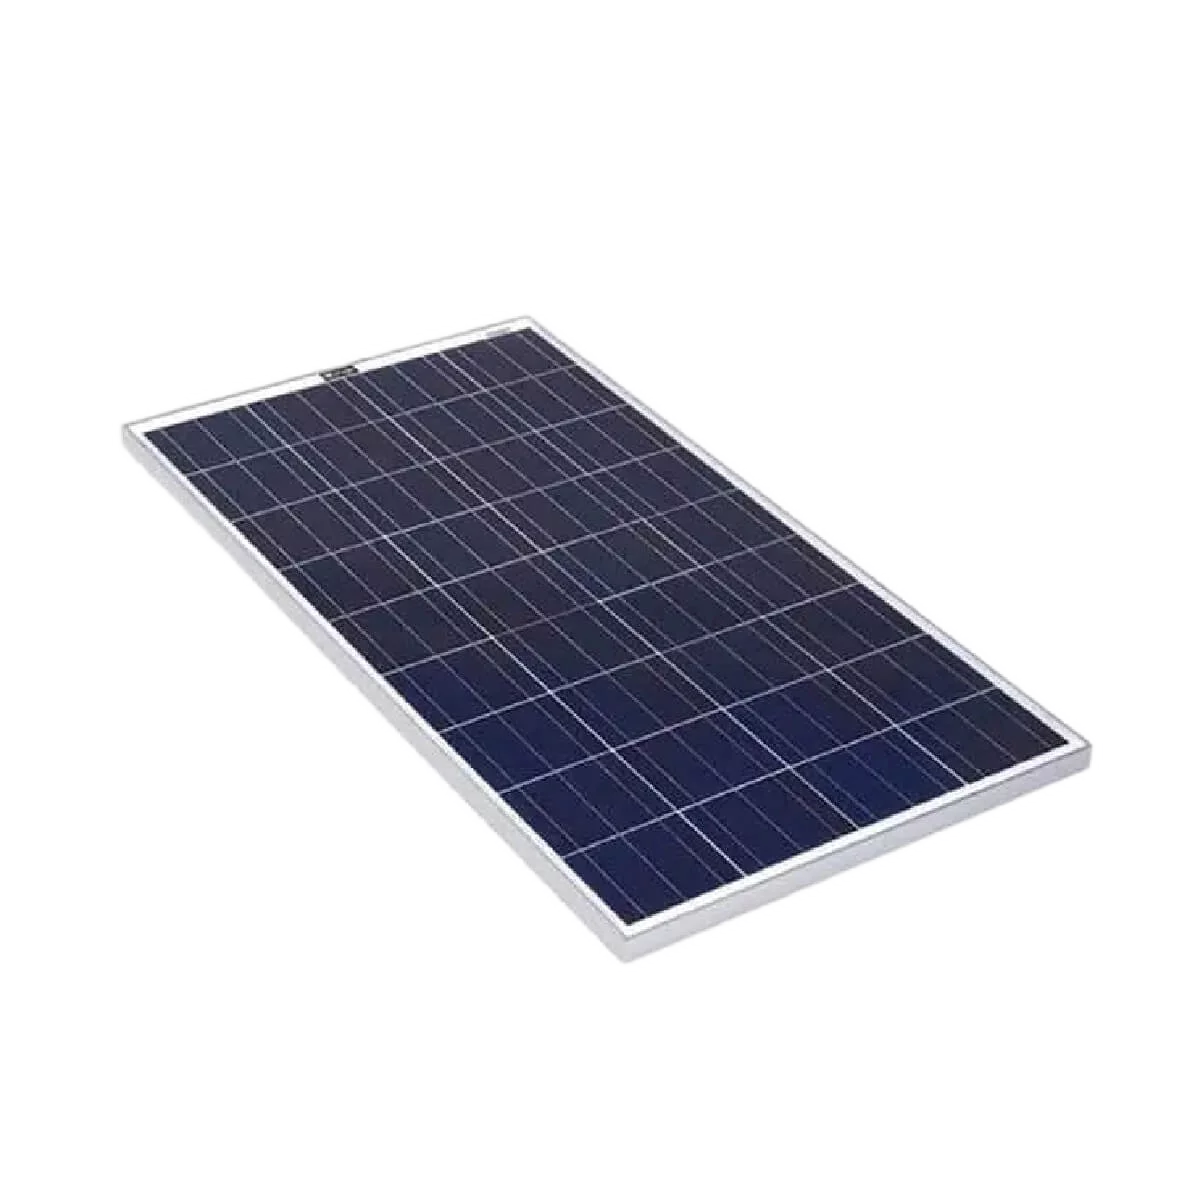
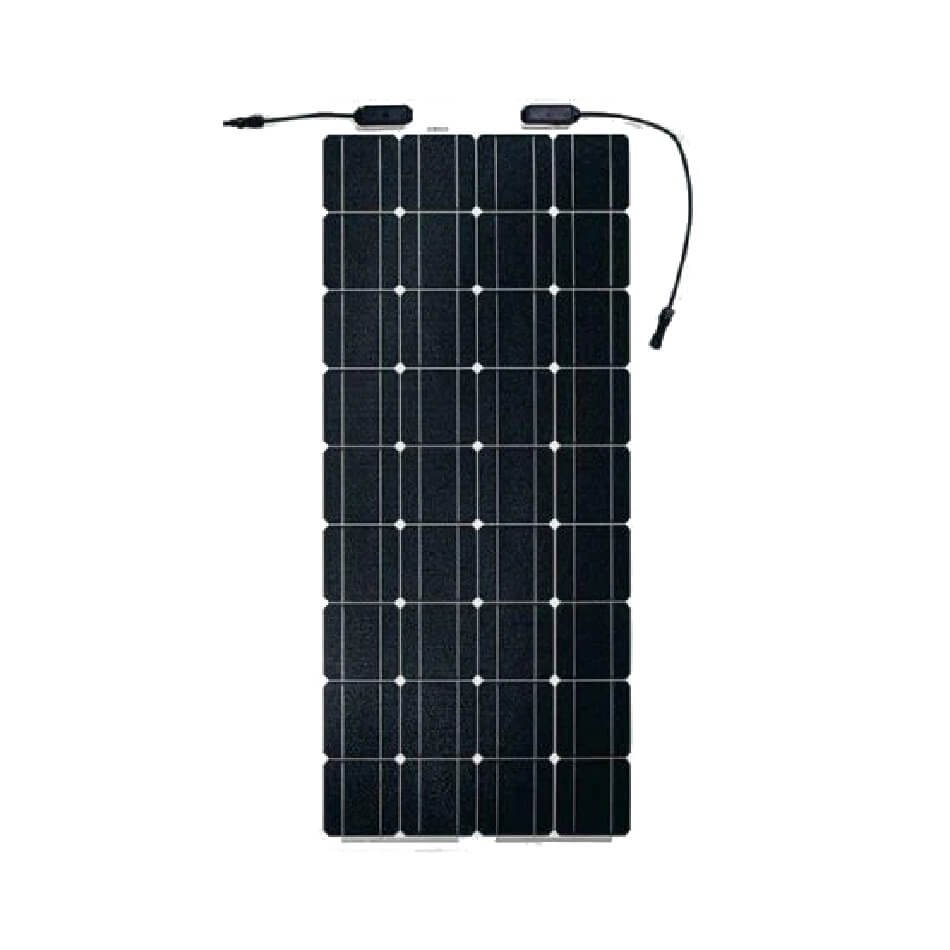
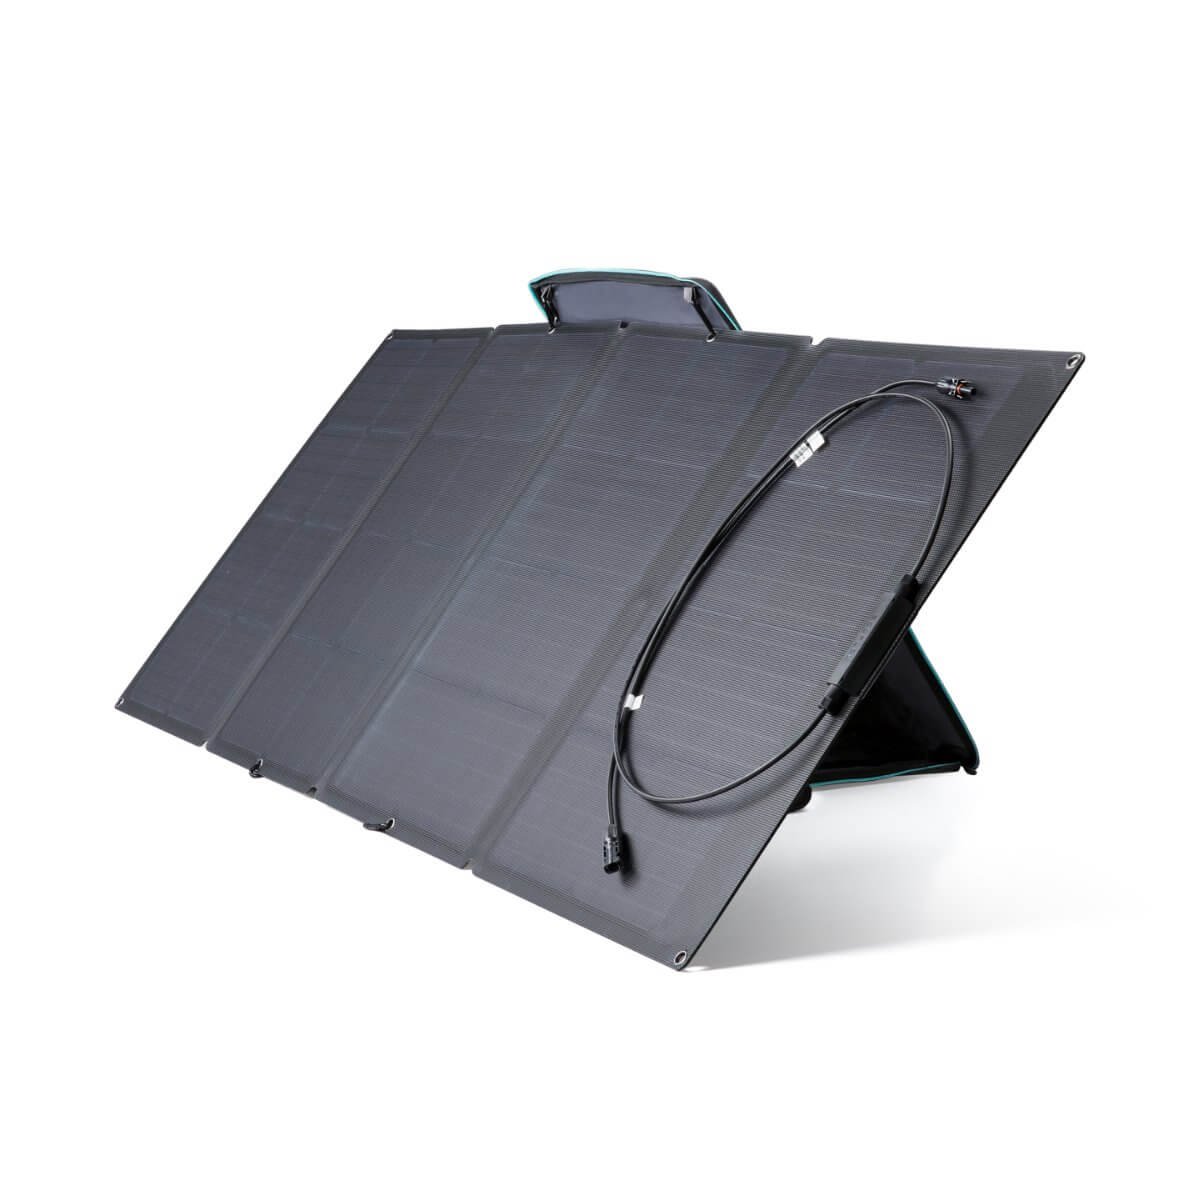
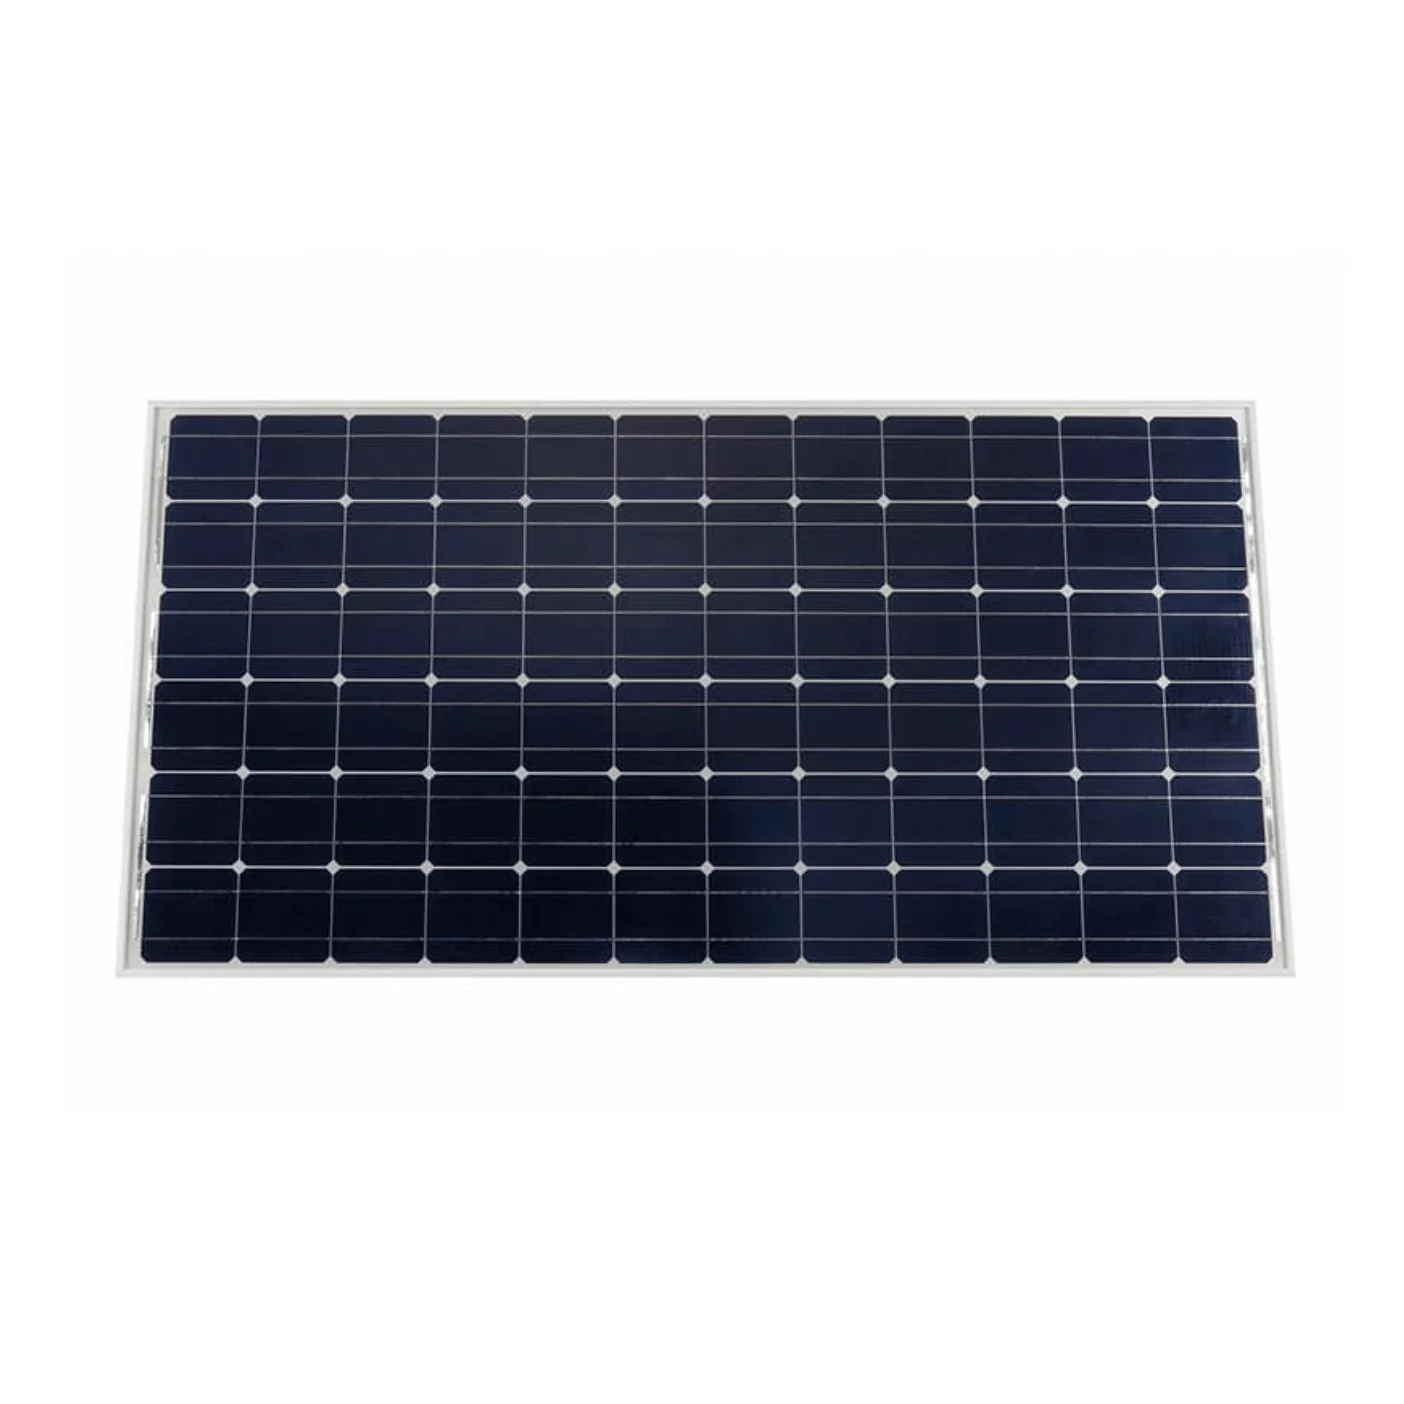
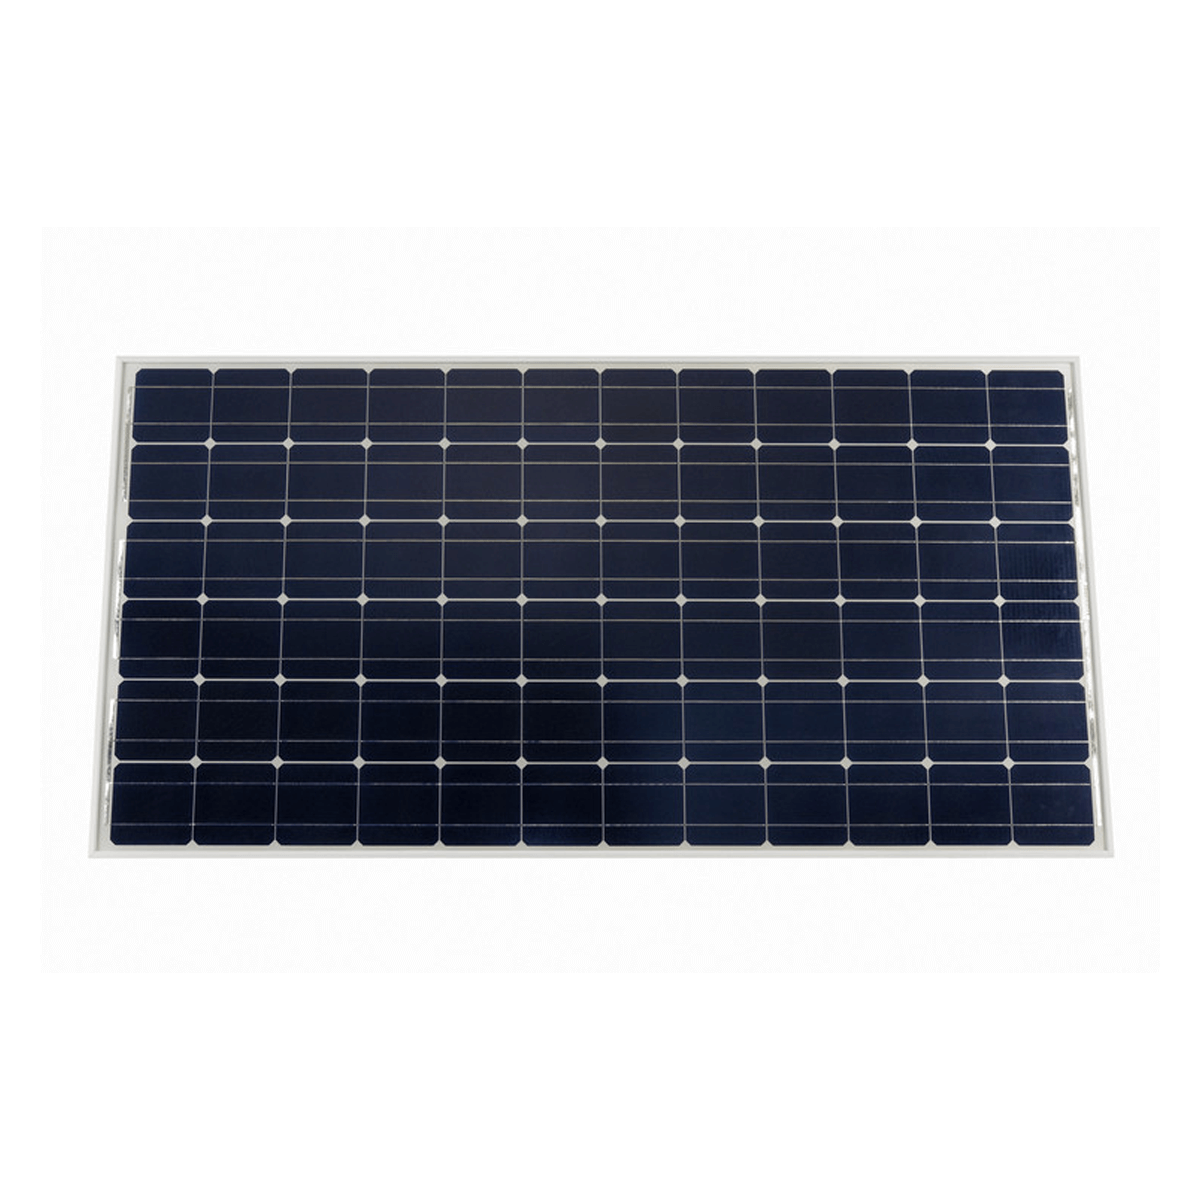
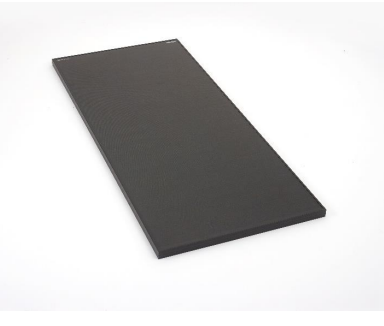
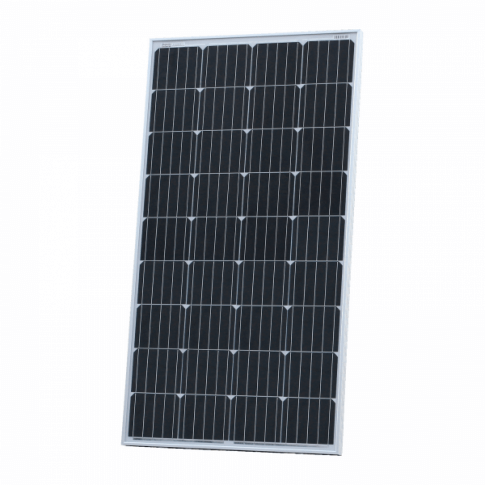
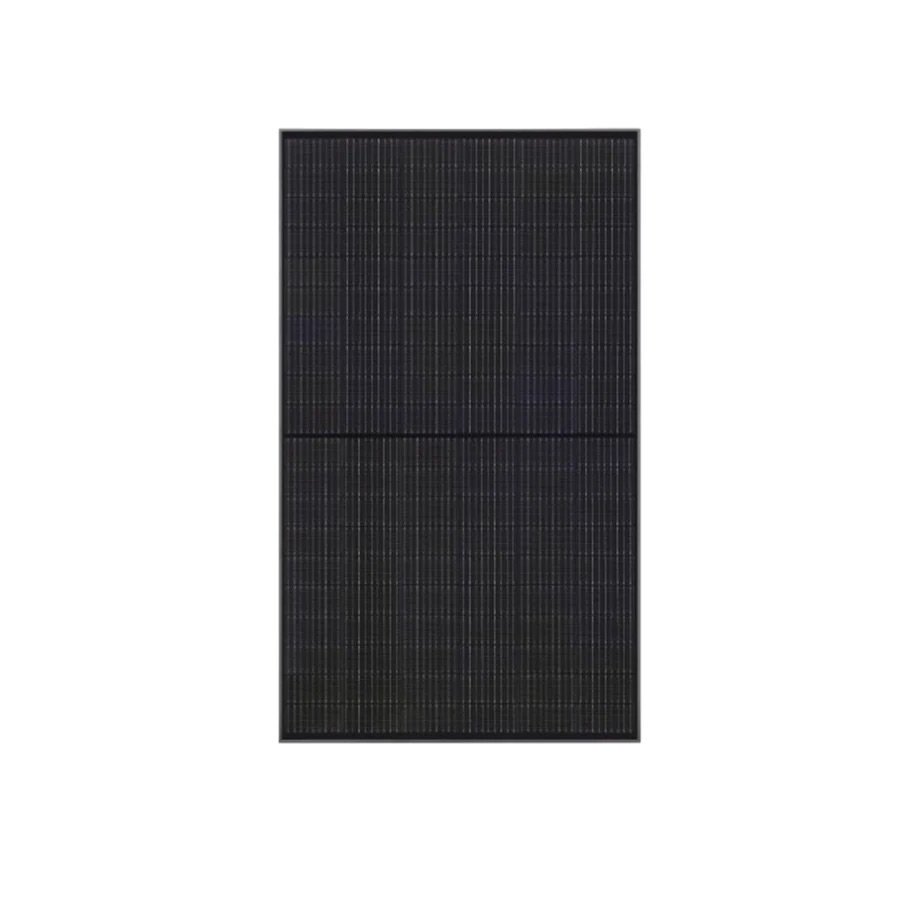
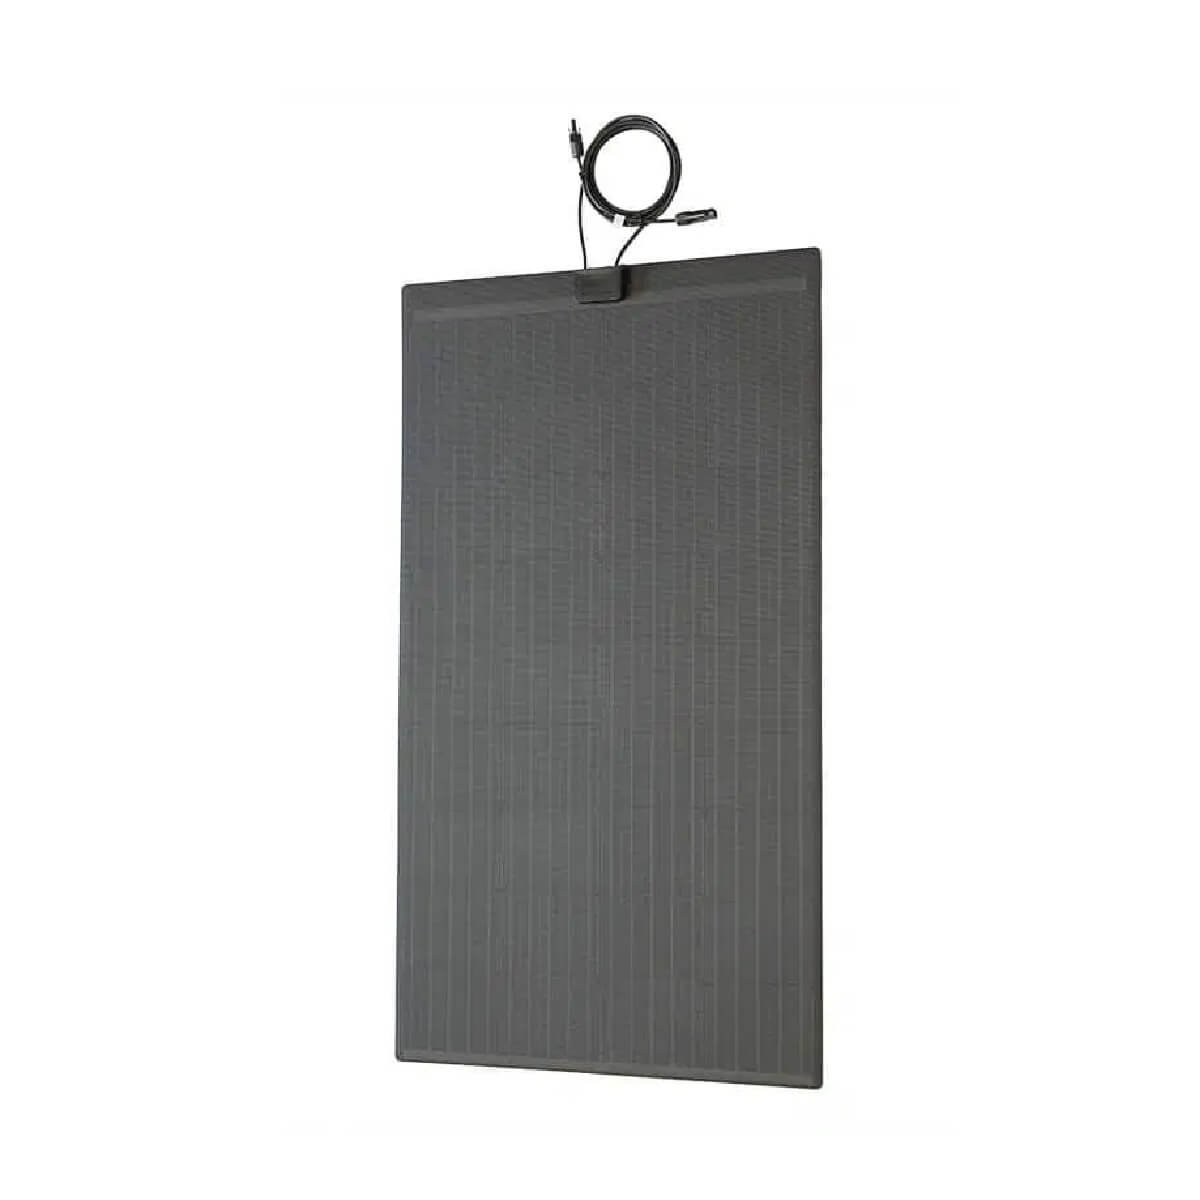
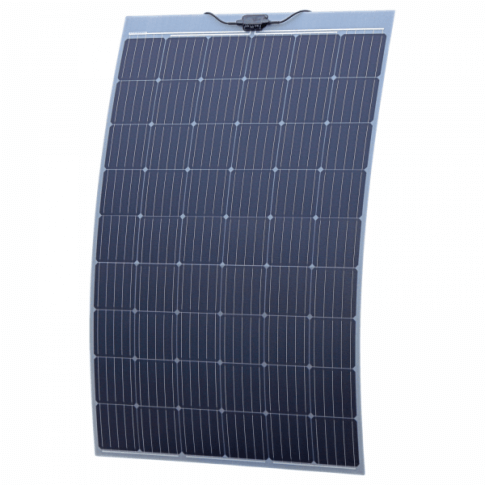
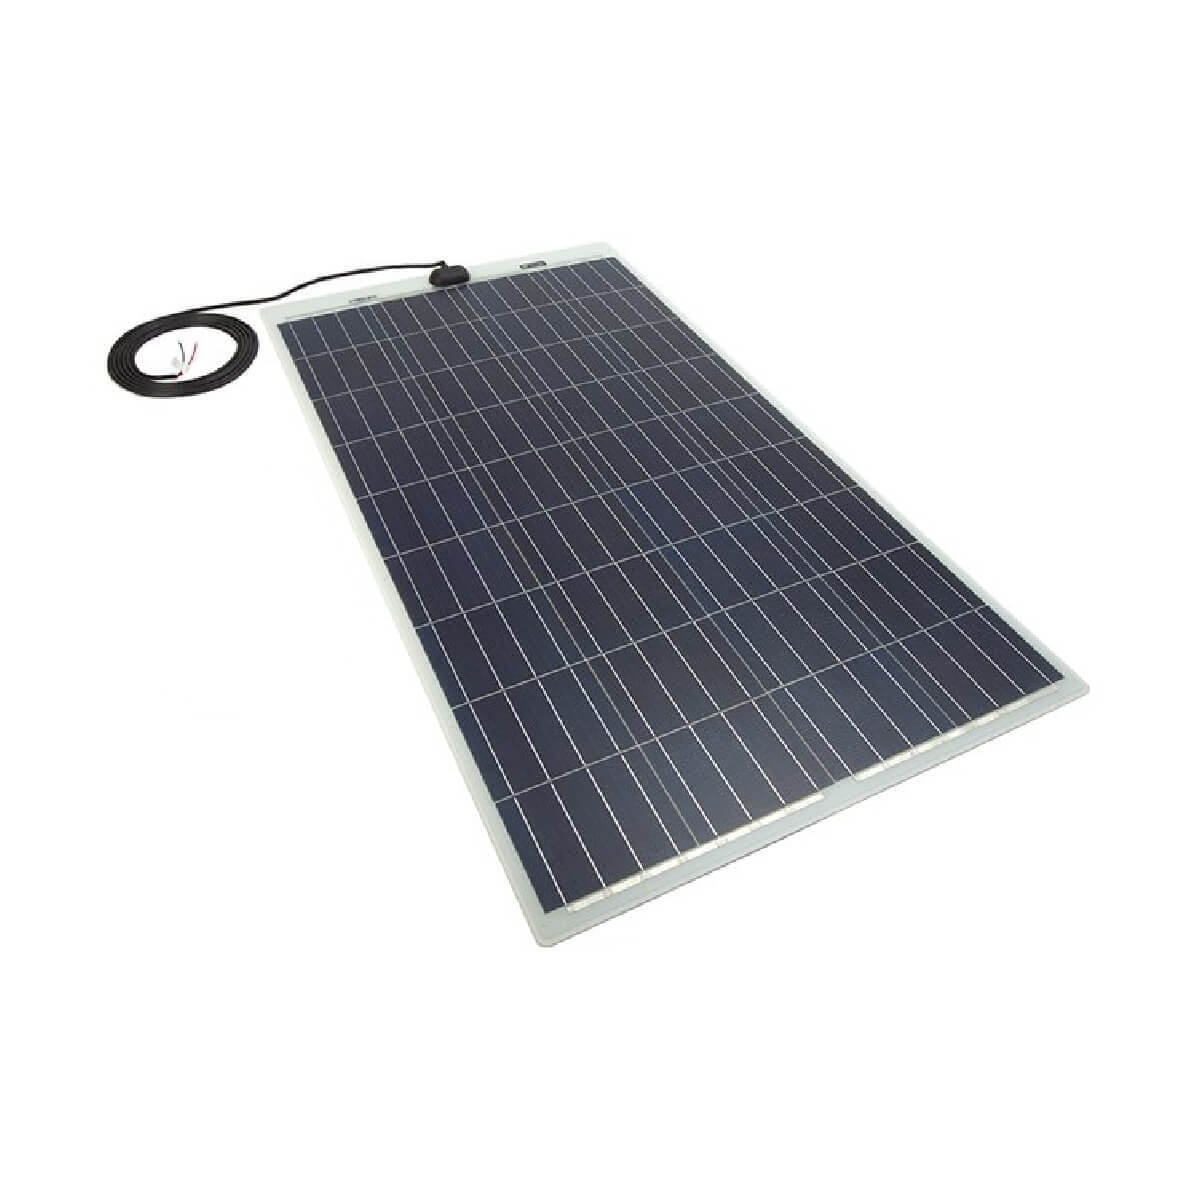
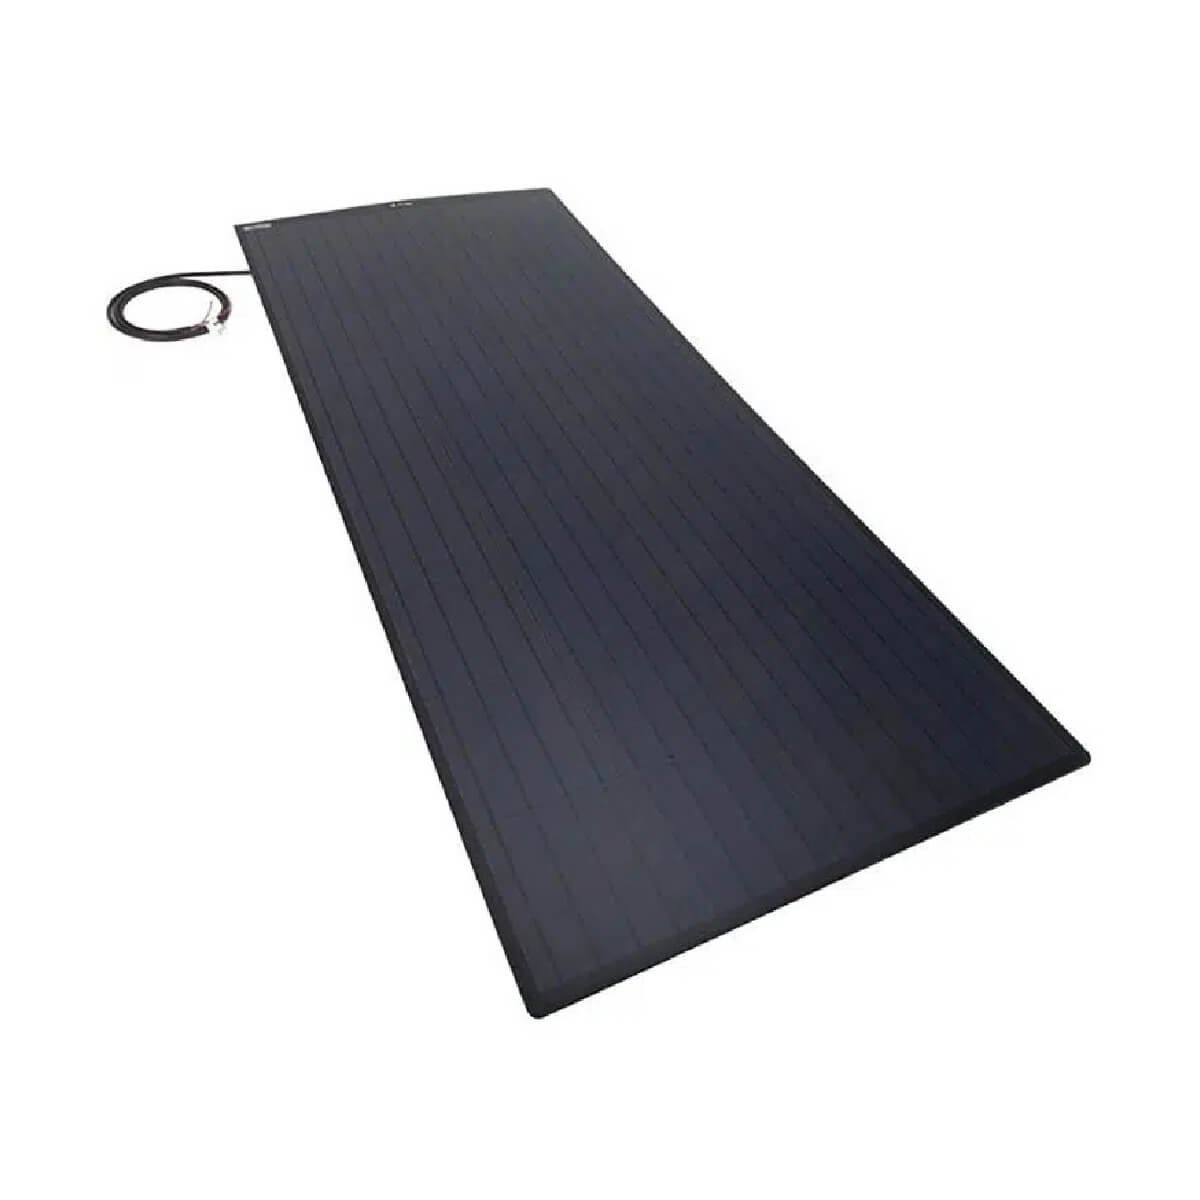
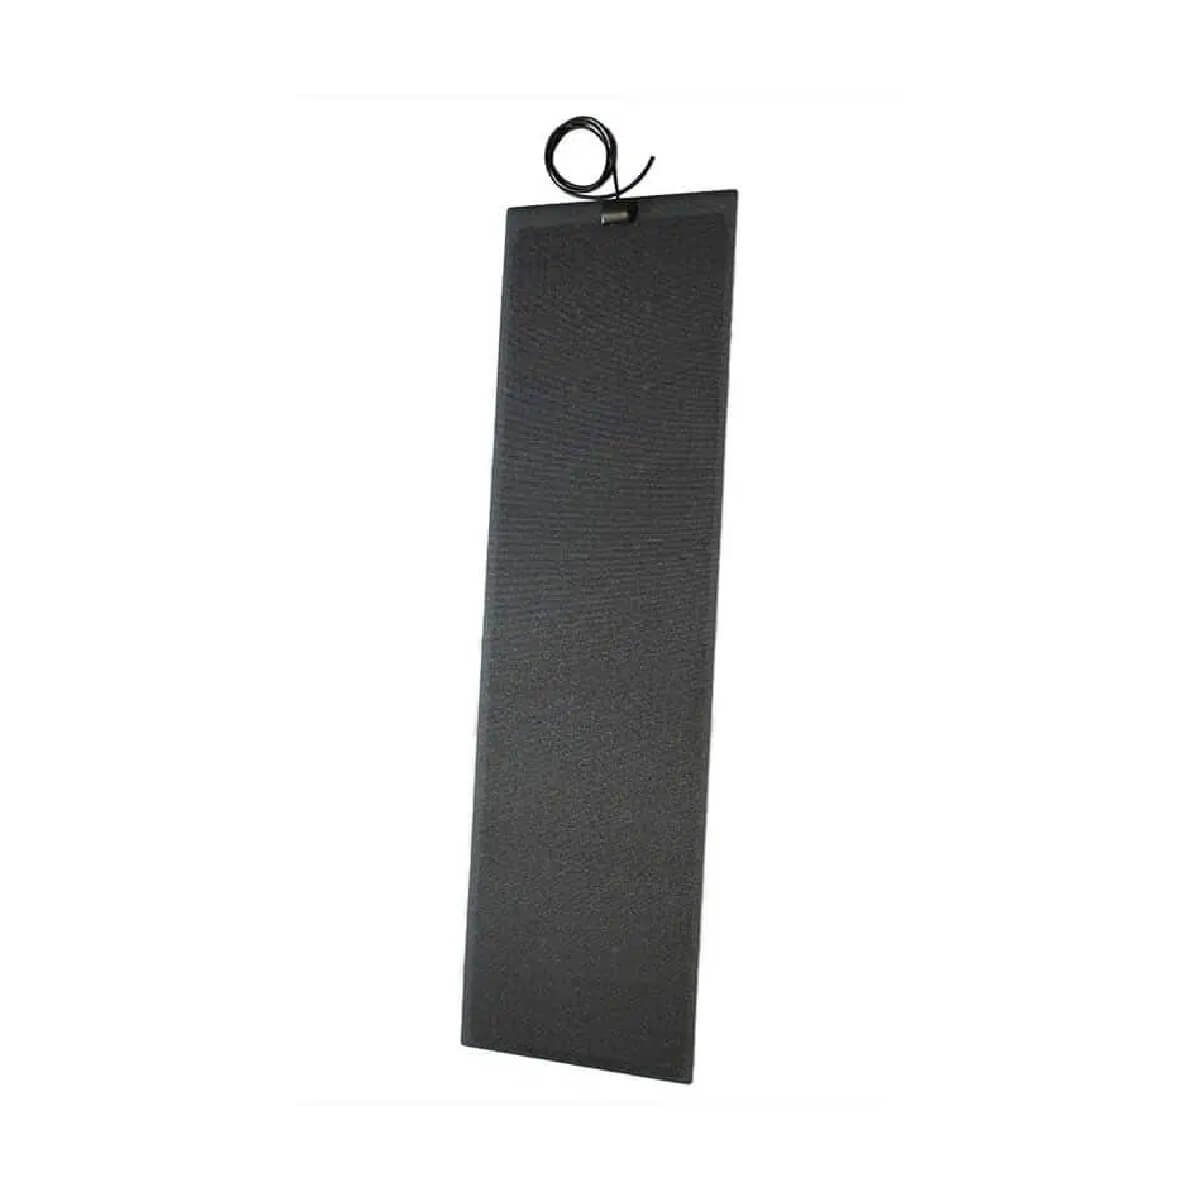
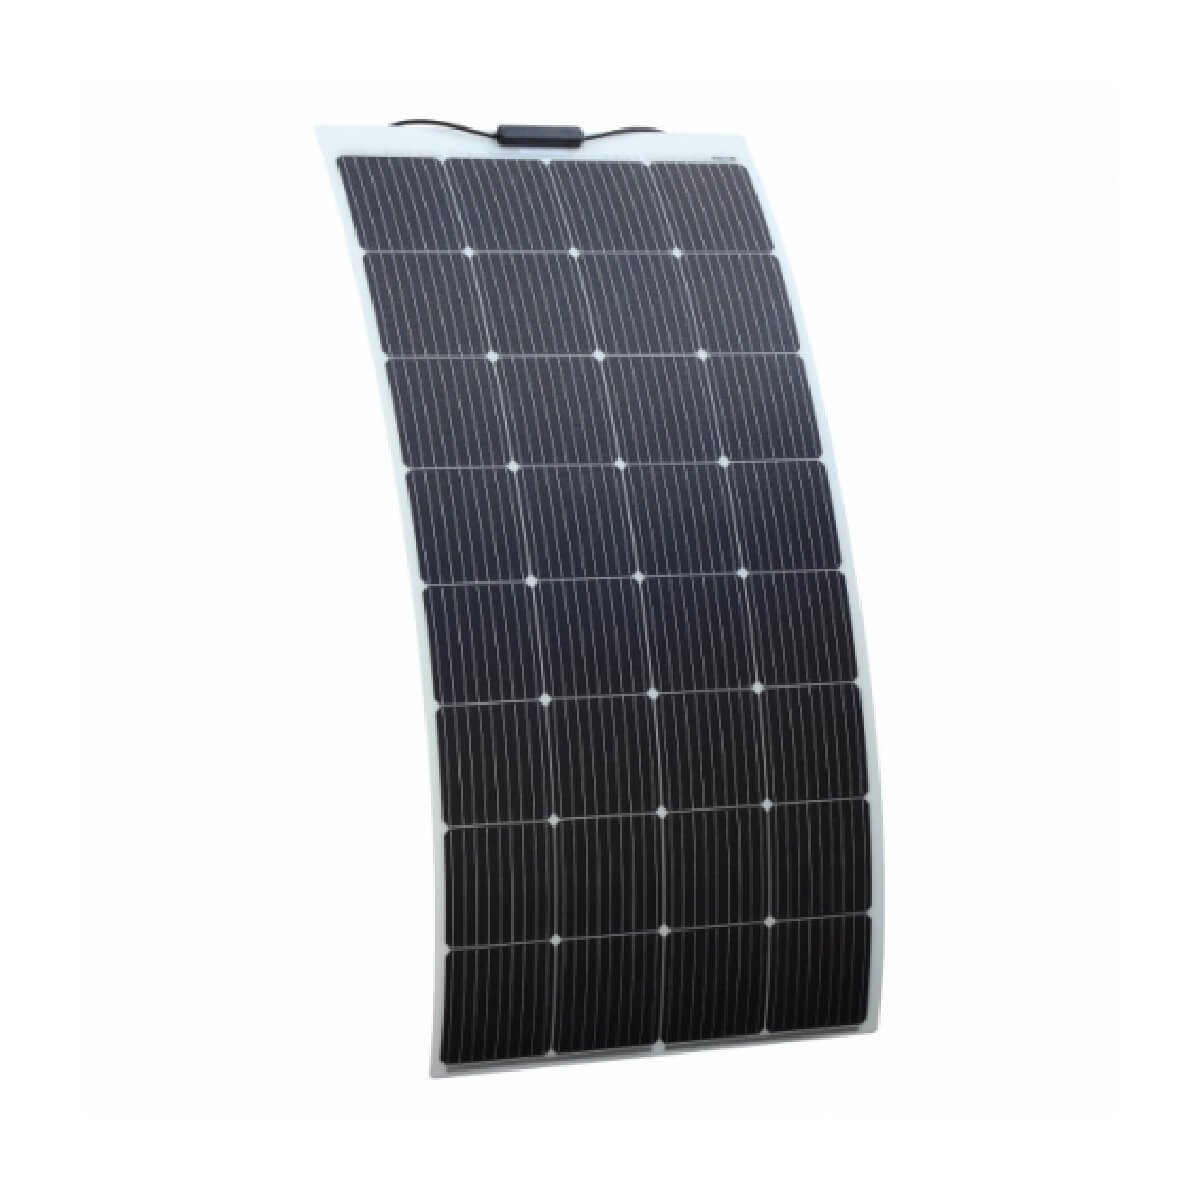
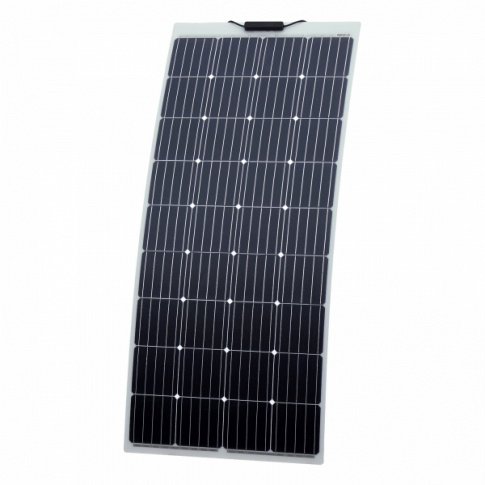
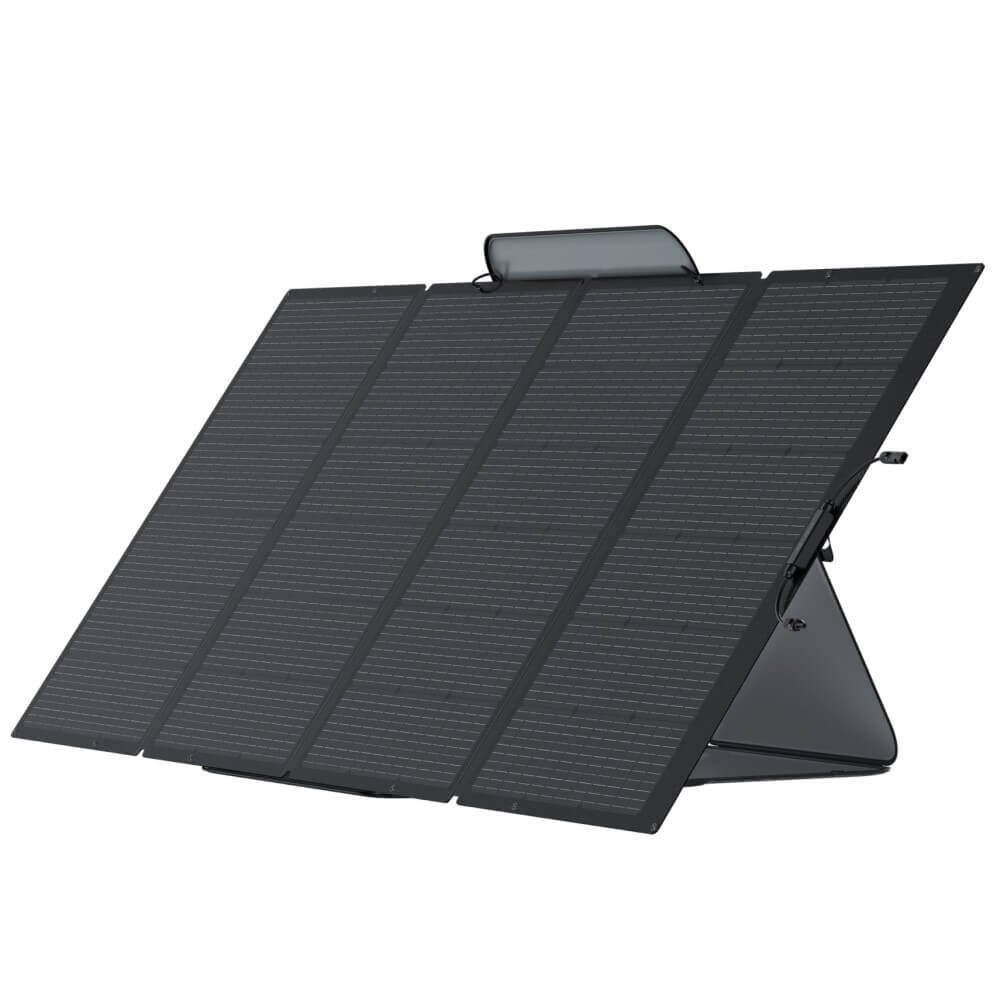
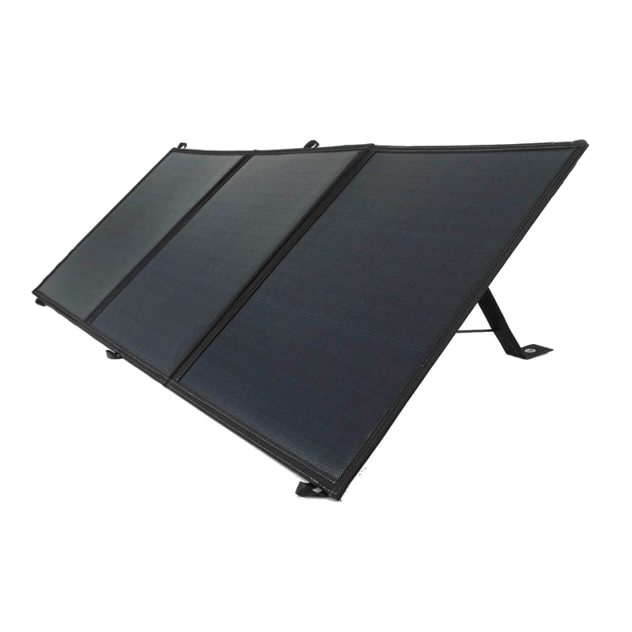
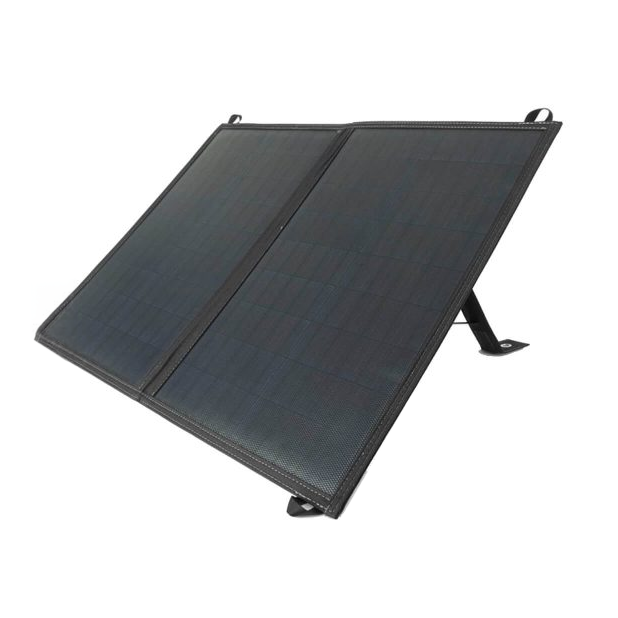
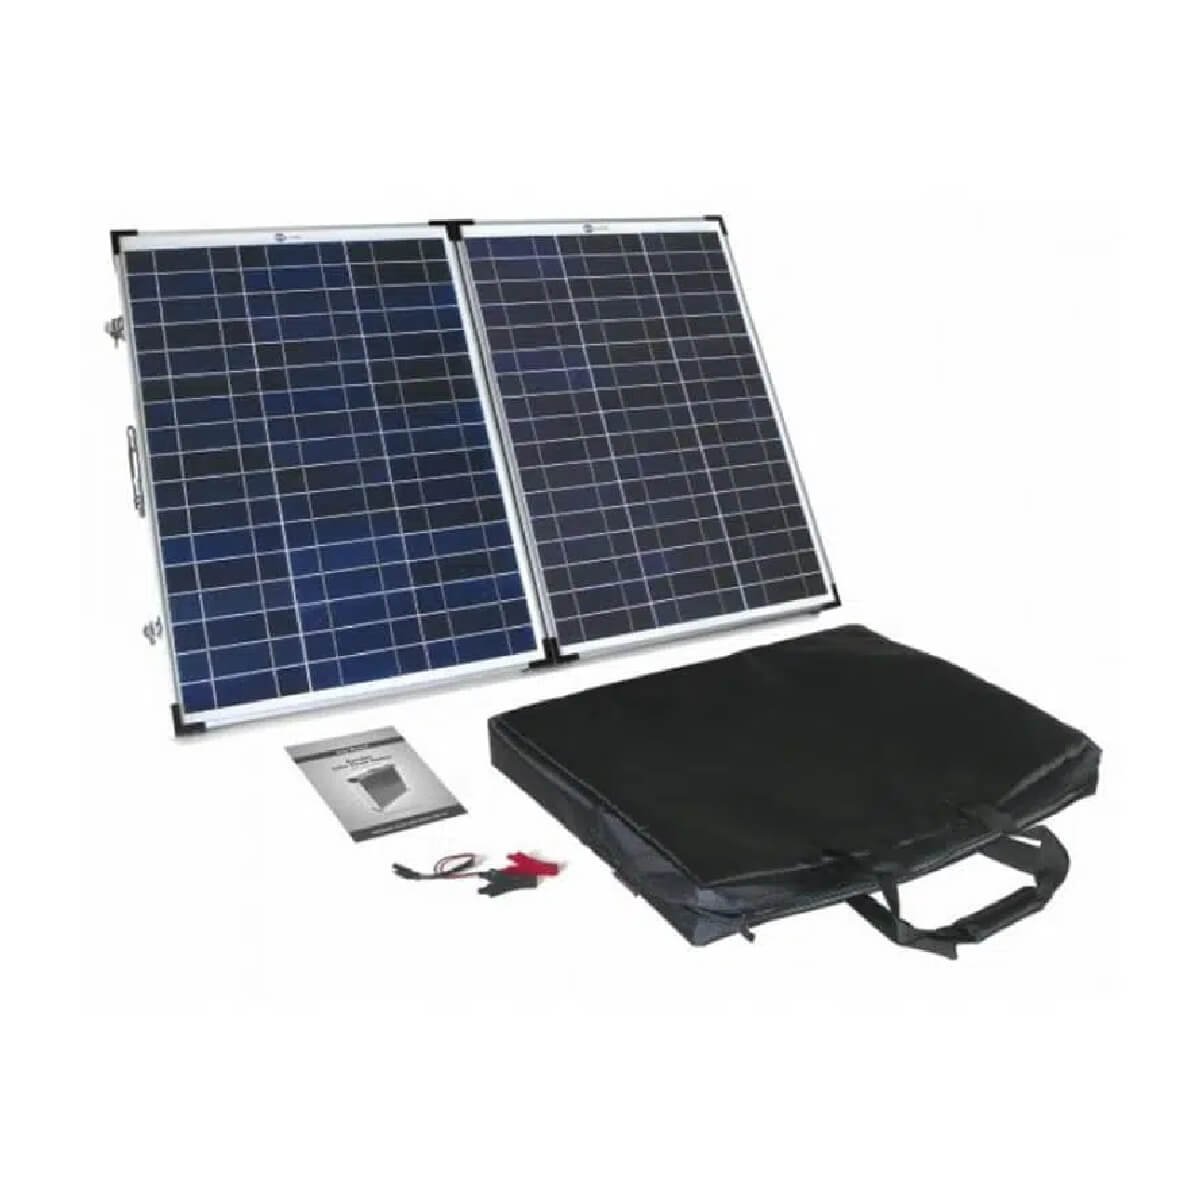
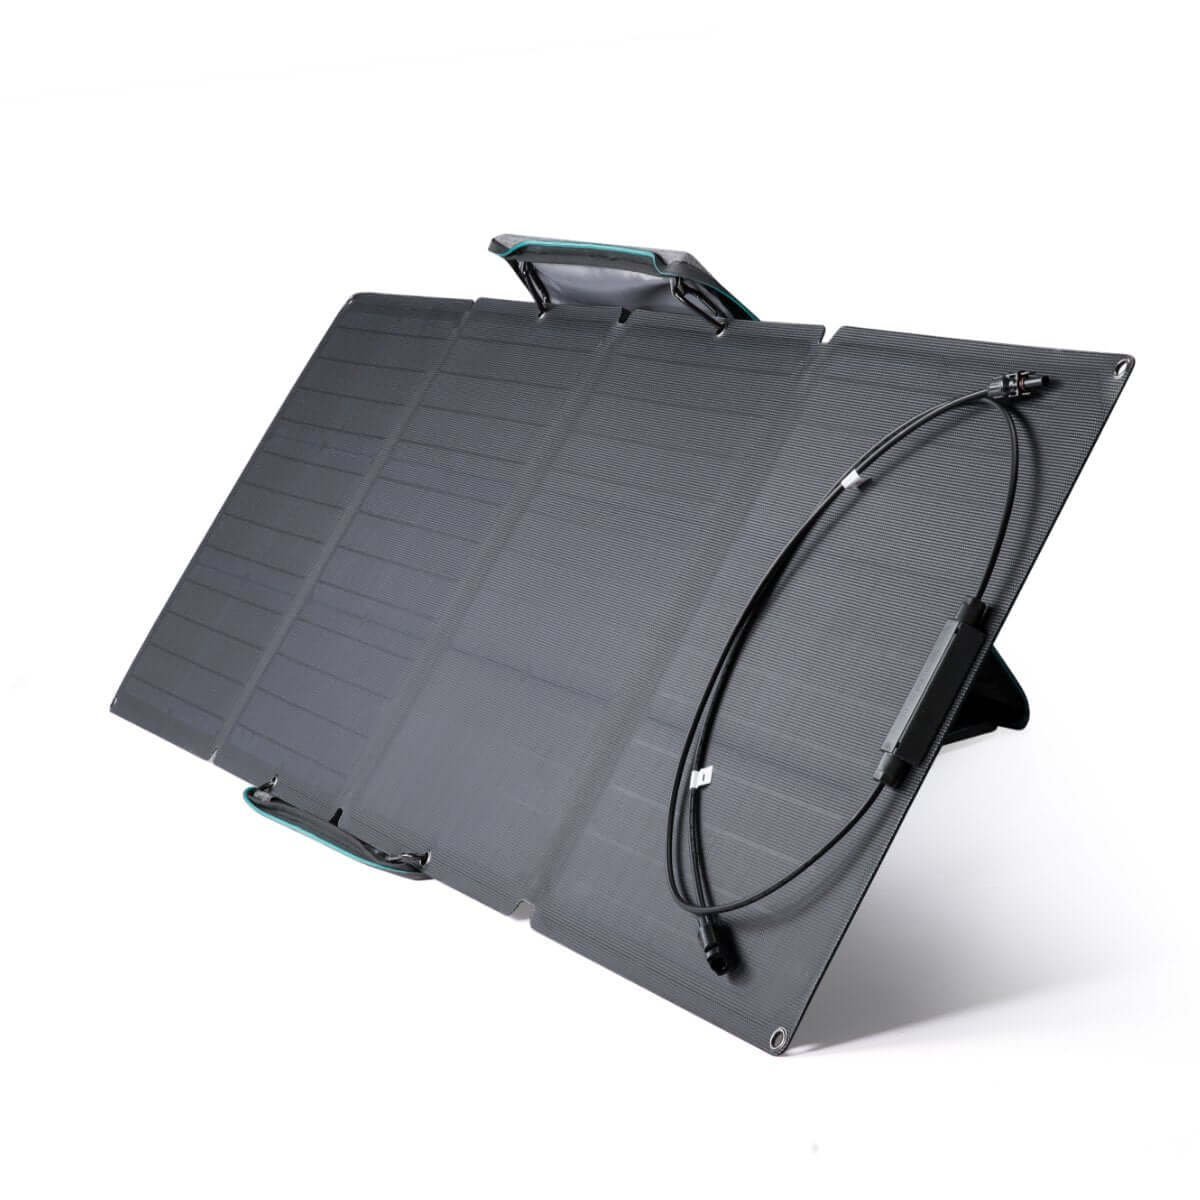
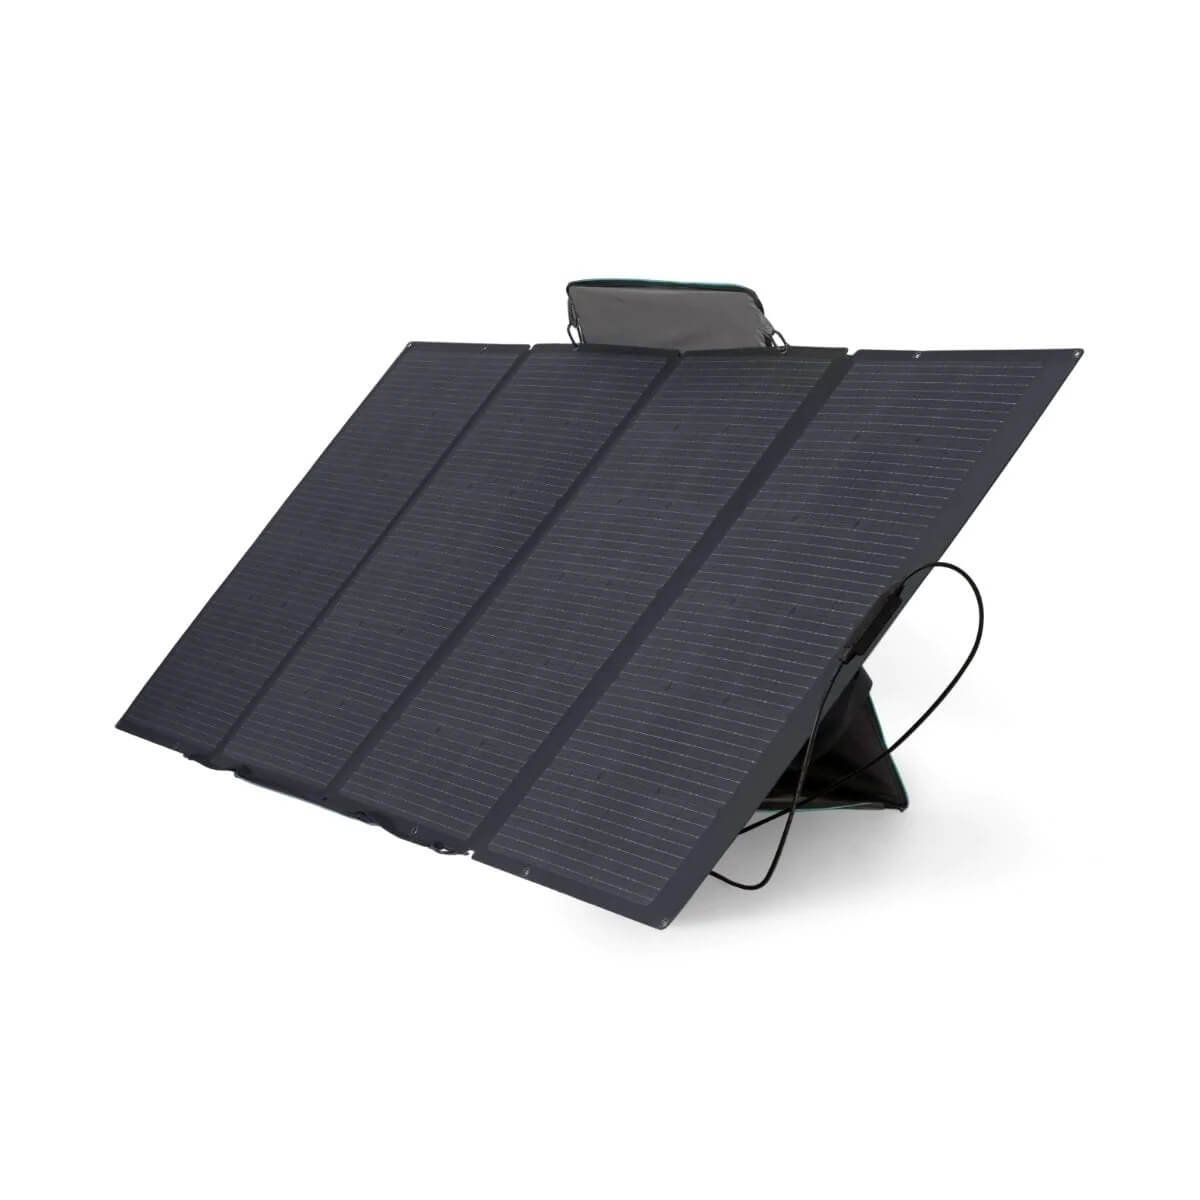
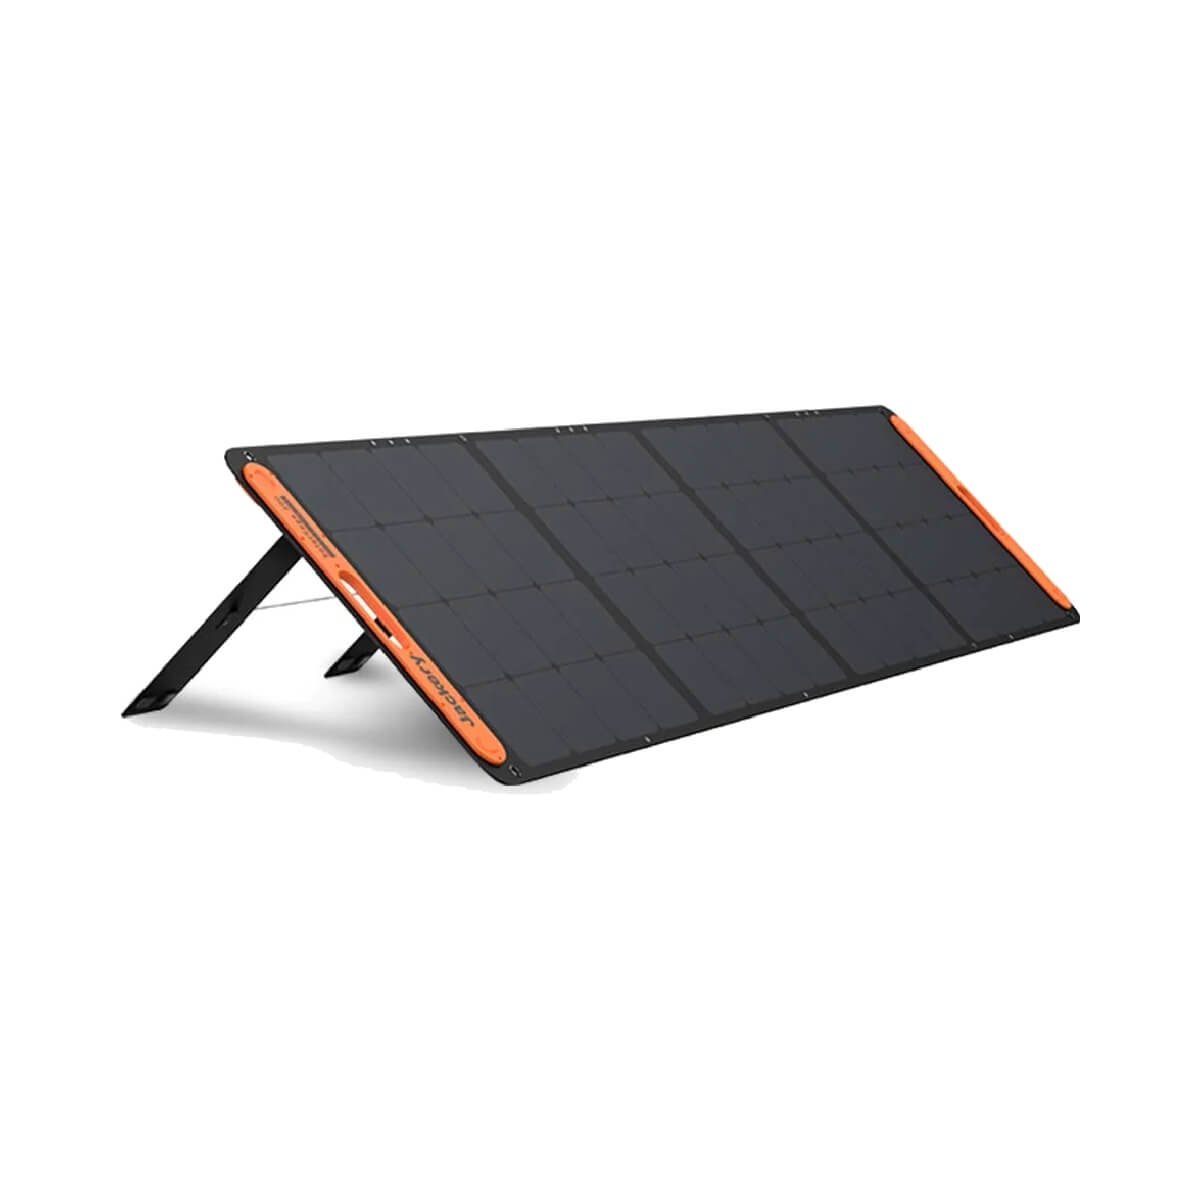
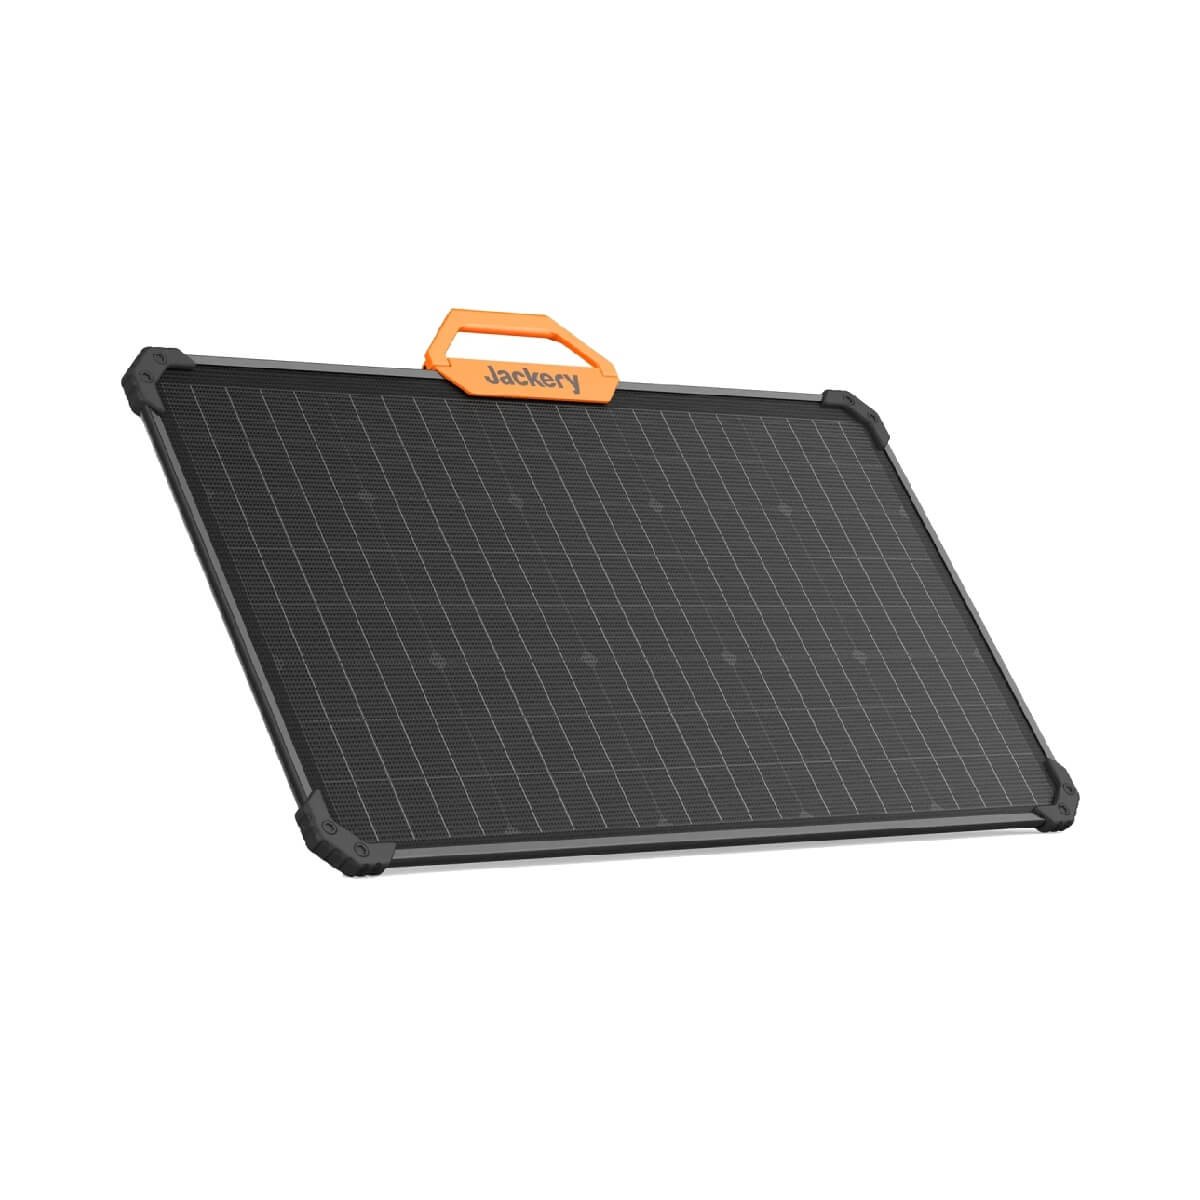
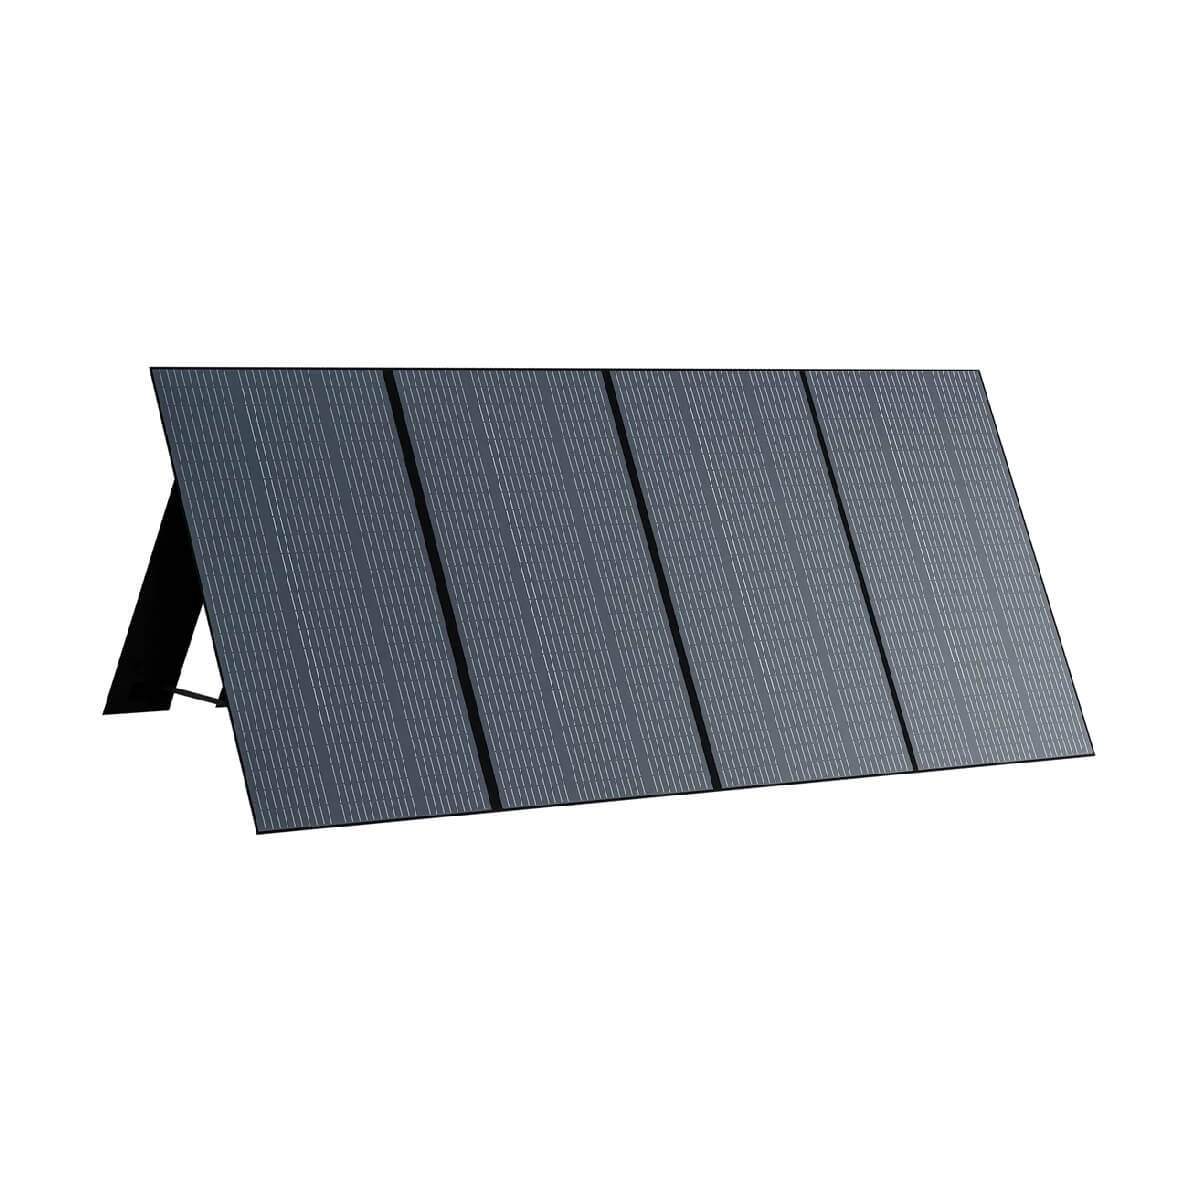
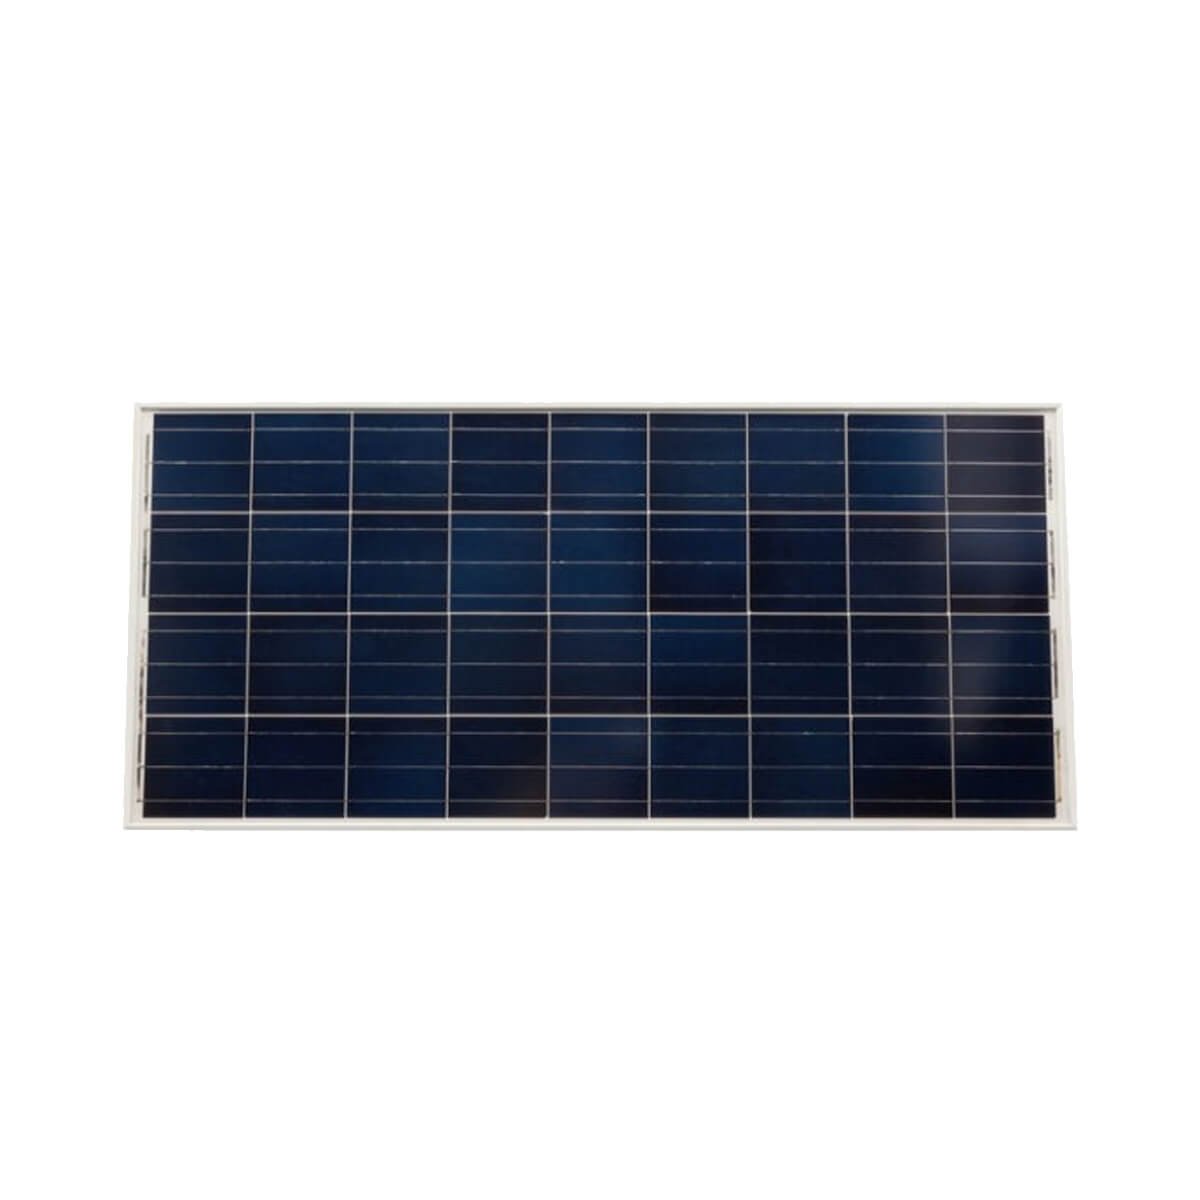
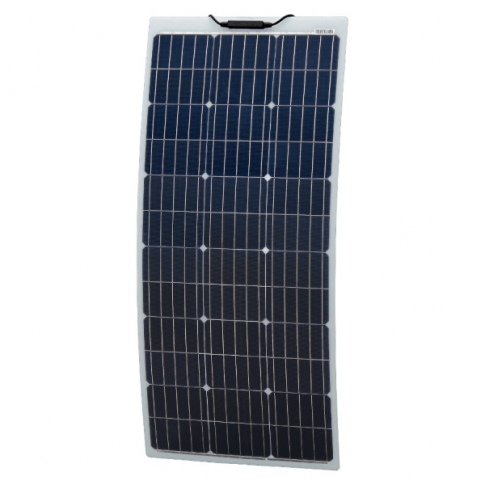
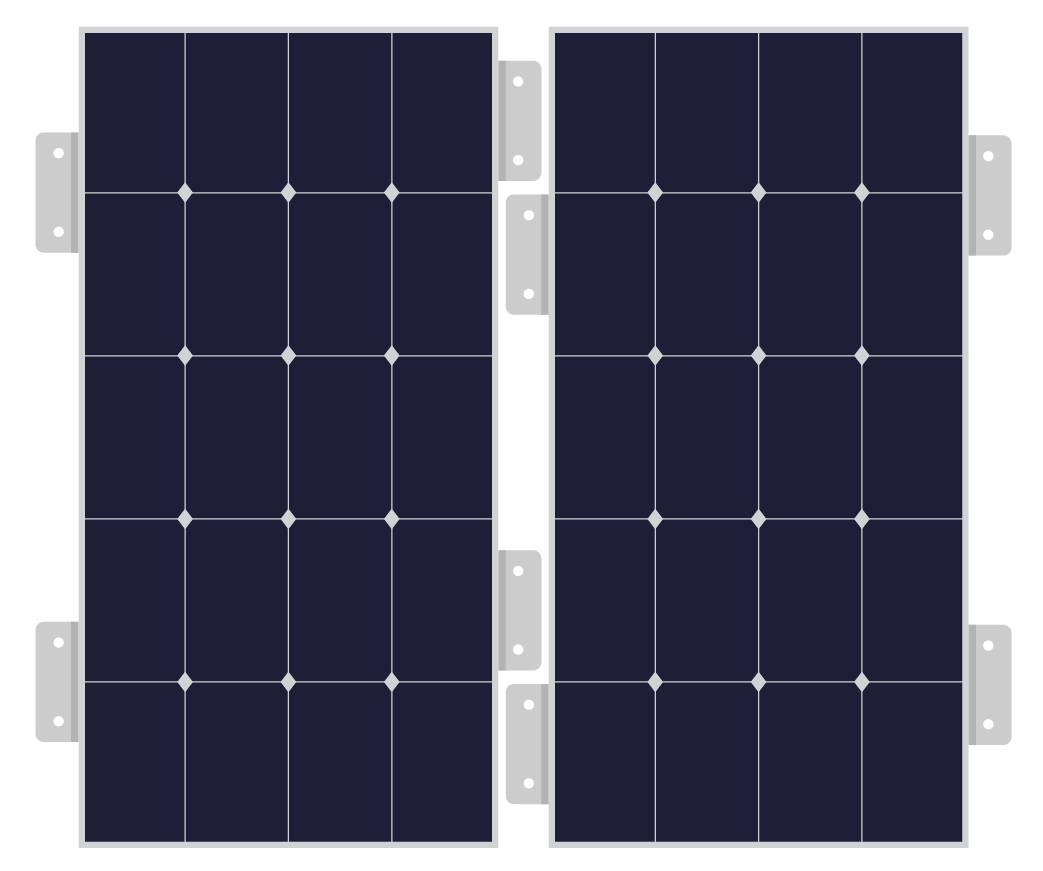
100W rigid (left), flexible (centre) and portable (right) solar panel
100W rigid (top), flexible (middle) and portable (bottom) solar panel
Rigid solar panels
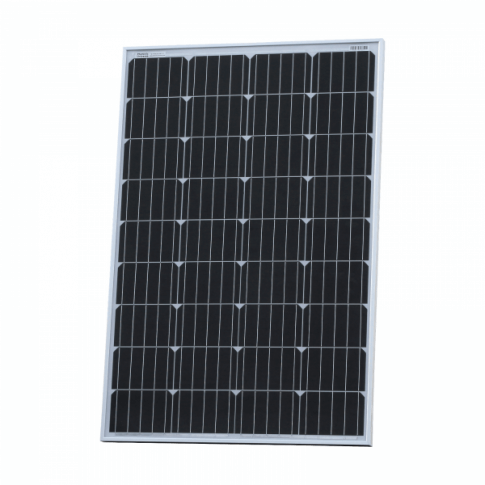
Rigid solar panels are typically made of either monocrystalline or polycrystalline cells. They tend to have an aluminium frame and a protective glass facade which protects them from damage and the weather. Rigid solar panels are mounted to the roof of your campervan using mounting brackets, and tend to be fairly efficient.

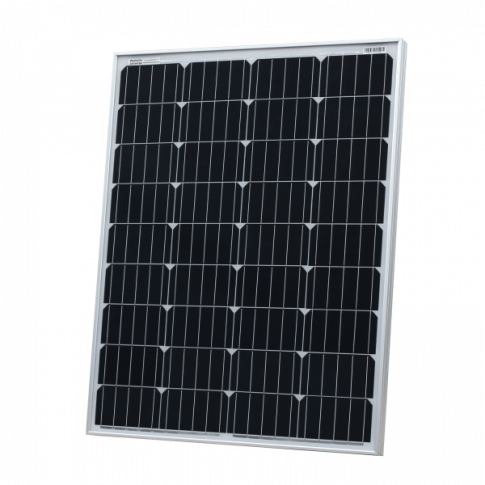
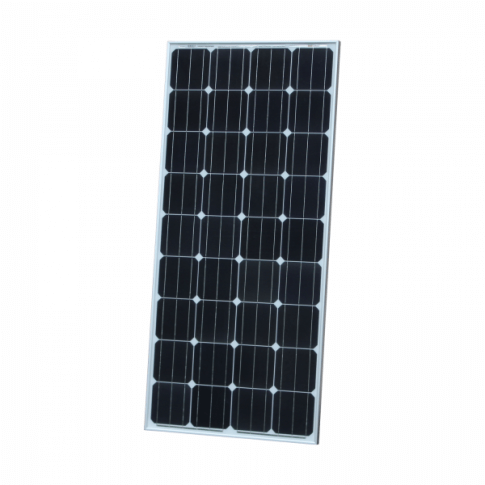
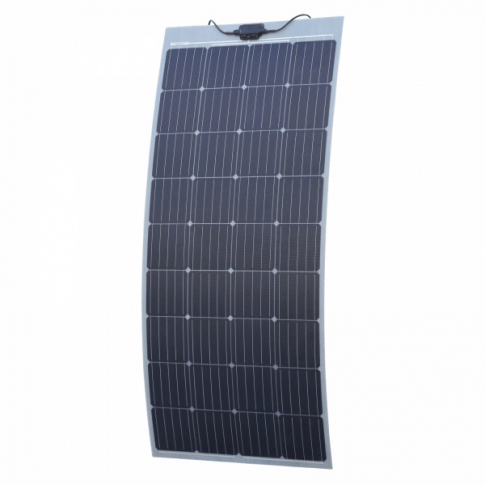
Flexible solar panels
Flexible solar panels are lightweight, thin and bendable, making them easy to mount to your campervan roof. They’re typically glued or taped to the roof of a van. As they have a low profile, they’re generally not visible from ground level. They can also be useful if you have an older van with an undulating or very curved roof profile that might make fitting standard panels difficult.
However, the application of glueing the panels directly to the roof of your camper van can cause problems. It’s generally recommended solar panels are mounted with a gap between the panel and the roof of the van to keep the panel cool and avoid creating a heat sink, as this will prolong the life of the solar panel.

Ready-to-go solar kits Designed by experts 🔧
Our kits are designed by engineers to be safe and robust. Plus – when you purchase, we’ll send you a free wiring diagram and installation guide.
Shop now
Portable solar panels
Portable solar panels are typically used to charge portable powerbanks such as the EcoFlow range. They can be folded open and placed in the sun when you are stationary, and stored back inside the vehicle when not in use. These panels can also be used to charge a 12V leisure battery by using a charge controller. Alternatively, portable solar panels can simply be made up of two foldable, rigid solar panels.

Solar charge controllers
A solar charge controller is required to convert the power your camper van solar panels absorb into usable energy for your batteries. There are two types of charge controller available: MPPT and PWM. You can learn more on our solar charge controller guidebook page.
Solar panel performance
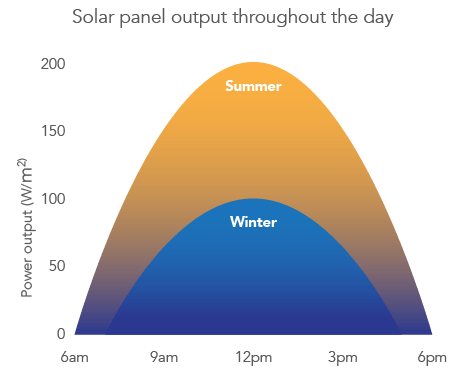
The performance of solar panels at different times of the year and day, and cloud coverage vary dramatically. On a hazy day where a thin film of cloud covers the sun, the efficiency will decrease to around 50%, and on a day with heavy cloud and rain, you’re unlikely to get any power from your panels. The angle of the sun on the panels will also affect the power output of the panels, meaning you’ll get less power from your solar panels in winter than you will in the summer, as the sun will be lower in the sky.
The solar panel output graph will give you an idea of solar panel efficiency throughout the day. When the sun is directly above your solar panel, you will get the highest output, whereas in the morning and afternoon when the sun is lower in the sky and hitting the panels at an angle, the output will be much lower.
Solar panel specs – wattage, voltage and current
There are three key numbers you should be looking at when purchasing a solar panel for your campervan – its total wattage, its open circuit voltage (Voc), and its short circuit current (Isc).
 Solar panel wattage
A solar panel’s wattage explains the maximum power the panel can output each hour. When you connect multiple solar panels together, you add together the wattage of each panel to calculate the total solar array in watts.
Solar panel open circuit voltage (Voc)
As well as wattage, it’s important to consider a solar panel’s open circuit voltage. This is the maximum voltage the solar panel can produce in full sunlight. If the sun is lower in the sky, or it’s partially cloudy, you will only produce a fraction of this value. So it’s important to ensure that your solar array has a high open circuit voltage.
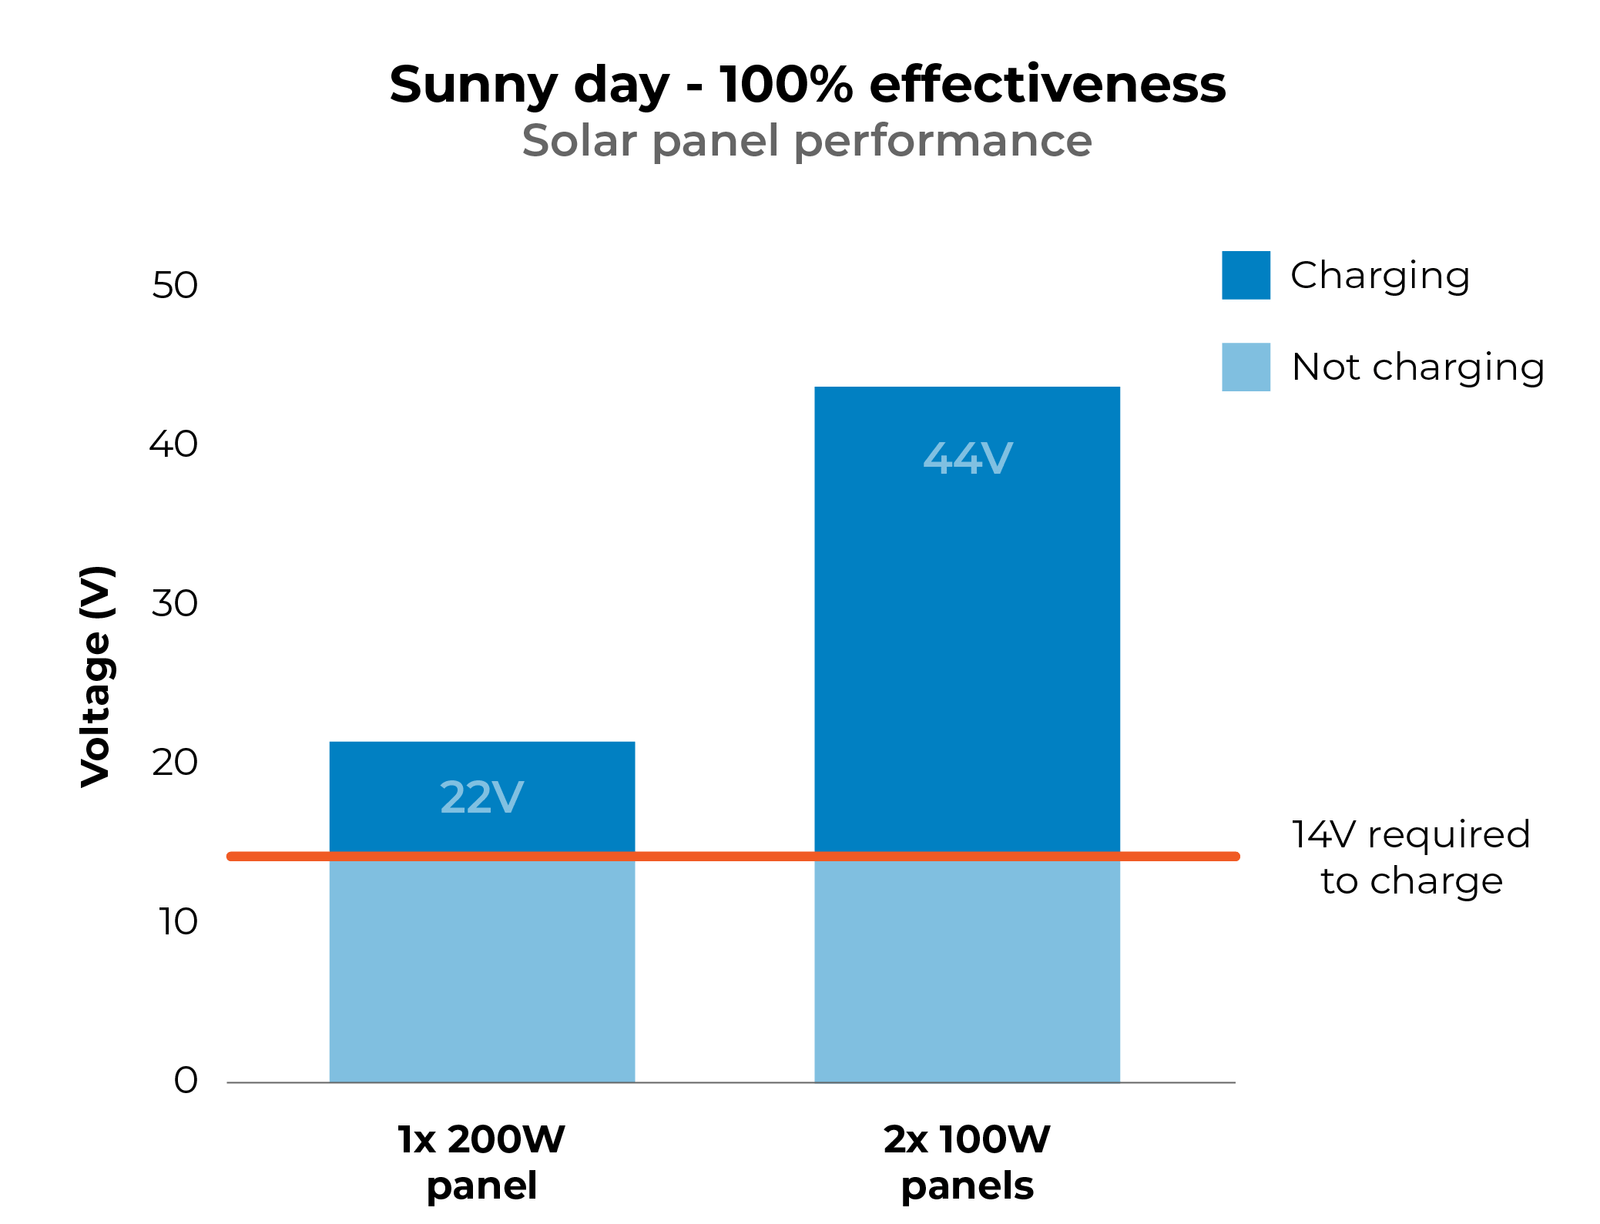
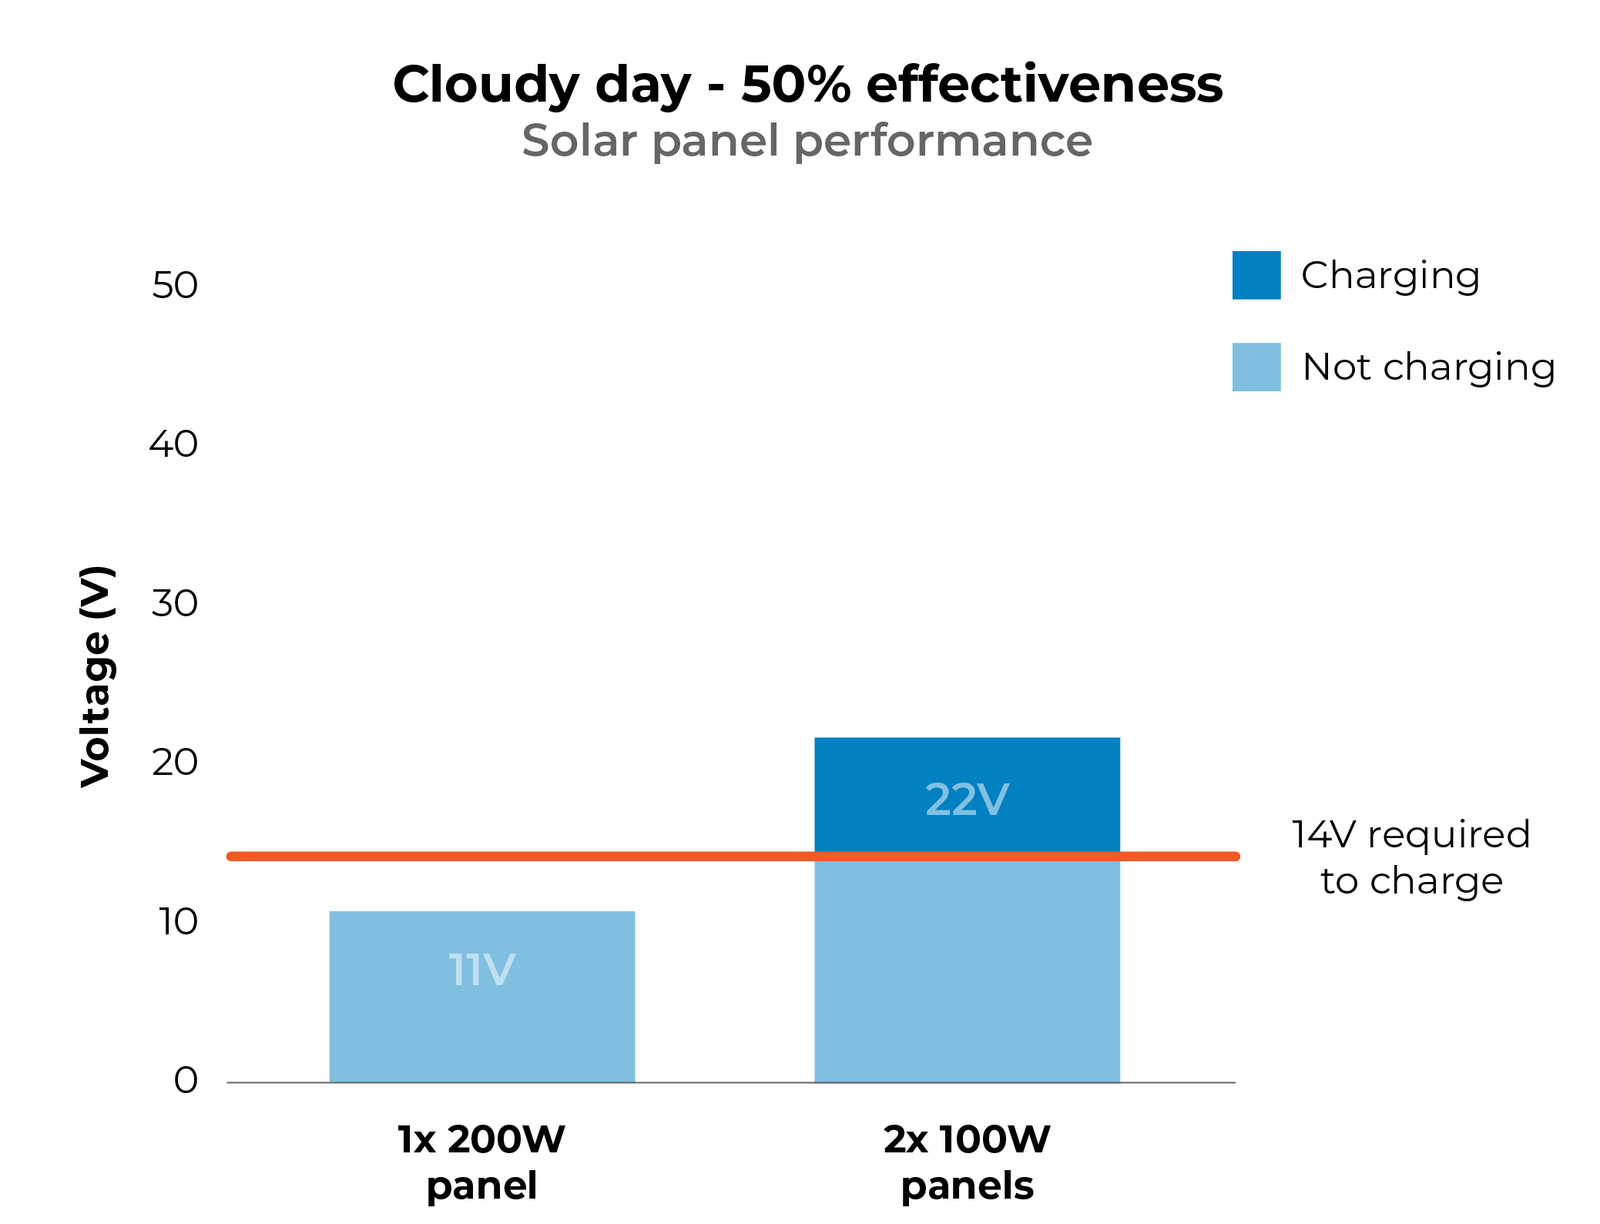
If you have a 12V leisure battery, your charging voltage will be around 14V. So if your solar panels are producing less than 14V, your batteries simply won’t charge.
Let’s look at a 100W solar panel as an example, with an open circuit voltage of 22V. If in certain conditions the solar panel is only performing at 50% effectiveness (e.g. in winter or on a cloudy day), the panel would produce a voltage of 11V, and wouldn’t charge your batteries.
In comparison, two of these solar panels wired in series would have a Voc of 44V. When solar panels are wired in series the voltage increases and the current remains the same. This means the 2x 100W solar panels would charge your leisure batteries at 21% effectiveness or higher (14V ÷ 44V). We will refer to this percentage as the charging threshold. You should aim for as low a charging threshold as possible to ensure your solar panels will still charge your campervan’s batteries, even in poor weather or winter, when the sun is lower in the sky.
Solar panel current
The final number we’re interested in when comparing solar panels is the short circuit current (Isc). The higher the current, the quicker your batteries will charge. If you think back to physics lessons, you might remember the equation P = I V. Power (watts) is equal to current (amps) multiplied by voltage (volts). This means that the higher the open circuit voltage of your solar array, the lower the current will be.
Ideally, you want to find a balance between open circuit voltage and current. Your Voc should be high enough that you will charge even in cloudy conditions or winter. However, your current should also be high enough that your batteries will recharge quickly. So, you might achieve this in a few ways.
Firstly, if you are installing a single solar panel, you should ensure it has adequate Voc and Isc values. Secondly, if you’re installing multiple solar panels, you should consider whether you wire them in series, parallel or series parallel.
Wiring solar panels
Solar panels can be wired together in series, parallel or series parallel. There are pros and cons to each wiring scheme.
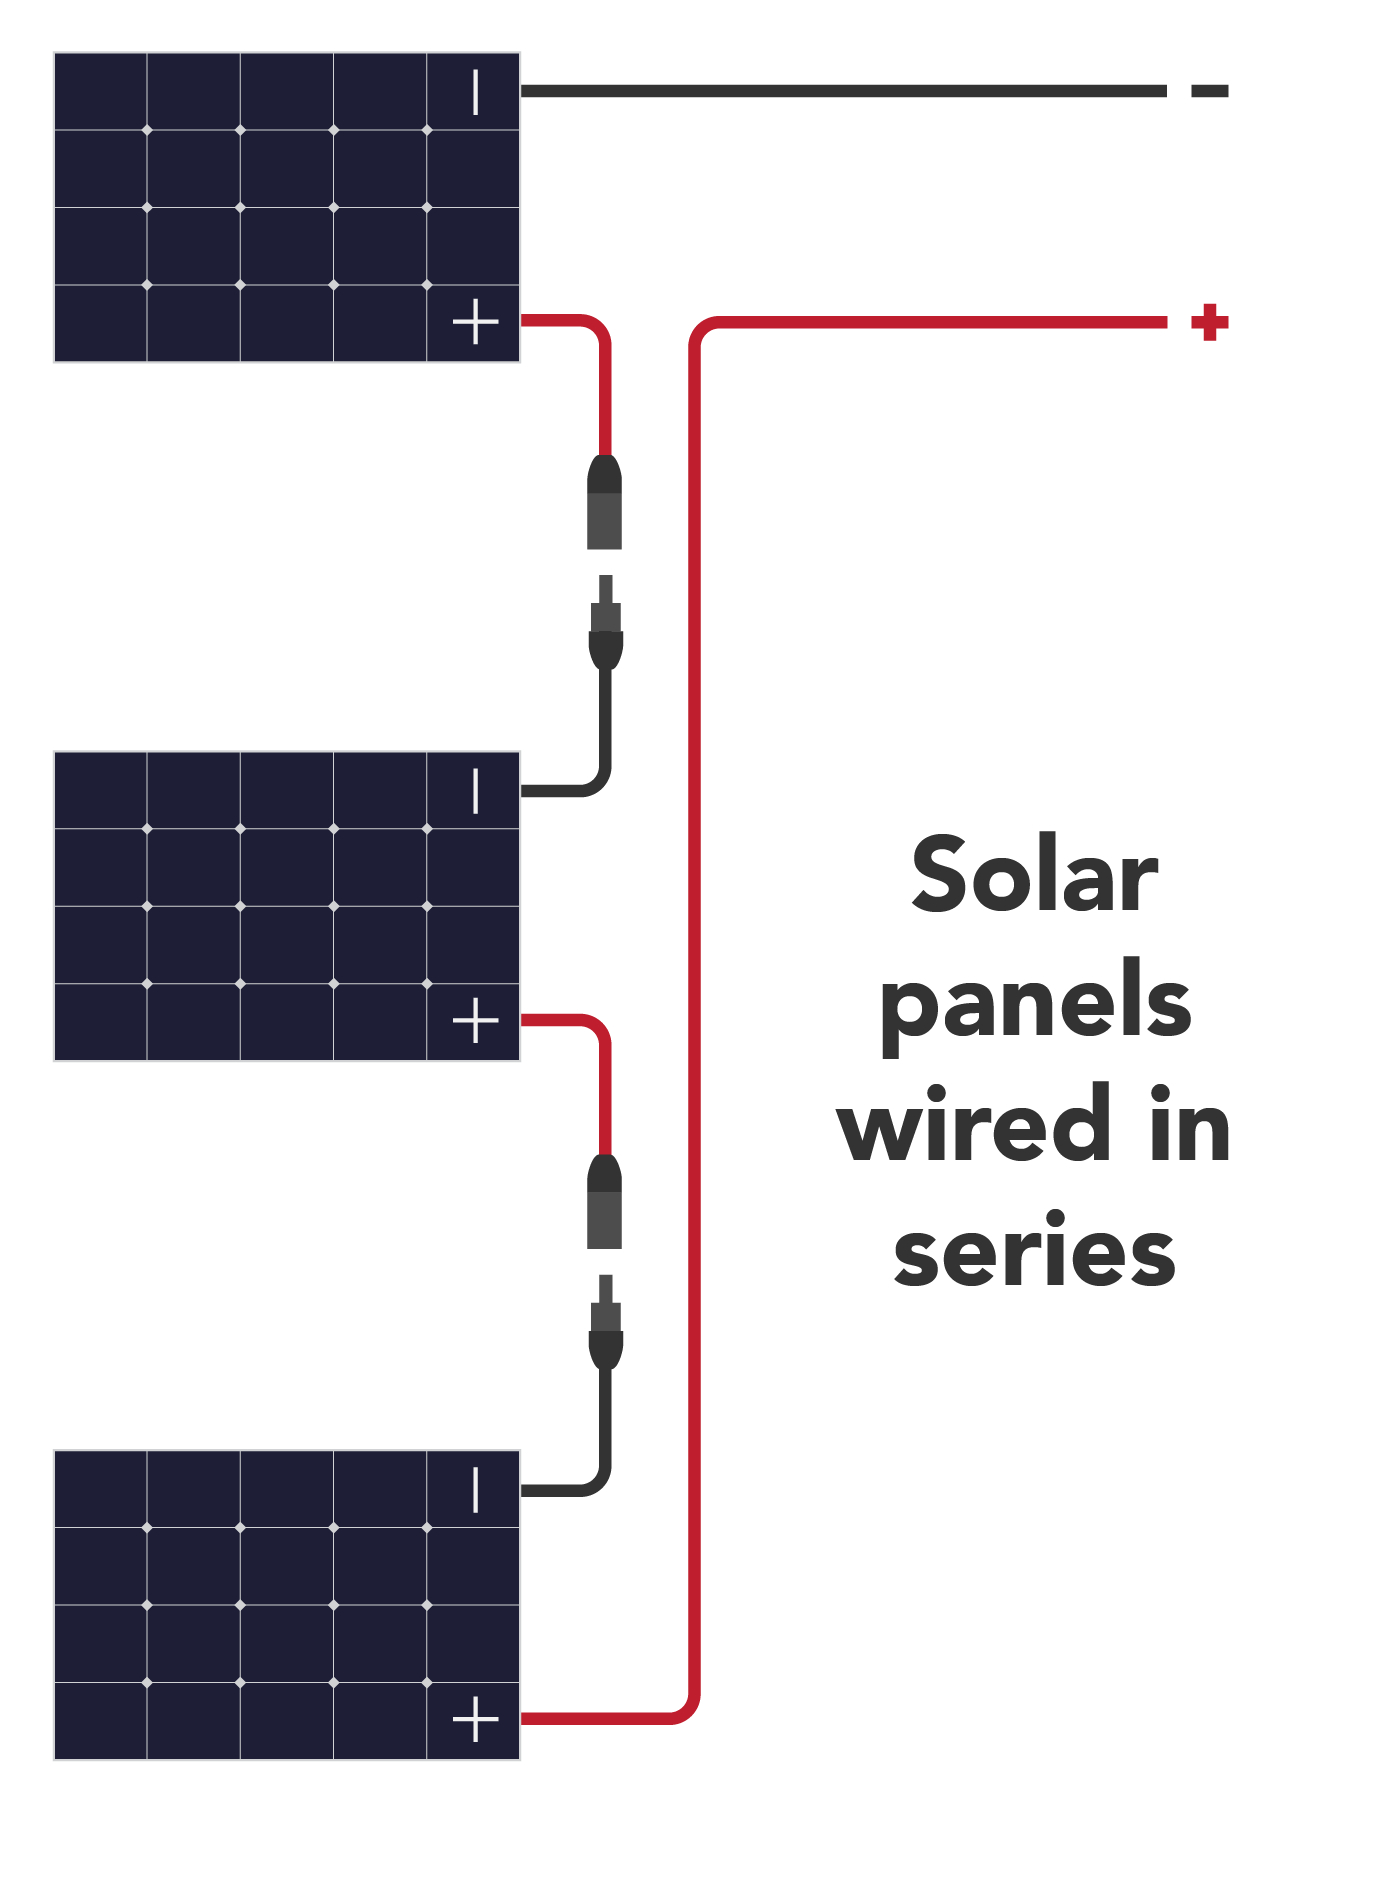
Wiring solar panels in series
When you wire solar panels in series, the voltage increases and the current stays the same. This allows you to access a much higher voltage input, and you can also use a thinner gauge wire as the total amperage remains low.
However, if one panel is damaged or shaded, the output of all of the panels will be affected.
To wire your solar panels in series, you simply connect the negative of one to the positive of another.
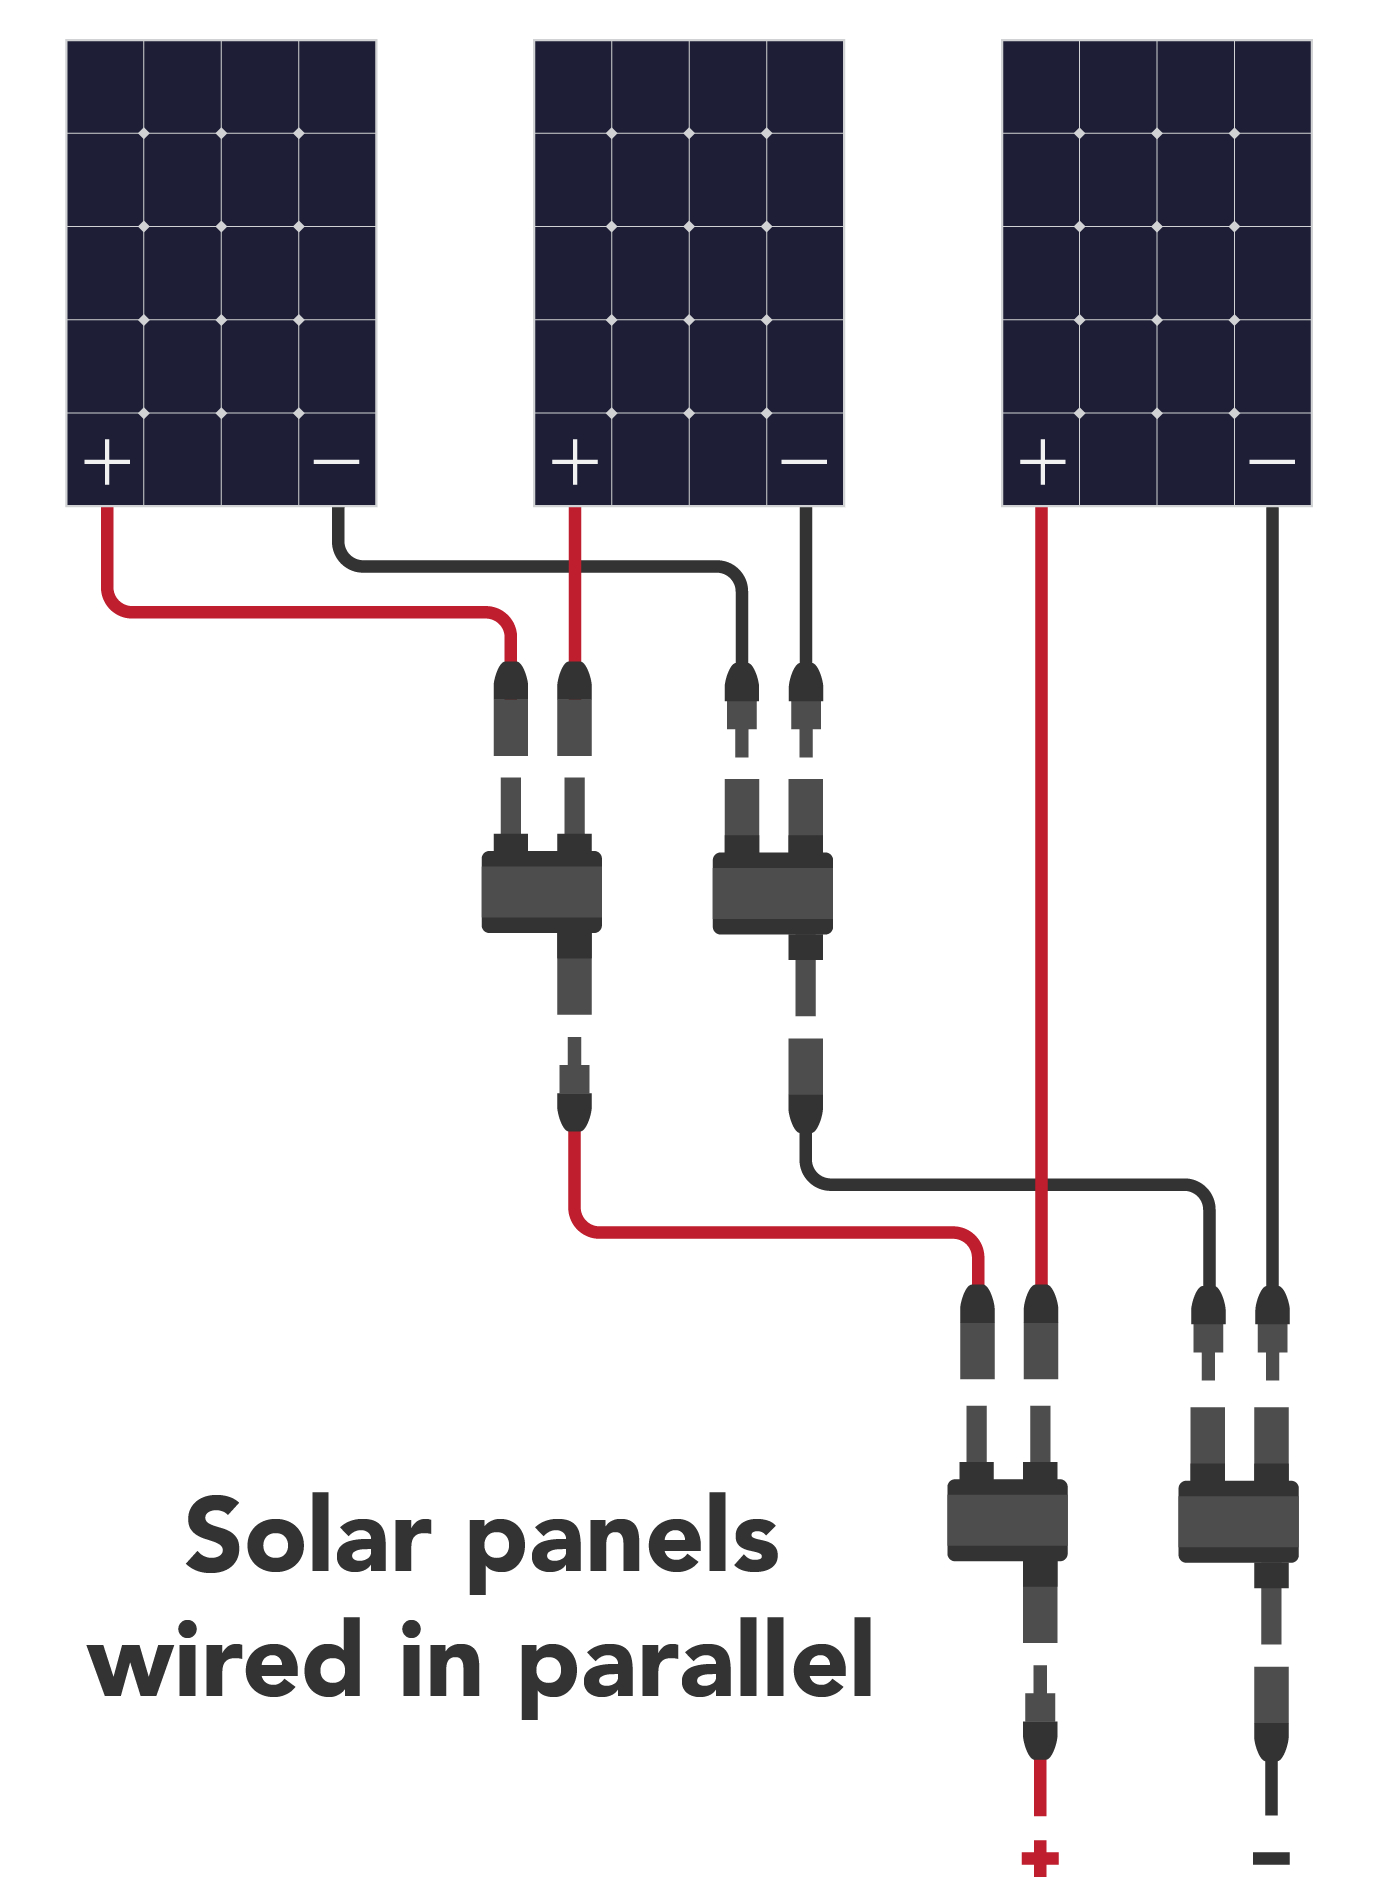
Wiring solar panels in parallel
When you wire solar panels in parallel, the total current increases and the voltage stays the same. Parallel wiring keeps the panels separate from each other, so if one panel is damaged, dirty or shaded, the others are not affected.
Parallel wiring is useful if you have a large solar array, as it can help to decrease the cost of the required charge controller.
To wire your solar panels in parallel, you will need to use solar splitters to connect them.
Wiring solar panels in series parallel
If you have an even number of solar panels you can wire your solar array in series parallel. You can create a string of panels in series, and then wire each string in parallel. This allows you to increase both the voltage and current of the panels, to find the best balance of Voc and Isc.
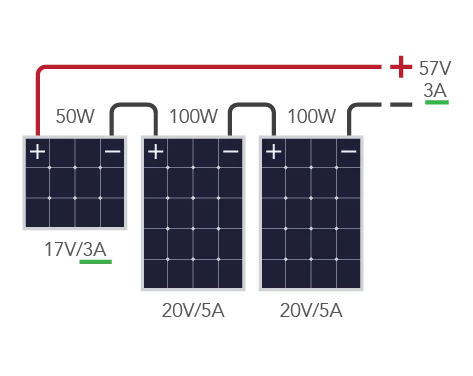
Can I use different sized solar panels together?
You shouldn’t link different size solar panels within the same array. When you connect different size solar panels, they’re only able to draw the current of the lowest panel in the series. This means that the power draw of the panels is severely limited and you will not be able to achieve the combined wattage of the panels.
The only way around this is to install an additional charge controller for each different solar panel array. If you have a very specific space available then this solution is sometimes the best option.
How many solar panels do I need?
Once you have decided if you are opting for the flexible or rigid panels, you need to work out how many camper van solar panels you need and what your combined wattage will be. The more solar panels you install, the more power you will be able to generate. However, taking the ‘bigger is better’ approach of filling your entire roof with solar panels can prove to be expensive and won’t be useful in bad weather!
The number of solar panels you need to install will depend on a number of factors, including:
- Total capacity of your leisure batteries
- How much time you plan on spending on grid vs off-grid
- Your other recharging methods
- What time of year you will use your campervan
- Where you will travel in your campervan
In our recent survey, we found that 82.5% of people failed to correctly size their solar array. When designing systems, we take into account over 200 parameters to accurately calculate the exact leisure battery bank, inverter size, solar array size and other components required for your campervan electrical system. If you would like some help, check out our free electrical design service.
Campervan electrics leaving you confused?


How long will my solar panels take to charge my batteries?
Once you know how many solar panels you need, you can calculate how long they will take to charge your campervan’s leisure batteries from 50% to 100% using the following formula:
Wh / W = h
Where Wh equals the watt hours of your batteries (half the total Ah of your batteries to get the Ah needed to recharge from 50% to 100%, and then multiply the Ah by 12 to get the total Wh), W equals the total wattage of your solar panels, and h equals the time it will take to recharge your batteries.
How much do solar panels cost?
The cost of a 100W camper van solar panel can vary from £120 to £250, depending on the type of solar panel and its specs. The cost of solar panels varies as to whether they are monocrystalline or polycrystalline, and if they are rigid, flexible or portable. Additionally, you should check the open circuit voltage and short circuit current of the solar panel.
Solar panel price comparison
Below we’ve compared the prices of 4 ~100W solar panels, to illustrate the variation in price. While rigid panels are the most cost effective option, flexible solar panels are more suitable for some applications. Additionally, portable solar panels are the most expensive option but provide ultimate flexibility, with no roof space required.
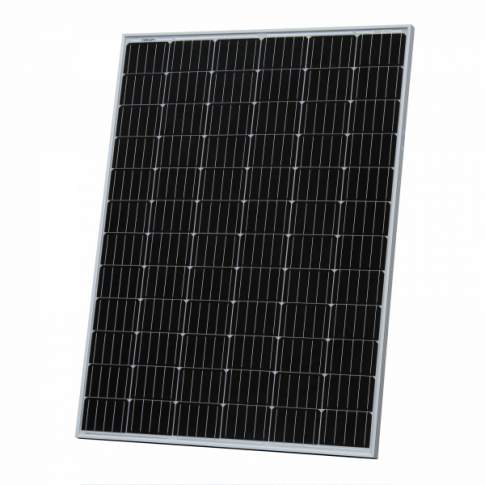
Victron rigid solar panel
- £0.93 per watt
- 23.3V Voc
- 6.6A Isc
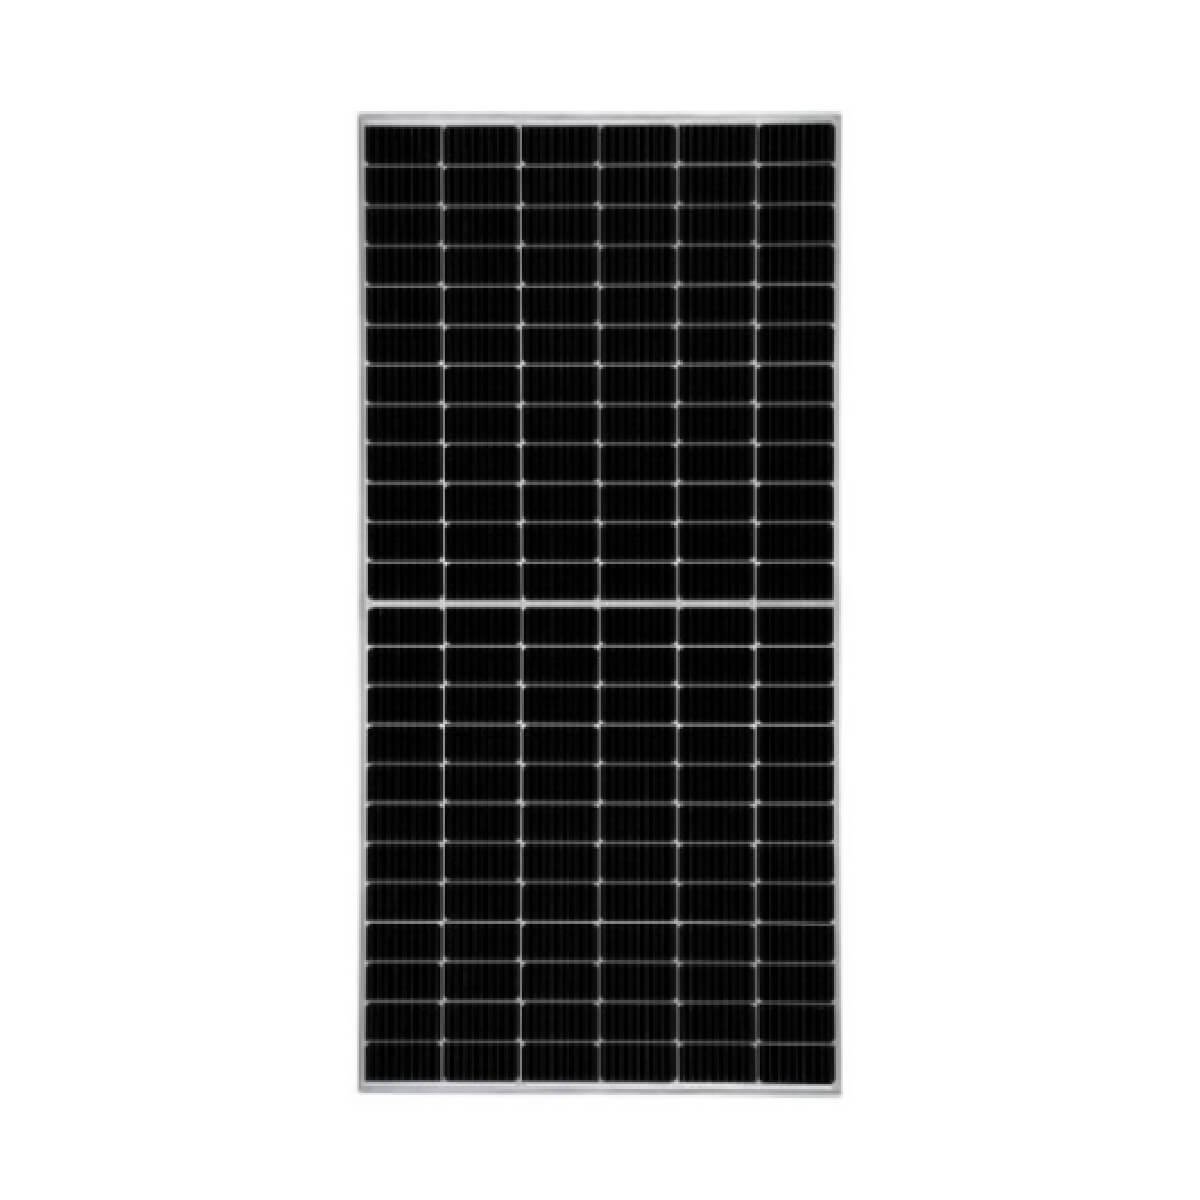
Unbranded rigid solar panel
- £1.40 per watt
- 23.9V Voc
- 5.3A Isc
Unbranded flexible solar panel
- £1.20 per watt
- 21.4V Voc
- 5.8A Isc
EcoFlow portable solar panel
- £2.90 per watt
- 21.7V Voc
- 6.3A Isc
Solar panel brackets
When installing rigid camper van solar panels, you have a number of mounting options:
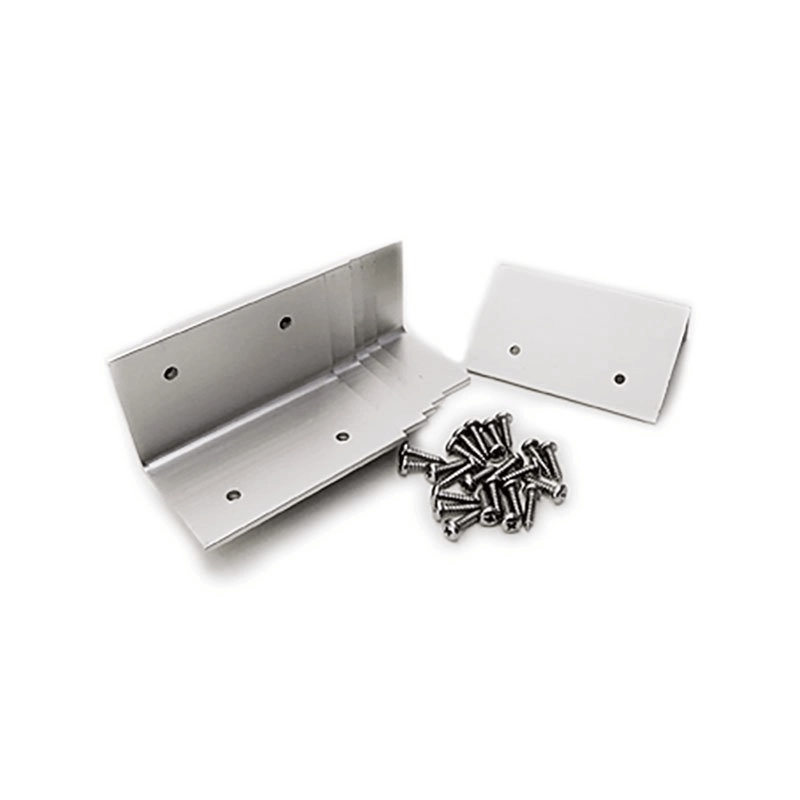
- Screwed L brackets
- Drill-free corner brackets
- No brackets (e.g. mounting directly to a roof rack or building your own system)


Screwed solar panel brackets
Solar panel L brackets provide a mechanical, screwed fixing to the vehicle’s roof, ensuring your panels are securely attached. We would recommend using rubber wells nuts to attach the brackets to your roof, as this helps to prevent water ingress and leaks.
The big advantage of screwed L brackets over the drill-free corner brackets is that you can position them anywhere. So, you can stagger multiple panels to space them more efficiently. They’re also more suitable for curved roofs, where it’s tricky to glue down large corner brackets.
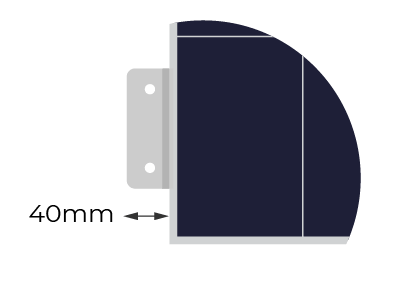
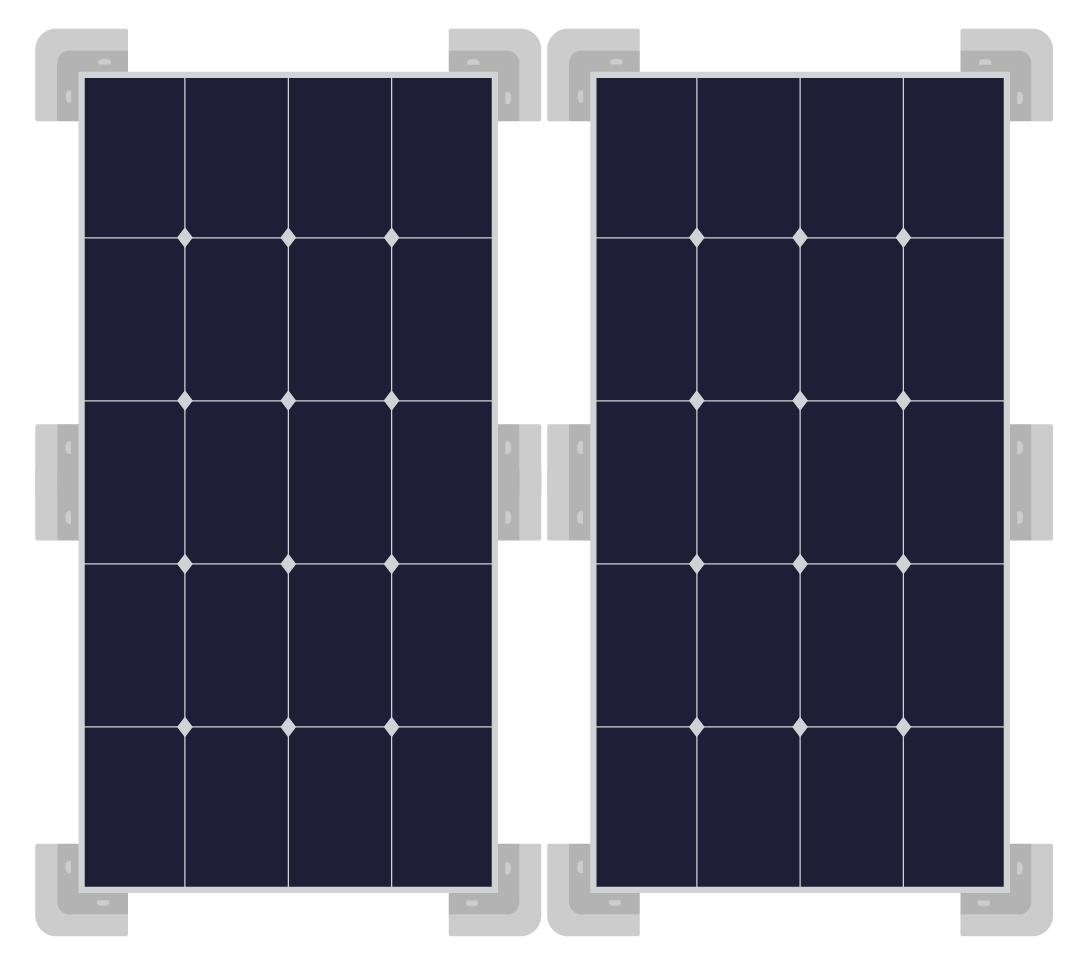
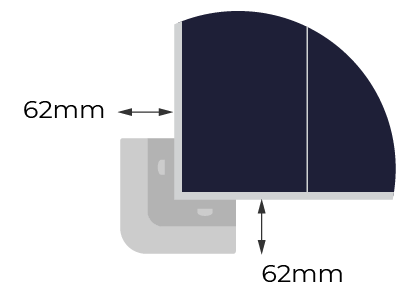
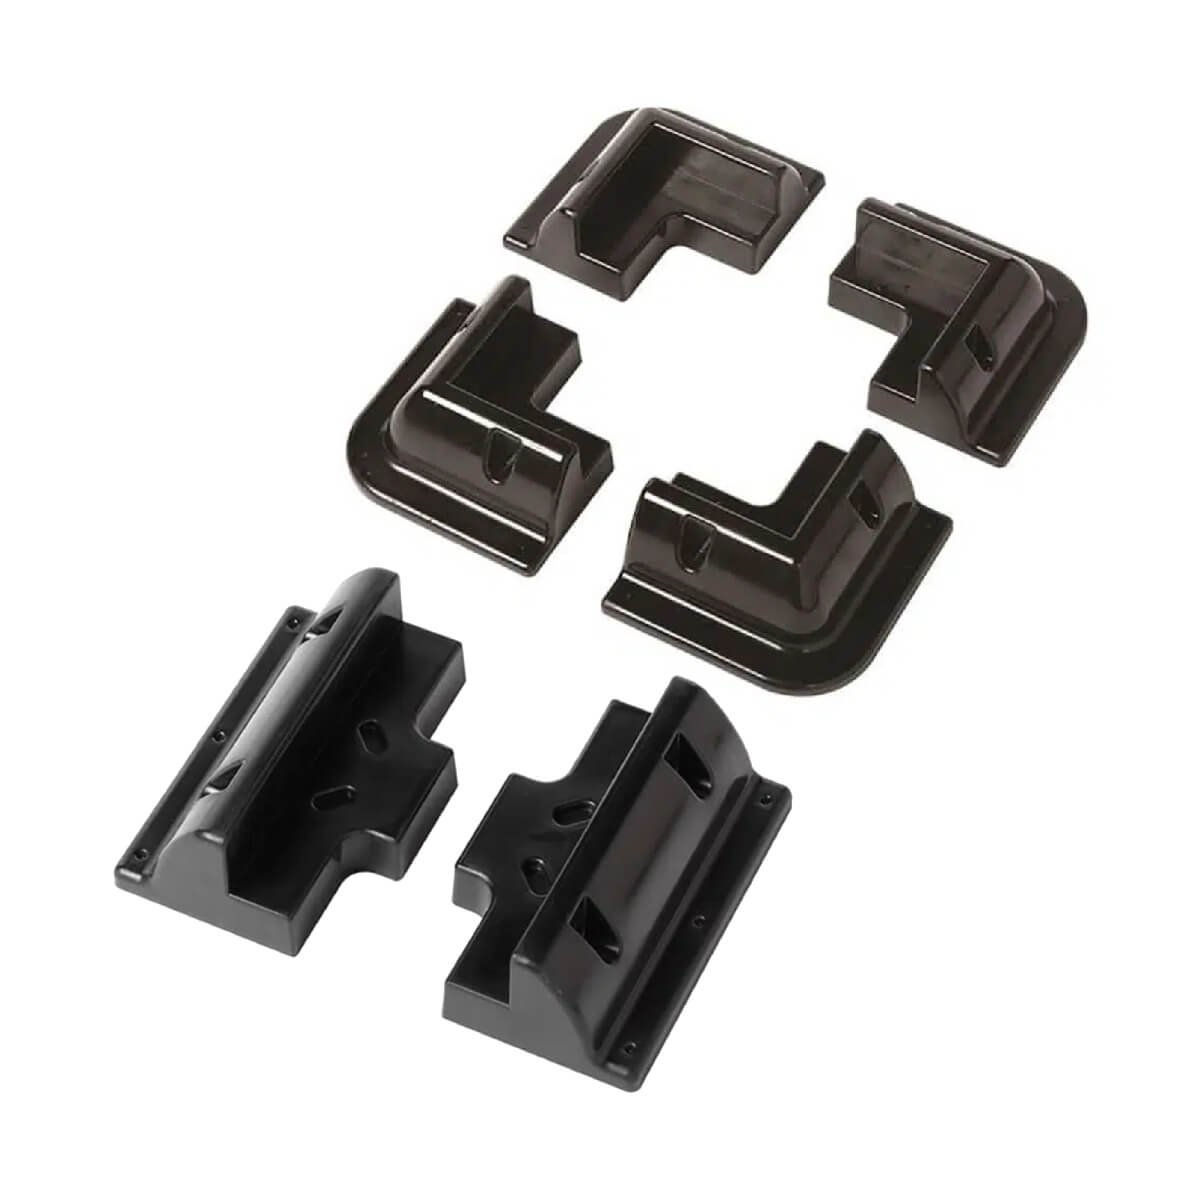
Drill-free corner solar panel brackets
The drill-free corner brackets work really well on predominantly flat roofs. Rather than drilling holes in your roof, they rely on an adhesive such as Sikaflex to hold them in place. Providing the area you are bonding to is clean and solid, the adhesive will be very effective.
Remember, corner brackets can’t be staggered unless you stagger the panels themselves. So, when two panels sit side by side they leave a gap of ~124mm between the panels. Therefore, we’d recommended you use L brackets if you’re working in a tight space.
Read our solar panel articles ☀️
Need help with the rest of your electrical system?
Our electrical system guidebook pages cover everything you need to know about your campervan electrical system ⚡