
How to install campervan windows
If you’re wondering how to convert a campervan, installing campervan windows is one of the first jobs to tackle. You can either pay a professional, or you can give it a go yourself. We decided to take the plunge and cut a massive hole in the side of our van as the first ever job of our conversion!
Of all the jobs we had to do to the van, the first one happened to be one of the most daunting. Most professional van builders will use a nibbler or electric shears to cut sheet metal. However, we were keen to use the tools we already had to save money, so before we took the plunge, we watched a few YouTube videos to get a good idea of how to approach the install campervan windows without having quite the right tools.
Once we were confident we’d be able to do it ourselves, we ordered our windows from Van Demon. On their website you can buy a window that comes with a fixing kit, meaning you’ll receive all of the correct glue, trim, etc. to do the job yourself.
Products & tools needed
- Drill
- Jigsaw
- Van conversion window kit (inc. fixing kit)
- Hammerite anti-rust paint
Drilling and cutting holes for your campervan windows
First, create a guide for the Jigsaw to follow by drilling holes from the inside of the van, using the seam as a guide. This allows you to Jigsaw from the outside, almost doing a ‘dot to dot’ with the drill holes. It’s easier to cut from the outside due to the exterior panel being flatter, meaning the foot of the Jigsaw has a smooth surface to run along.
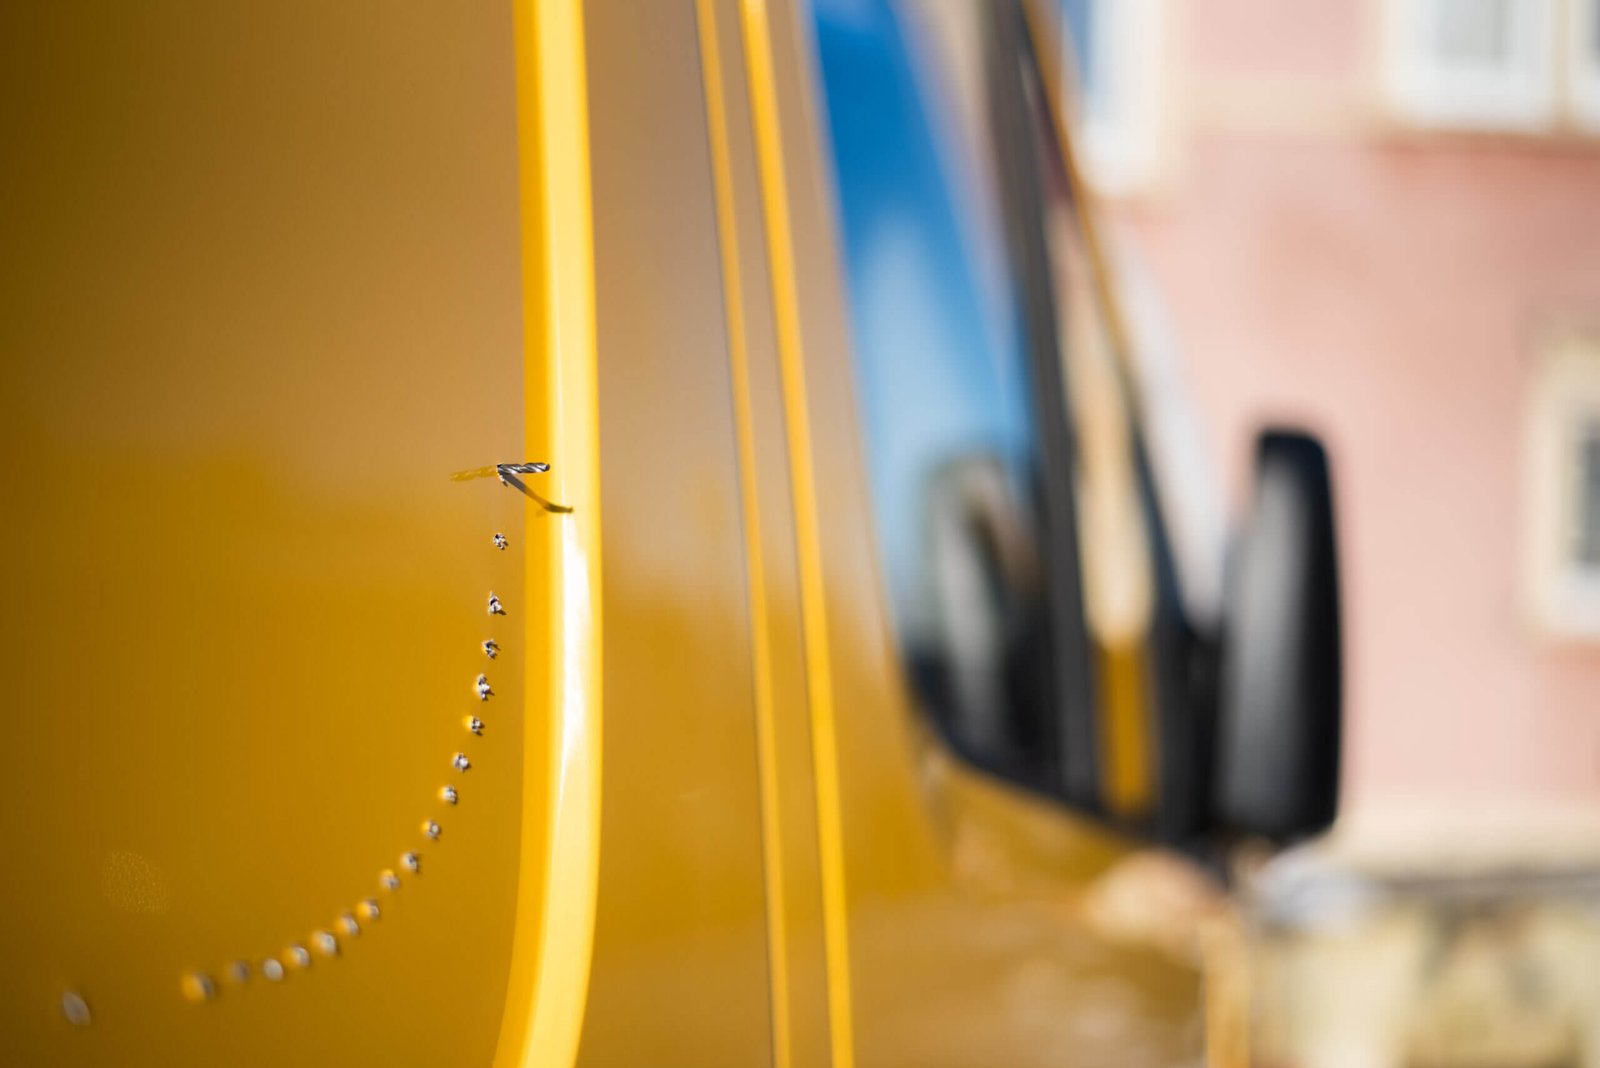
Once you’ve finished drilling, create a hole large enough to fit the blade of the Jigsaw through. Next, tape around the area so you won’t scratch the paint which won’t be covered by the window. It quickly became obvious that masking tape was a terrible idea when we had to spend around two hours (!!) slowly peeling tiny pieces off the van. So, for the other three windows we used gaffer tape, which was fine.
We stuck a cardboard box below the area for the first window to avoid any sparks leaving a mark on the paint. However, we decided it wasn’t worth it for the other three windows as we just washed the van after fitting the windows to avoid the flecks of metal marking the paintwork.
Once you have taped, it’s time to start cutting the hole for your campervan window. This was slightly nerve wrecking (and very loud!), but once you commit it’s fine. It’s definitely worth wearing a pair of goggles and some gloves, as lots of very hot flecks of metal were flying about – Dale currently has a cut on his nose from one! It probably took around 20 minutes to totally cut out the first hole.
To make it easier, once a large section had been cut and it started to get a bit wobbly, we used the blue inserts that came with the window kit (used to protect the window) to pad between the van and the cut part of the metal. This made it much easier to keep cutting. Once the cut part had almost been removed, Charlie went inside the van and attached two quick grips to the sheet of metal. As the last cut was made and the sheet fell, she was able to hold it with the quick grips.


Filing and painting the edges
Once the hole had been cut, as we had used a Jigsaw which left quite rough edges, we had to file these down to remove any high points. We also applied some Hammerite to the edges. Our van is galvanised so it may not have been necessary to do this, but we thought it was better to play it safe and reduce any risk of rusting.


Applying primer and glue to the van and windows
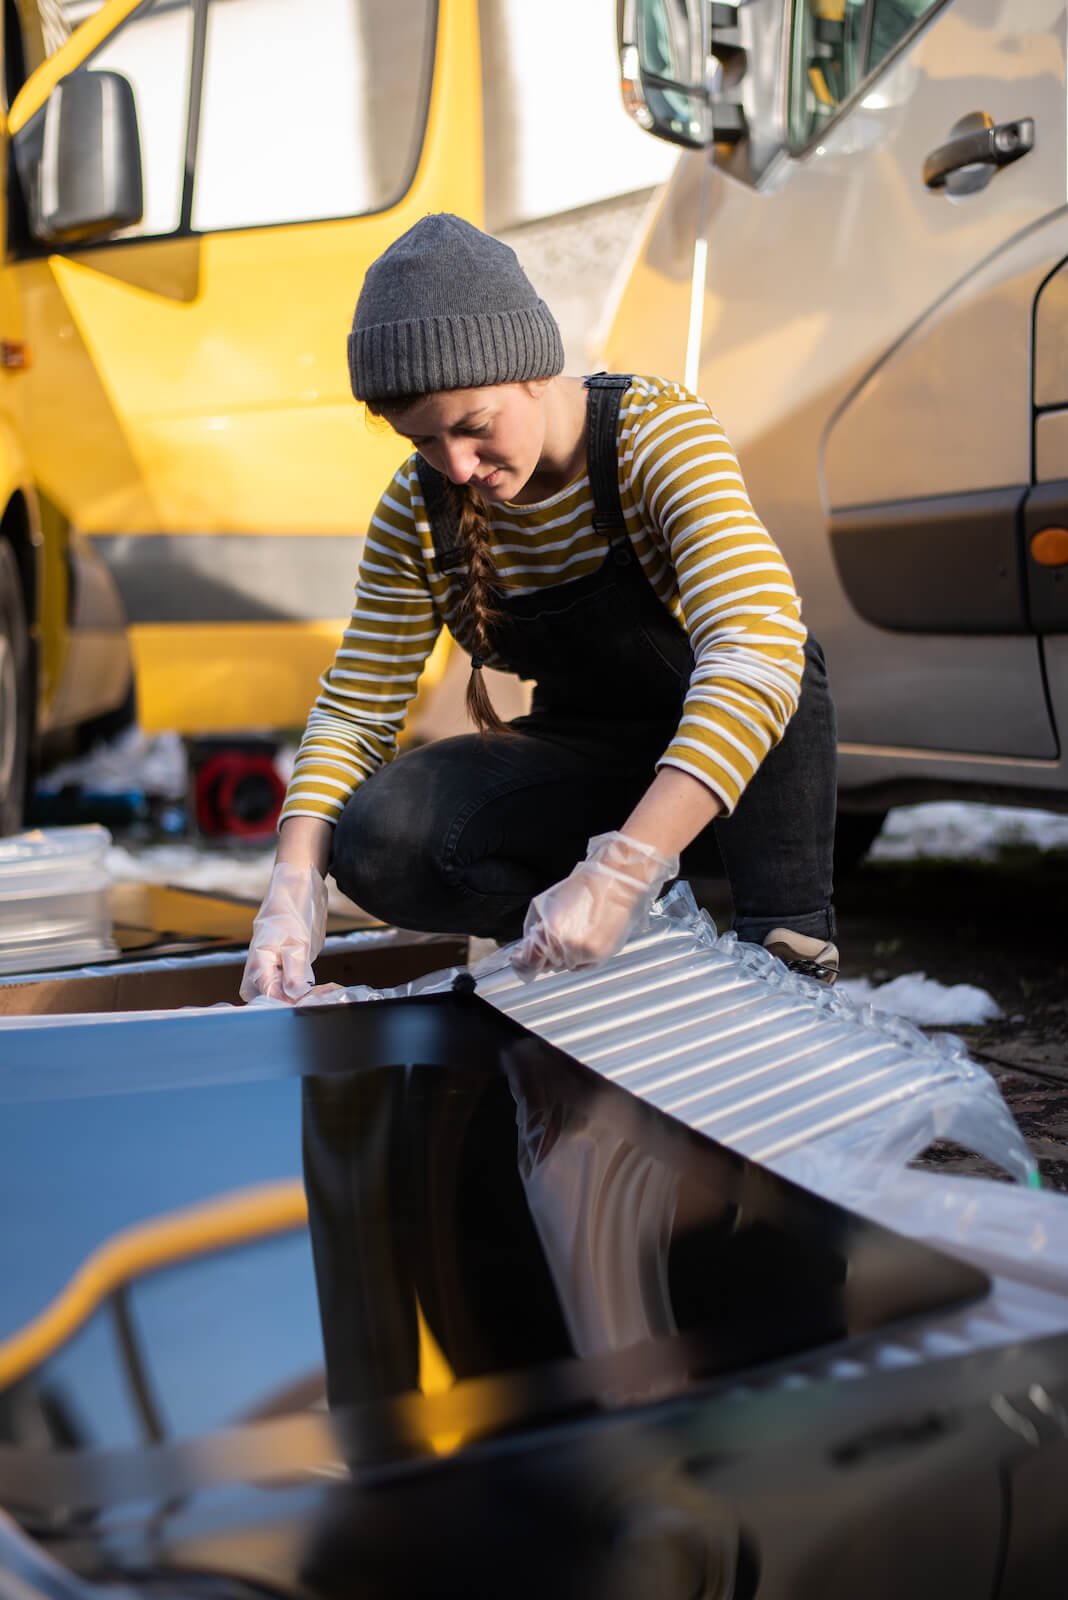
In the window kit from Van Demon, you receive a little pot of primer for the windows, and a tube of glue. You need to make sure to apply the primer to the window early on, so it has enough time to completely set before you push the window onto the van.
The first time we used the primer, we applied it all around the window on the black ceramic edge, as the instructions tell you to. However, once the window was pushed into place, all of the set black primer was visible on the window inside the van. For the next windows, we made sure to apply the primer only to the outside edge of the windows, so that it would not be visible from inside the van.
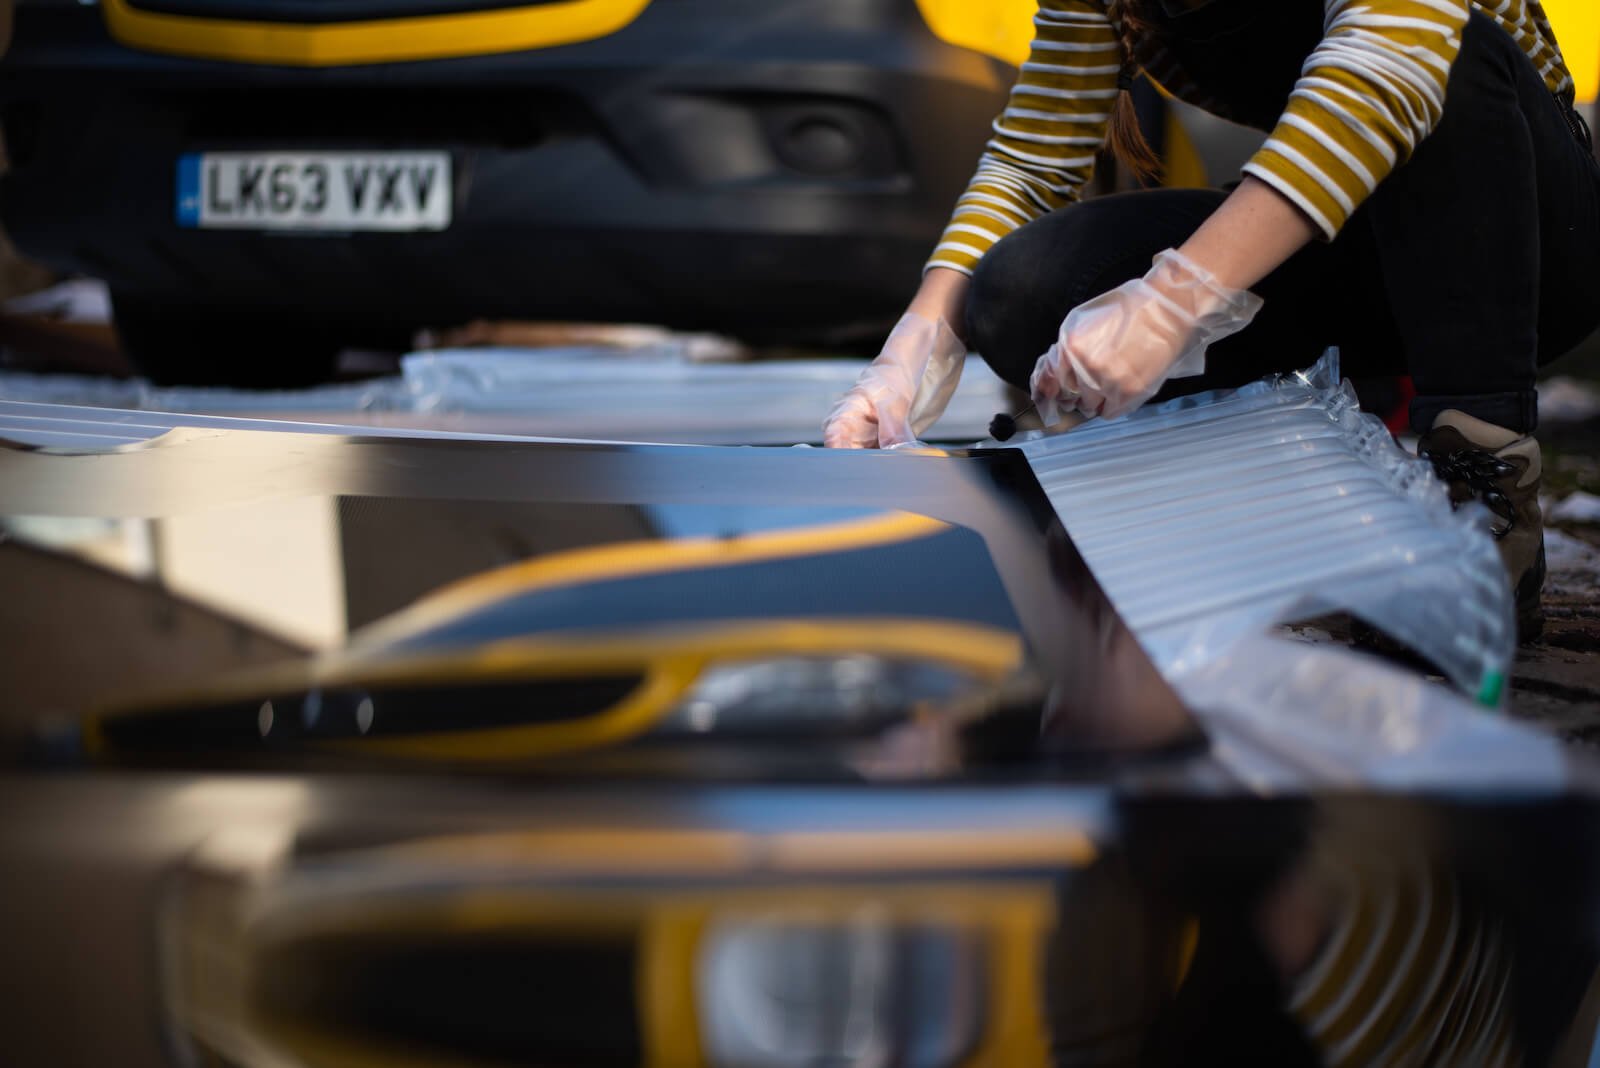
As we were working on probably one of the coldest days of the year, surrounded by snow, it was pretty hard to get the glue warm enough to squeeze out of the tube. We ended up keeping it in our jackets to try and warm it up, but in the end we found leaving it in the windscreen of the van in the sun got it warmest.
Even so, it was extremely hard to squeeze out of the tube – a definite forearm workout! Dale ended up using a quick grip to squeeze the handle of the glue gun together, as this gave him more leverage and made it a bit easier to get the glue out. As there was quite a lot of glue in the tube, we ended up doing two thick beads around the hole, making sure it would line up with the primer on the windows when they were pressed on.


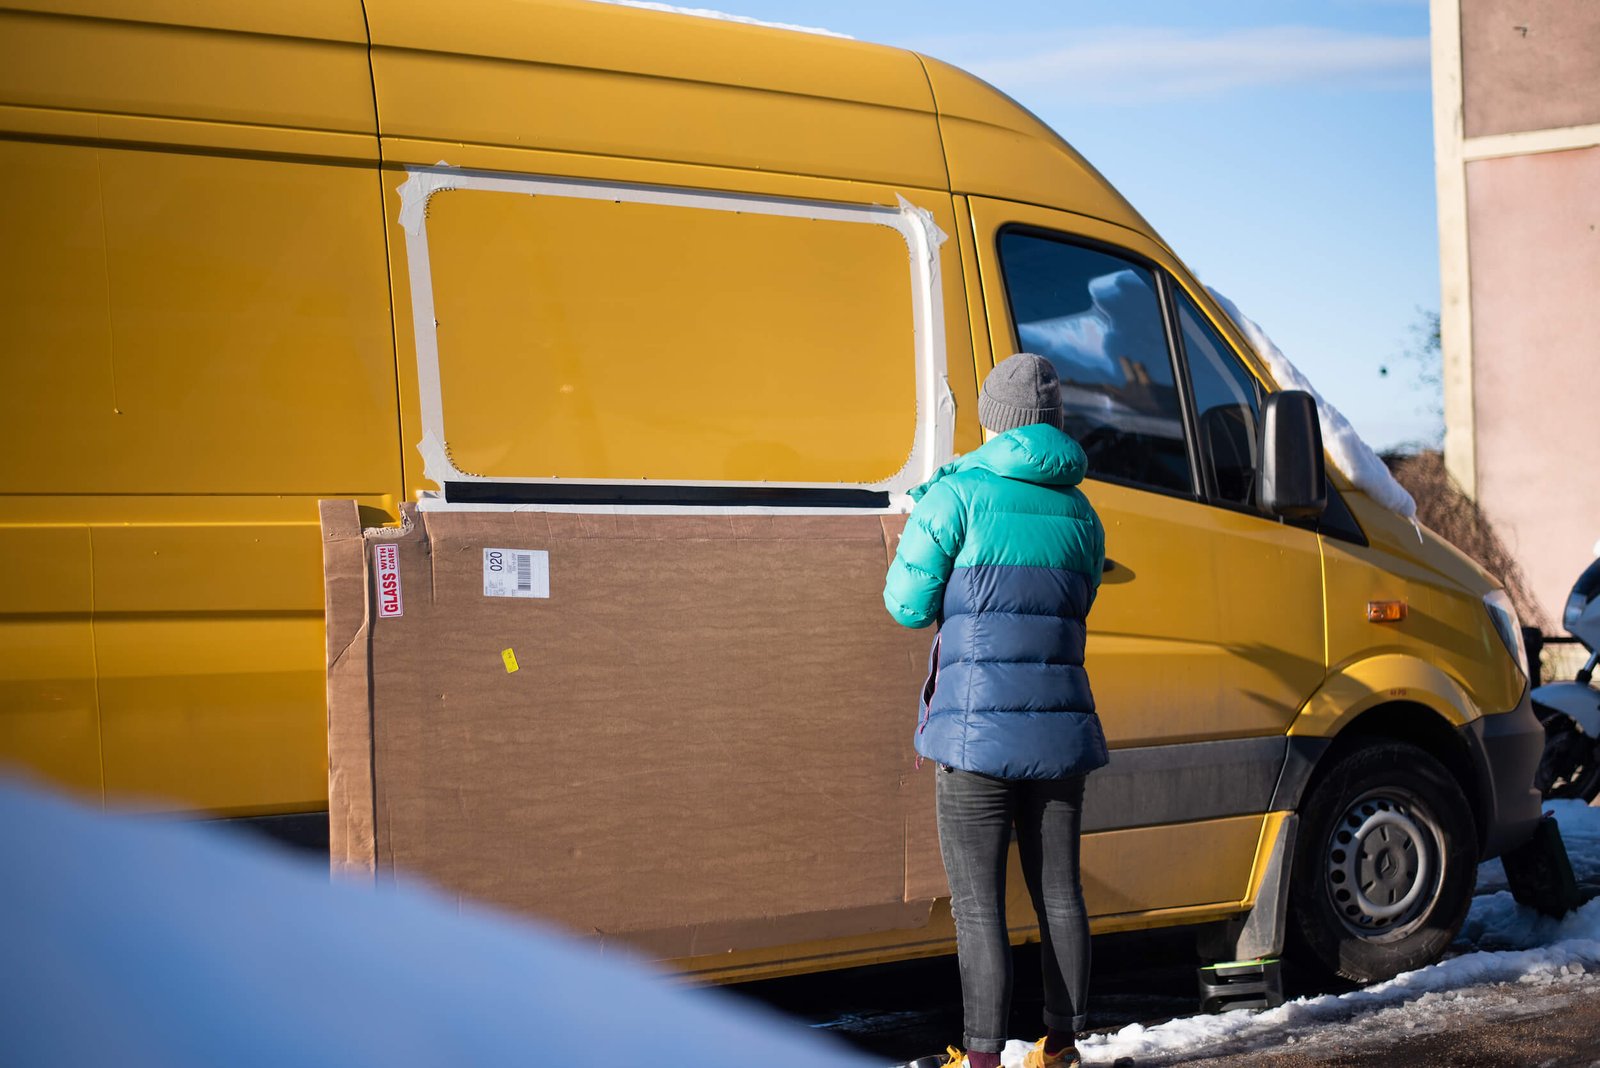
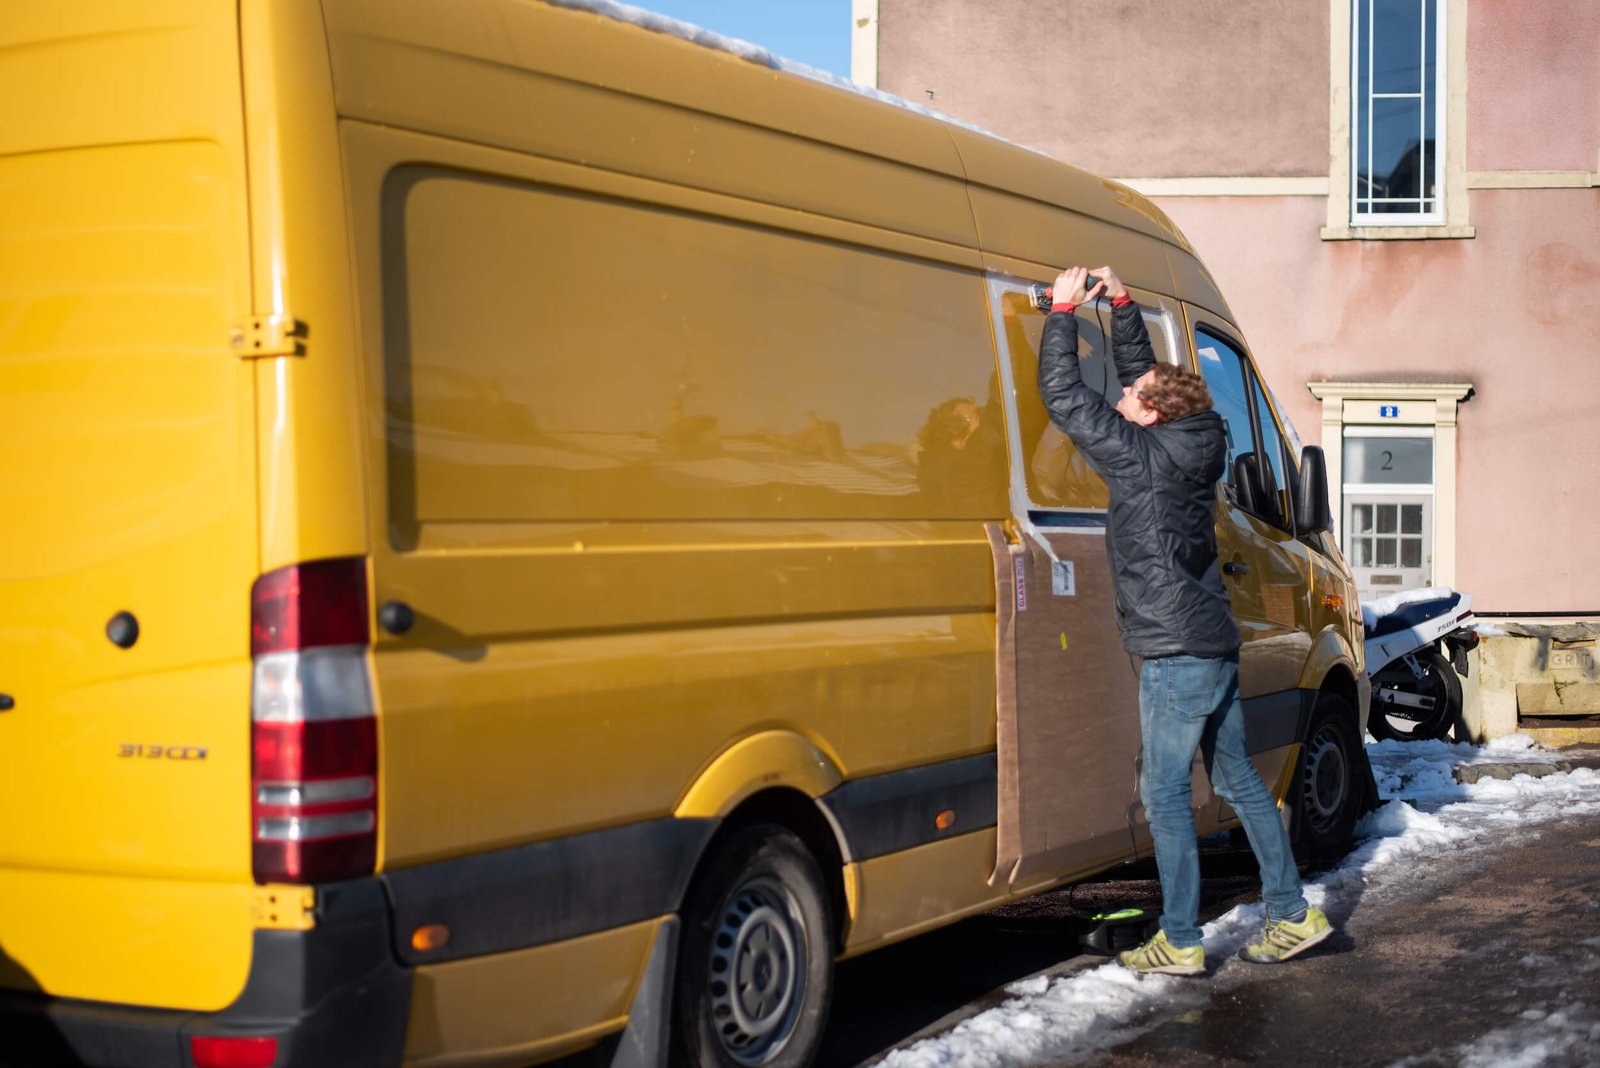
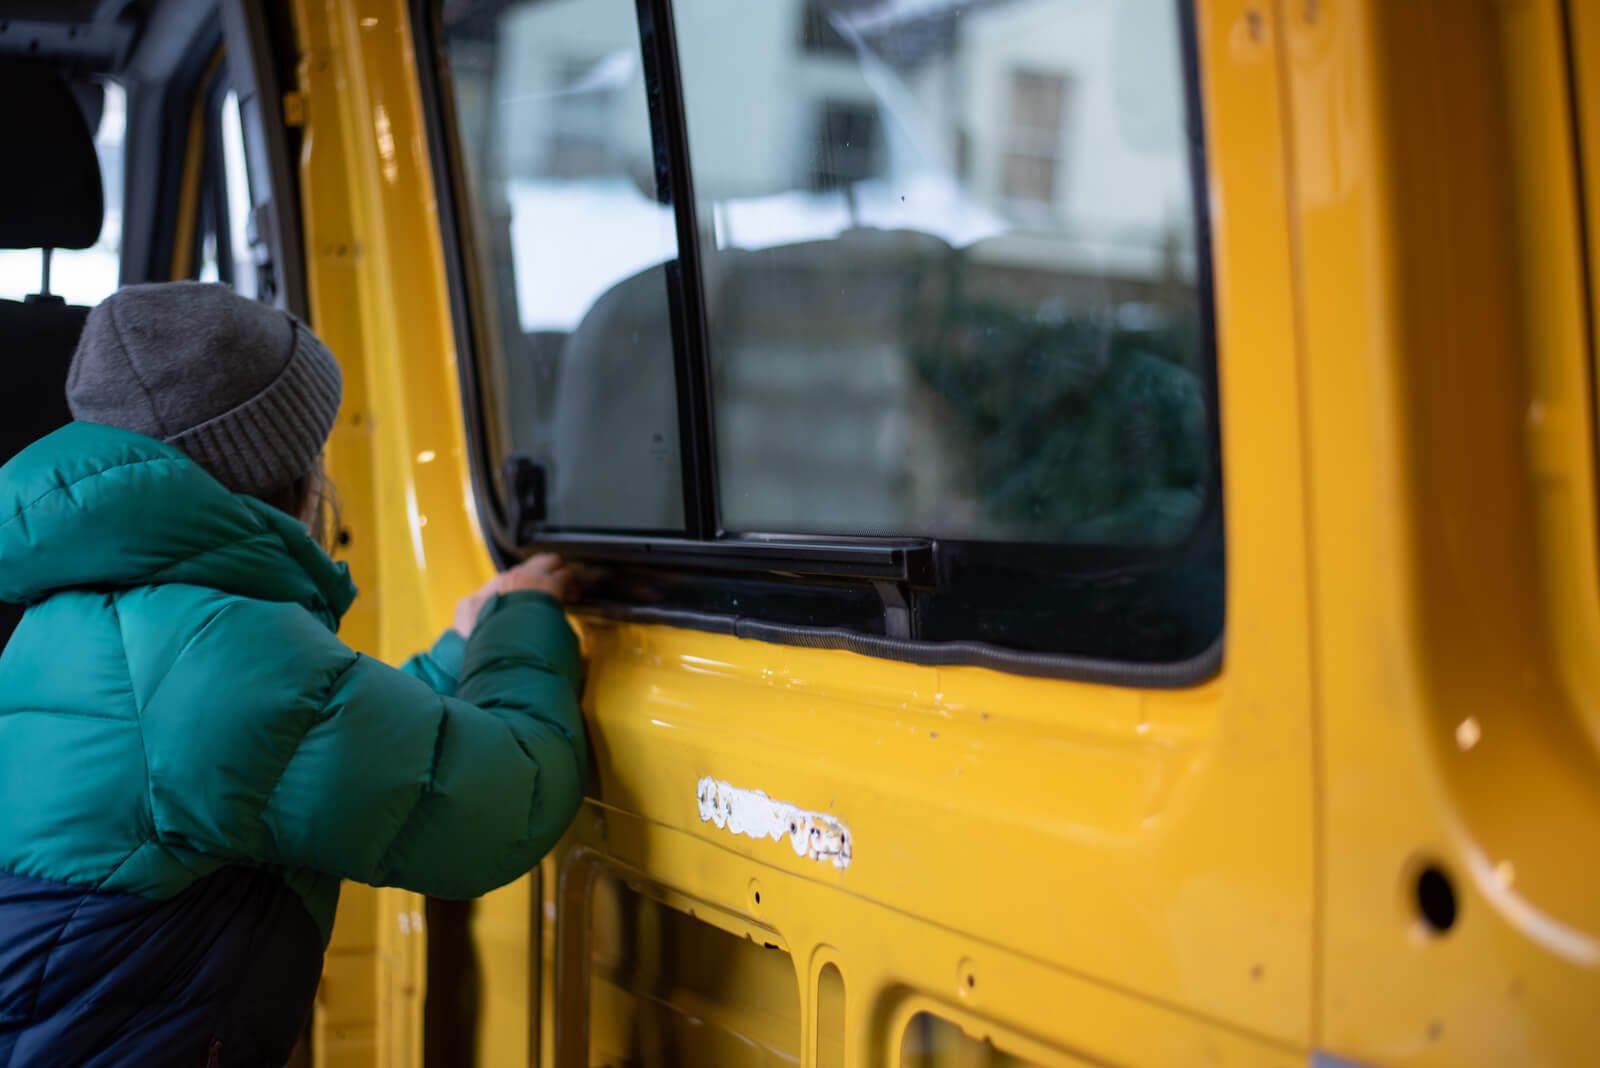
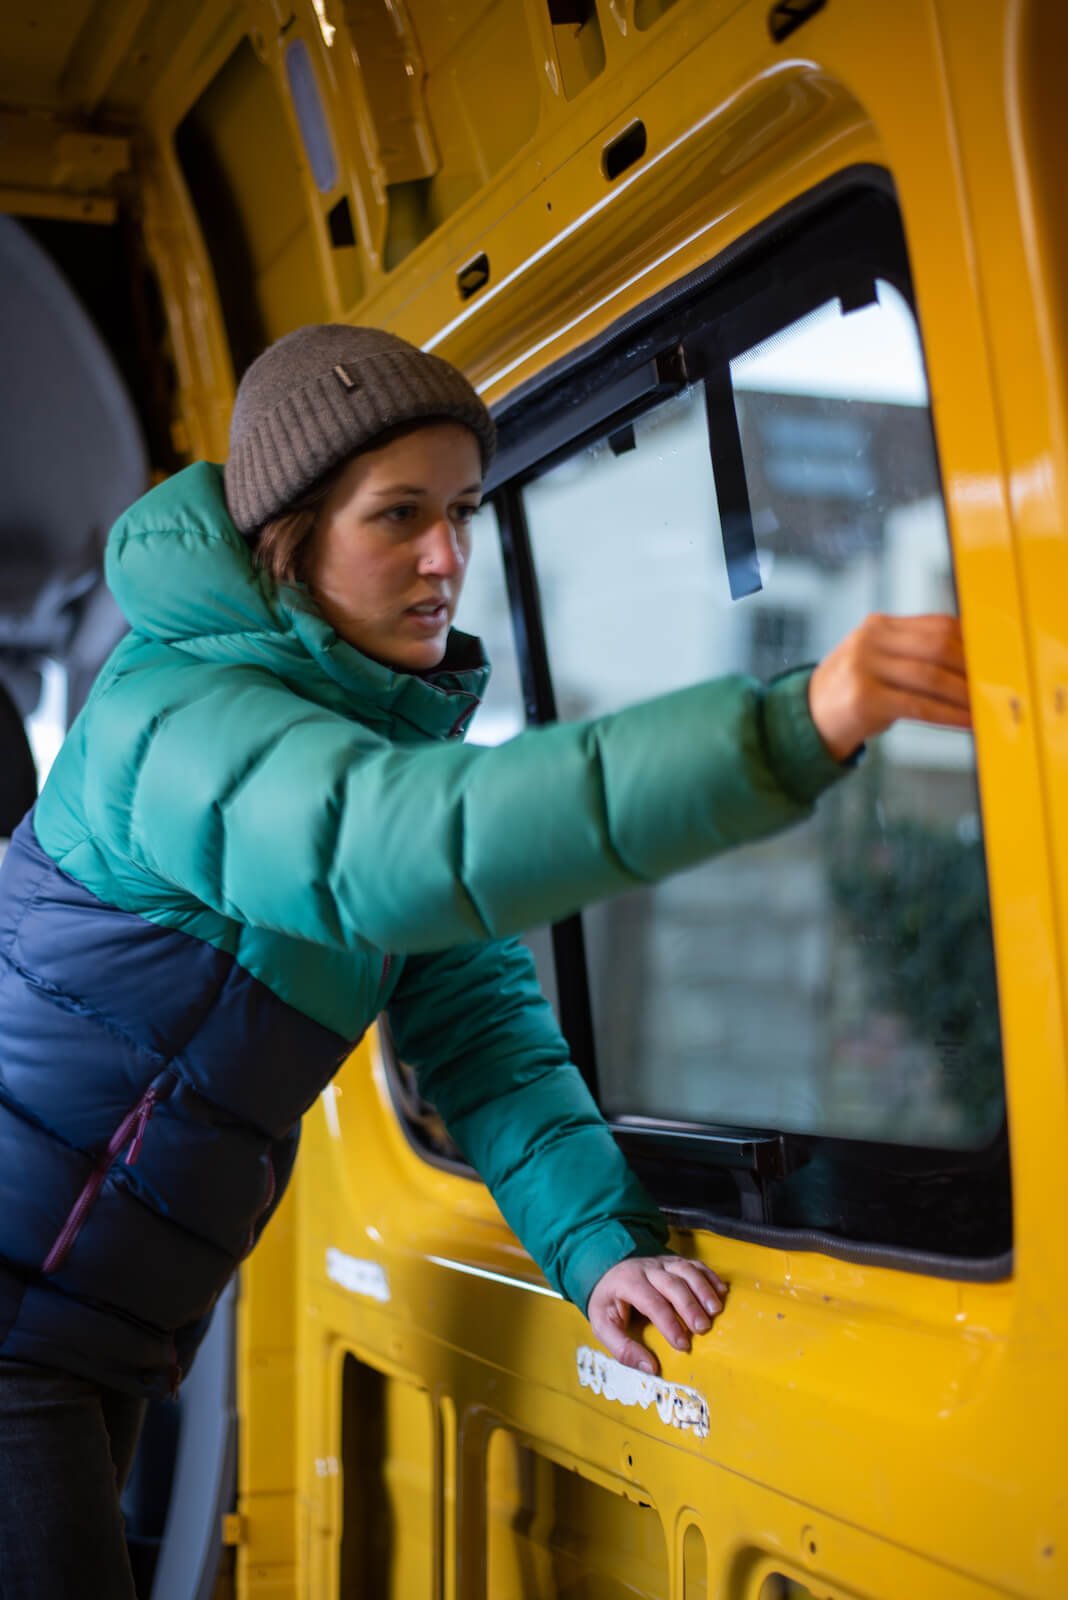
Installing the campervan windows
Once the glue was on the van and the primer had fully dried on the window, we slowly lifted up the window and pressed it into place on the van. Once it’s on, you have about a minute to get it fully into the position you want before the glue starts to set. We pushed it into position and then put some gaffer tape on to hold it in place (we didn’t get any photos of us pressing the window into place, but there’s a timelapse on our Instagram story highlight if you’re interested). You will need to wait 3 hours for the glue to fully set.
Attaching the window trim
The only job left once you have the window in place is to put the trim along the inside of the window, covering up the sharp edge on the inside of the van. We had some glue sticking our panels together that we had to dig out before we could put the trim on, but this was pretty easy to do.
How to convert a campervan
Want to know exactly how to convert a campervan? Our 331 page bestselling book, The Van Conversion Bible, covers all aspect of a van conversion, from planning your layout to a step-by-step build guide.

Shouldn’t the trim be added before the window?
Thanks for the guide, must have taken a lot of time. Love the colour!
Yes that’s right, even their supplier van demon, their guide has the correct order. Otherwise a comprehensive guide, the force needed for the sealant definitely is the key part! I’ve ordered a heavy duty gun for the job
Heyy – This is such a FAB guide!
I’m going to be installing a large sliding window in the door, a small sliding window on the offside, then a MaxxAir fan and a Mini Heki Skylight, I’m trying to work out how much window glue/sealant I need, and if it’s the same stuff used for the 2 side windows and the two roof ones? Should I go for a kit with a single tube and 2x pots of primer, or one with 2x tubes and one pot of primer? Thanks!
Hi Rhi,
Thanks for getting in touch! I’m afraid it’s been a while since we installed our own skylights so I can’t remember how much adhesive we used. Generally speaking, however, you don’t tend to use much primer compared to adhesive so perhaps just one pot of primer will be sufficient.