
We explain how to install campervan solar panels
Campervan solar panel installation: a guide to fitting rigid or flexible solar panels to your campervan
In this article, we’ll explain exactly how to install your campervan solar panels. We’ll cover the solar panel fitting process for both rigid solar panels and flexible solar panels. There are a couple of different installation methods you can use for fitting different types of solar panel, so we’ll explain all of these below.
If you don’t know how much solar you need for your system, check out our article on how to wire a campervan electrical system or browse our solar panel guidebook page. Alternatively, if you’d like help speccing your entire electrical system, check out our electrical design service.


Products and tools needed
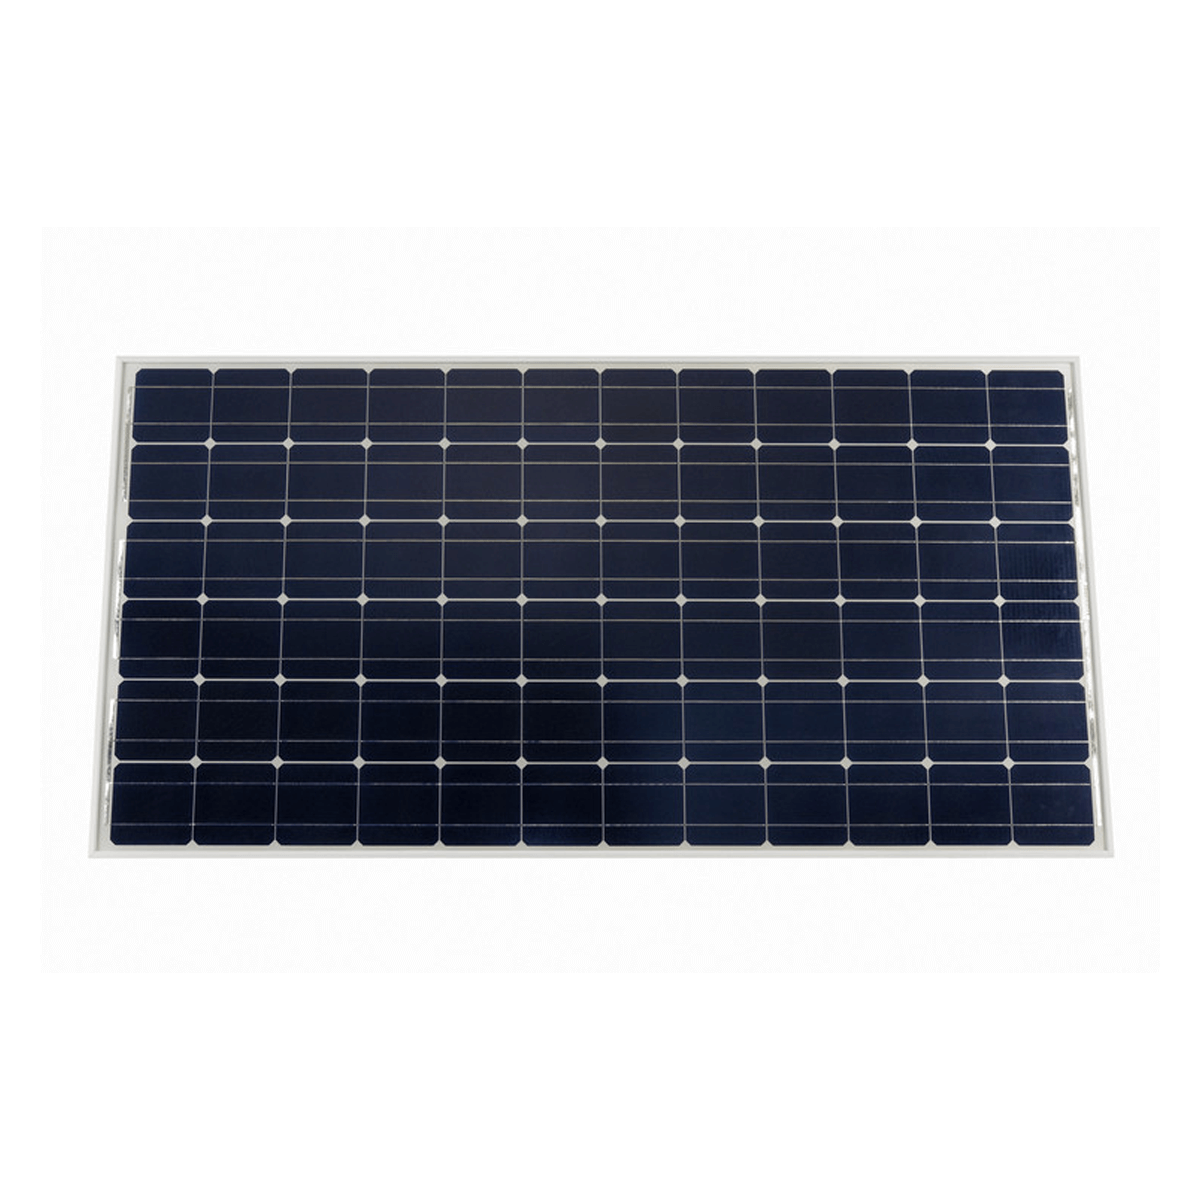
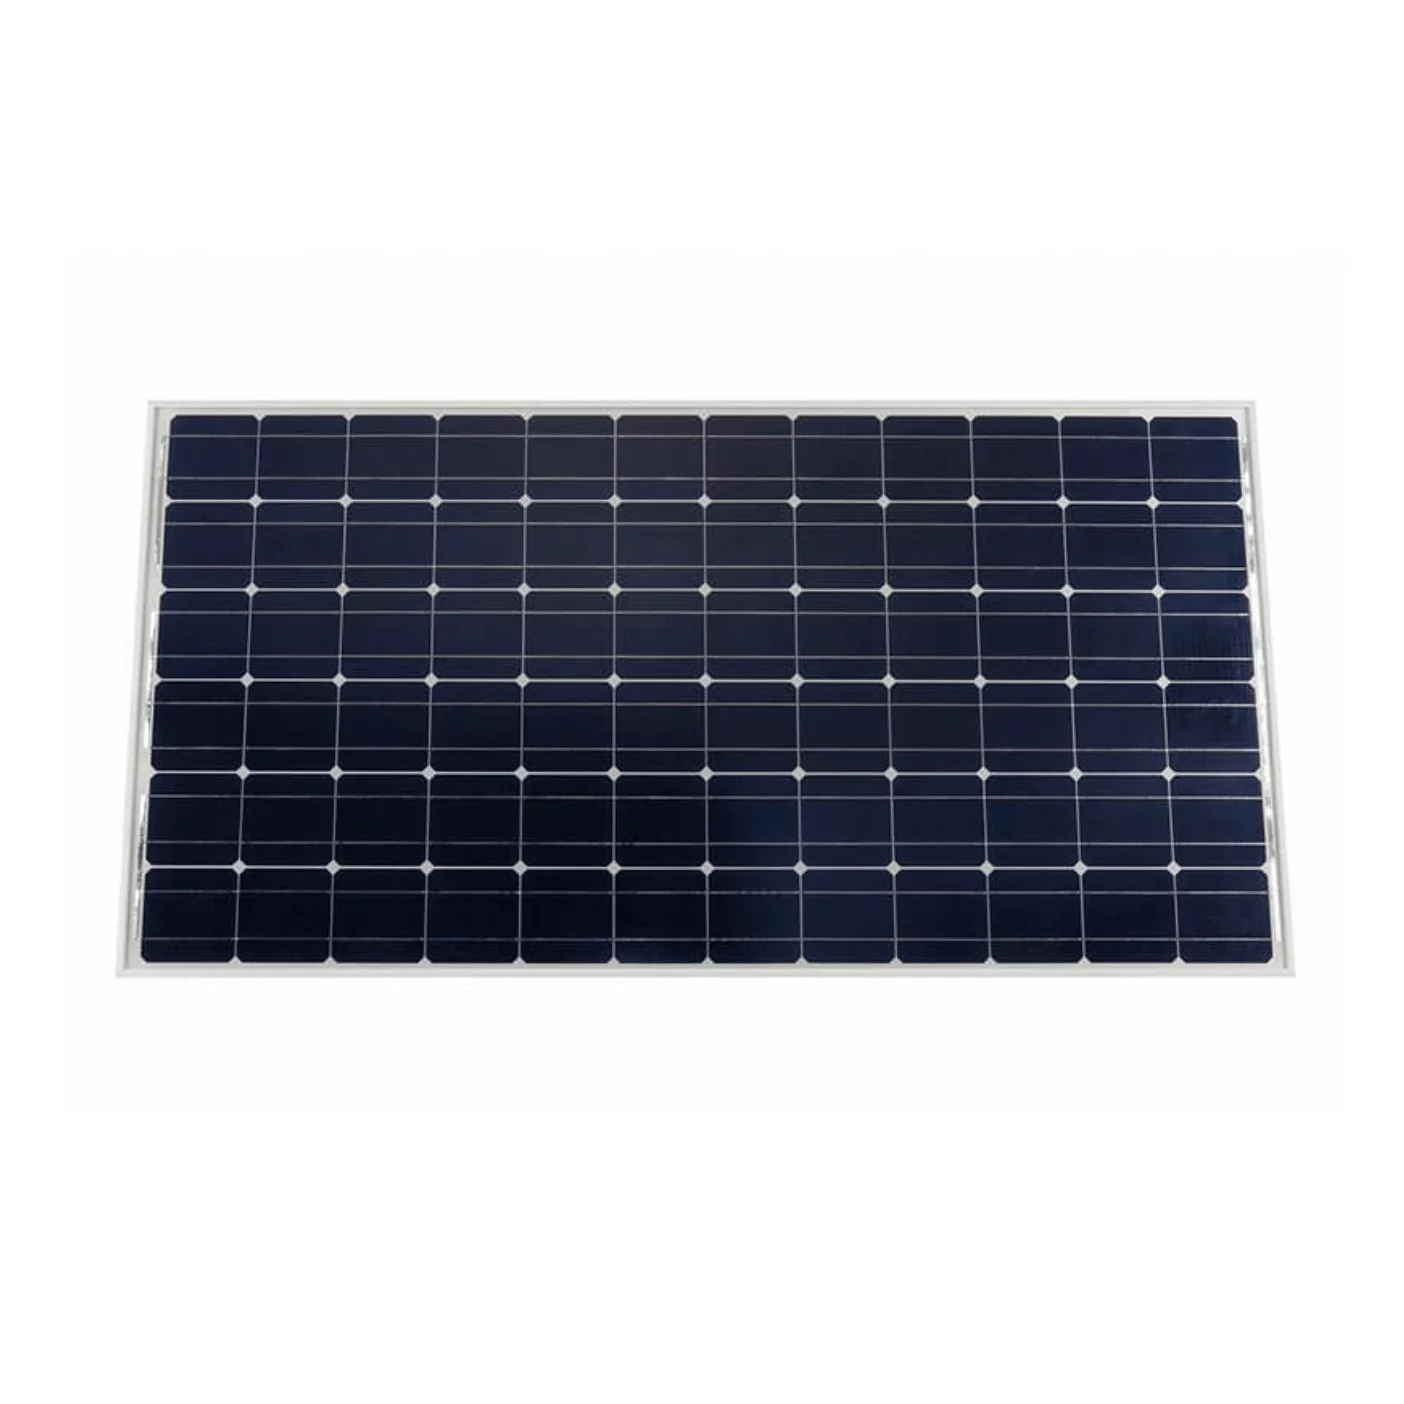
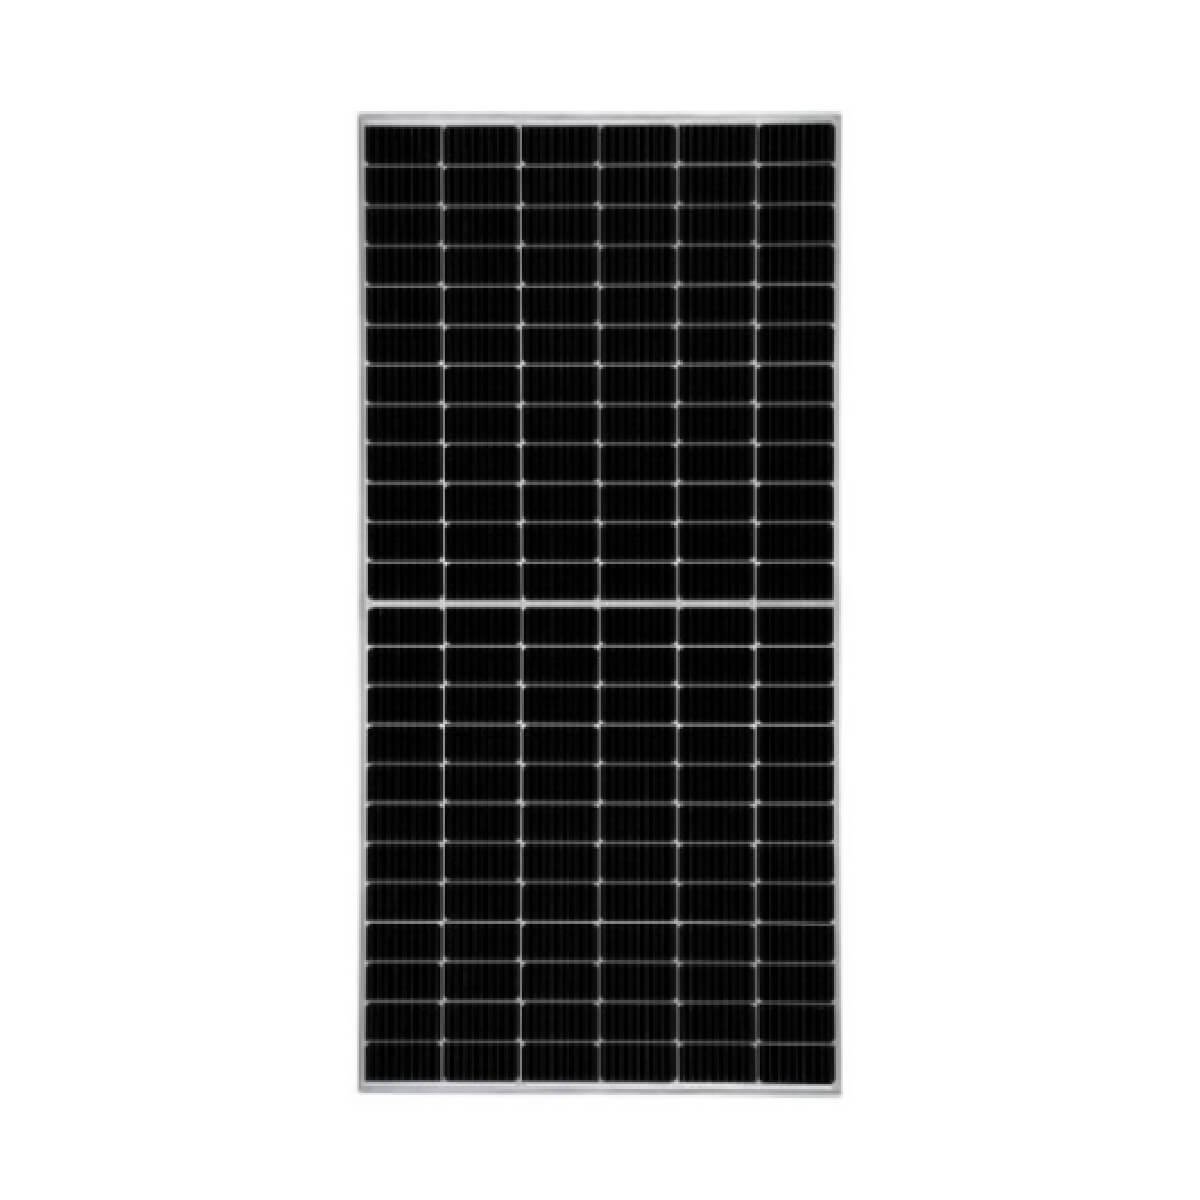
Rigid solar panels
We would recommend using Victron solar panels or JA Solar solar panels in your campervan electrical system, as they are good value, high quality and have a high open circuit voltage rating relative to their wattage rating. For more information about open circuit voltage and how many solar panels to install, check out our useful article: How many solar panels do I need?
We sell lots of solar panels in our webshop – some of the most common sizes can be found below, or you can browse all of our rigid solar panels.
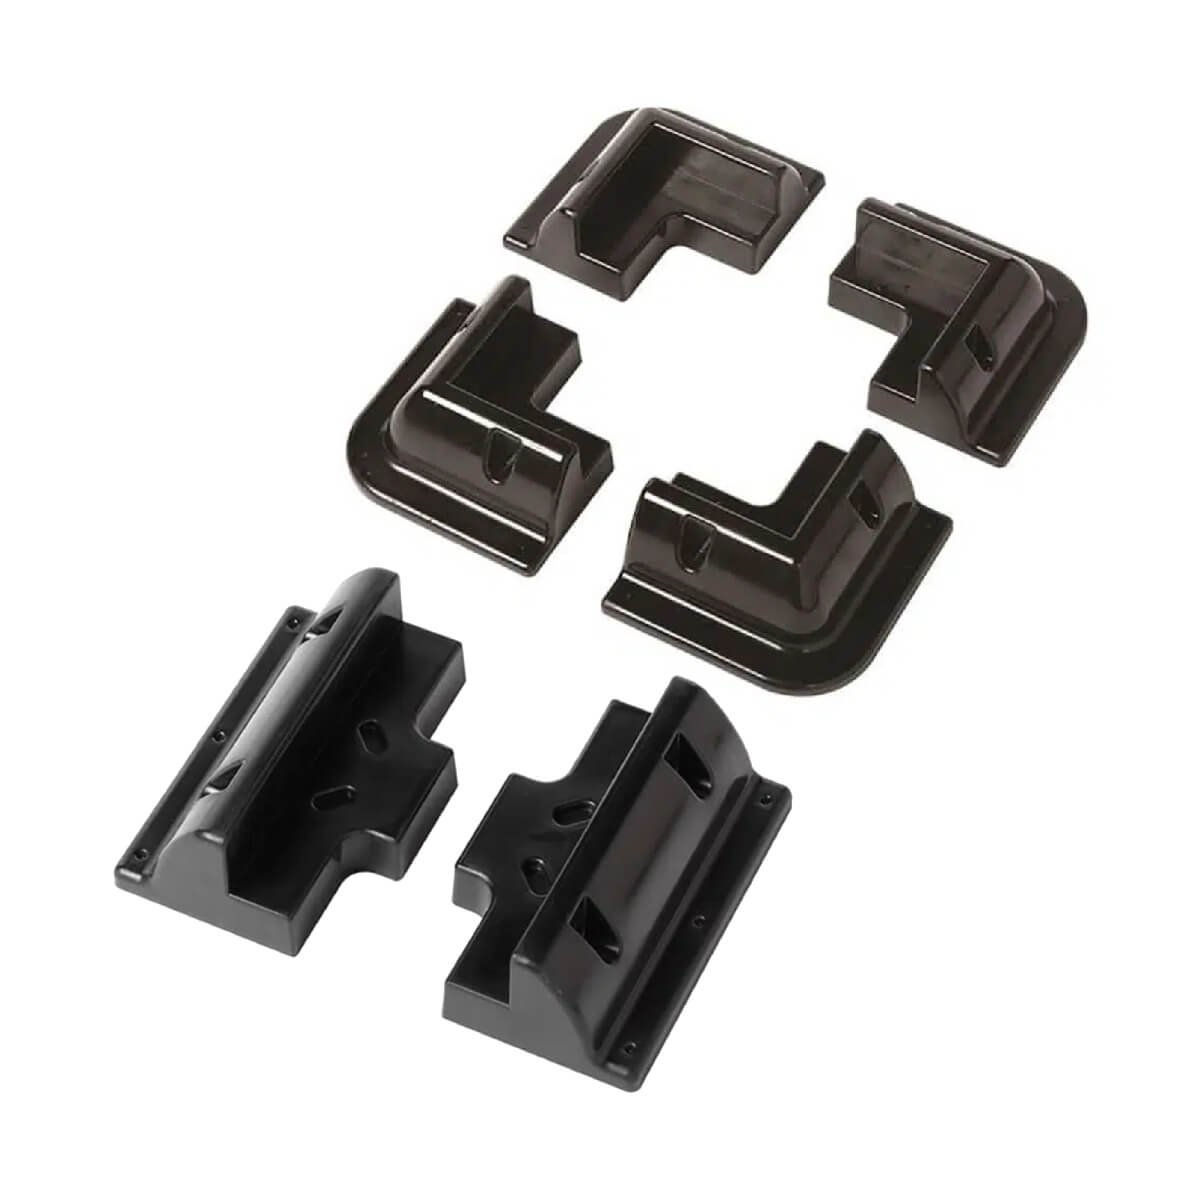
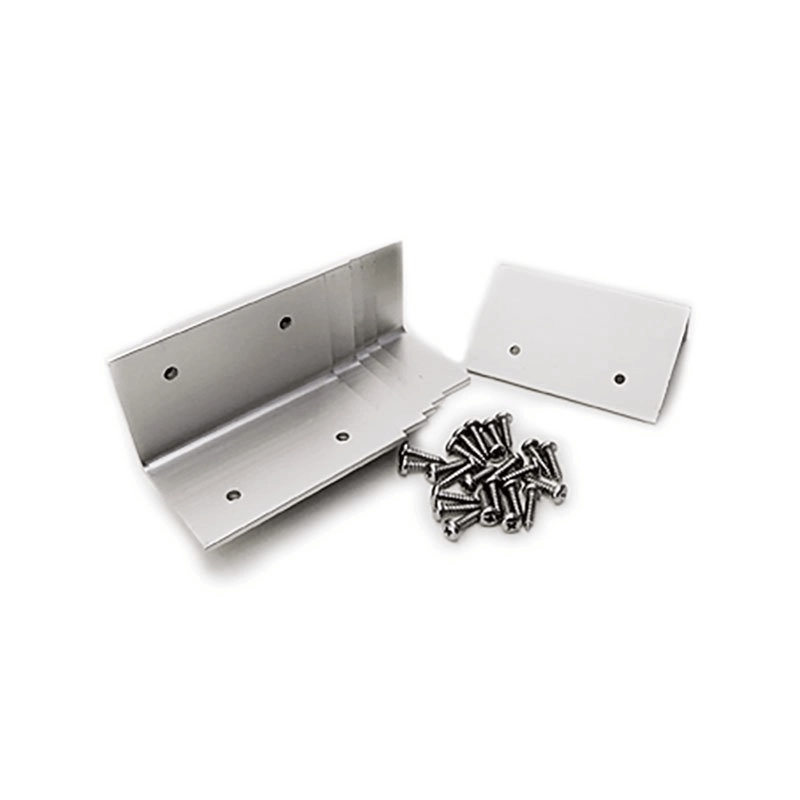
We would recommend using L brackets for your campervan solar panel installation, as these provide a secure, mechanical fixing to the roof of your campervan. Alternatively, you can use corner brackets to attach your rigid solar panels using adhesive, avoiding the need to drill as many holes in the roof of your van. However, you will still need to drill at least one hole to allow your solar cables to enter your van.
These solar panel brackets are compatible with all types of rigid solar panels.
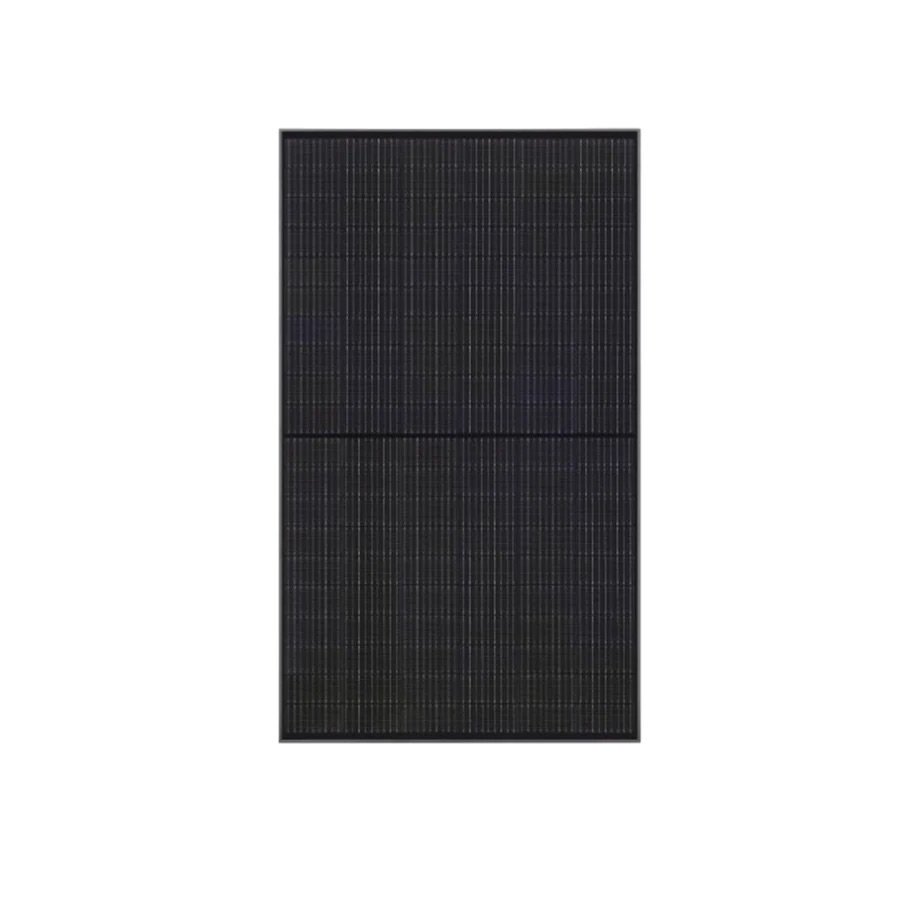
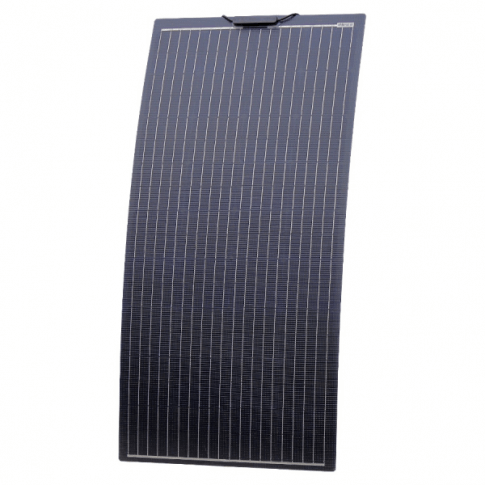
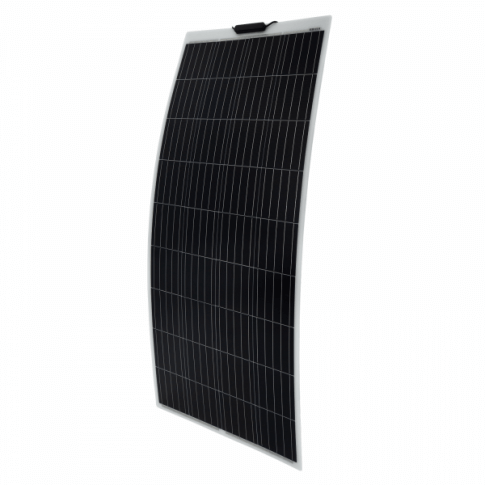
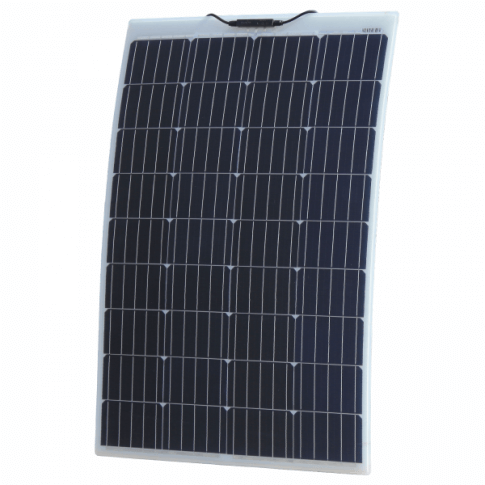
Flexible solar panels
We sell a range of flexible solar panels in a variety of sizes. As mentioned above, we wouldn’t recommend the Renogy panels due to quality and reliability issues.
Cable seals (cable entry housings)
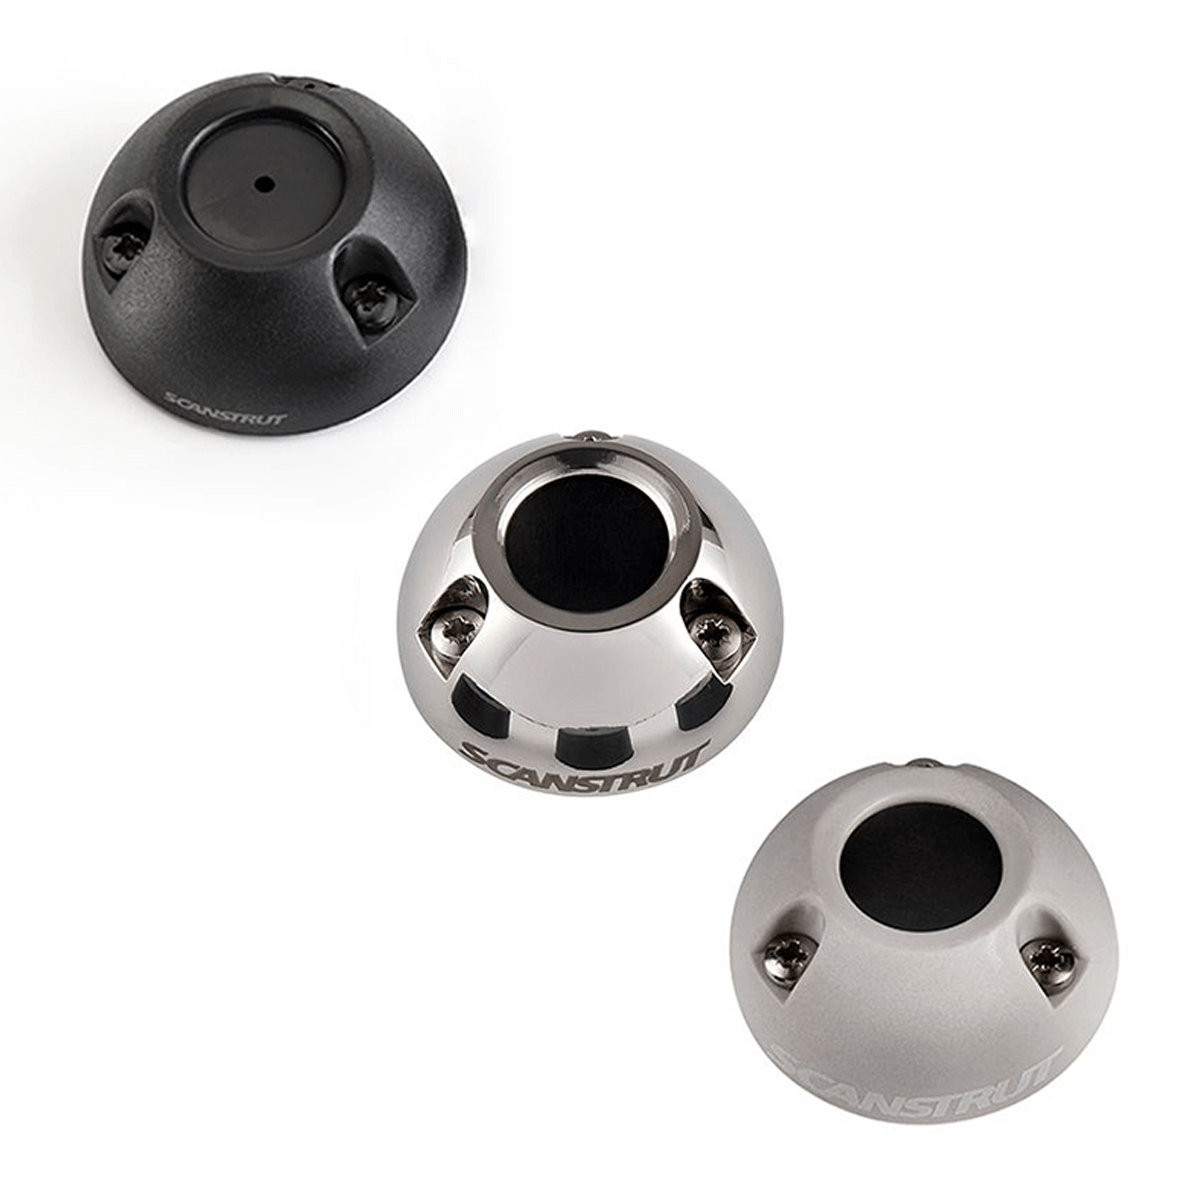
We used the Renogy cable entry housing to bring our solar cables into our campervan. However, since finishing our van conversion we have come across the Scanstrut cable seals. These are much better made and provide a much better seal, decreasing your risk of leaks when running your solar cables into your van. We would therefore recommend that you use a Scanstrut cable seal. The Scanstrut cable seal linked below is suitable for 4mm2 and 6mm2 solar cable. We sell Scanstrut cable seals in a variety of formats – take a look at our Scanstrut page to find out more.
Although the Scanstrut cable seal appears more expensive, you will need to purchase rubber grommets, mastic and sealant for the Renogy entry housings as they don’t have a sealing method. The Scanstrut cable seals seal using a 3M gasket.
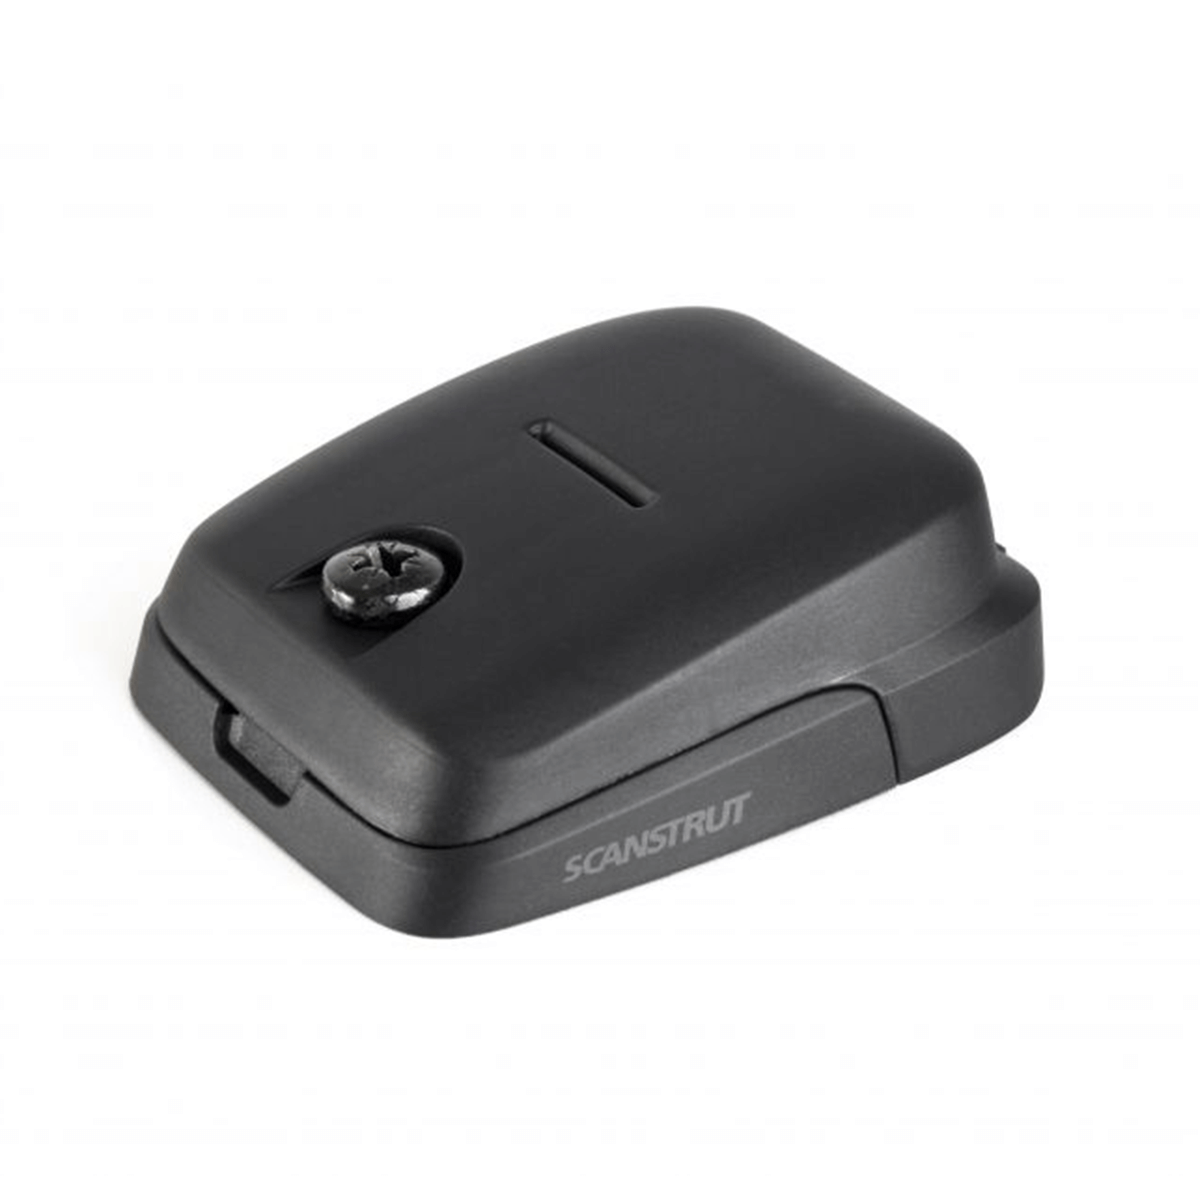
Some flexible solar panels only have one cable connected rather than two. Different types of cable seals are available for solar panels with a single cable. As above, we would recommend using Scanstrut cable seals rather than Renogy cable entry housings, as they have their own method of sealing and don’t require any additional products.

Ready-to-go solar kits Designed by experts 🔧
Our kits are designed by engineers to be safe and robust. Plus – when you purchase, we’ll send you a free wiring diagram and installation guide.
Shop now
There are a few additional tools and products you will need to install your solar panels:
- Drill
- 9 or 9.5mm drill bit
- M5 well nuts (for the Z brackets)
- Rubber grommet (for the Renogy cable entry housing)
- Mastic tape (for the Renogy cable entry housing)
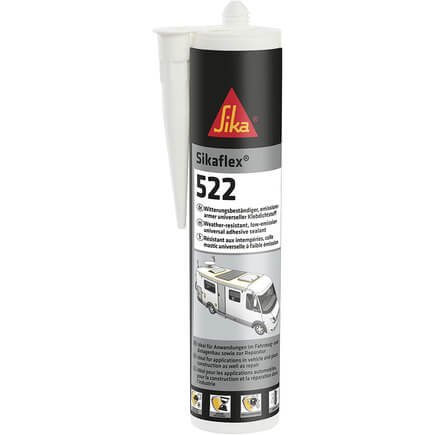
- Sikaflex 522 (for flexible solar panels, the Renogy cable entry housing and/or Z brackets)
Checking solar panel size and attaching brackets
The first step of your campervan solar panel installation should always be to lay your solar panels out on the roof of your van to ensure they fit in the space available. Hopefully you have already checked this before ordering your solar panels, but it’s worth double checking before you start drilling any holes or glueing panels down!
If you’re installing rigid solar panels, you can bring them back down and attach the brackets. Whether you are using L brackets or corner brackets, you should fit these now.
Fitting the solar panels to the campervan roof
Rigid solar panels
Once the brackets are attached to the solar panels, bring them back up onto the roof of your van. If you are using corner brackets, these can simply be glued in place at this point using a suitable adhesive such as Sikaflex 522.
If you are using L brackets, you should mark out where you will need to drill any holes using the brackets as guides. Once you have marked all of the holes, move the panels to one side and drill the holes.


If you are using L brackets, we would recommend using wells nuts instead of the self-tapping screws provided with the brackets. We know quite a few people who have had issues with water ingress in their campervans because the self-tapping screws are hard to seal, even with copious amounts of silicone.
Wells nuts are constructed of a brass over-moulded nut surrounded by rubber. As the screw engages into the thread, the nut is drawn upwards expanding the rubber in and beneath the hole. This creates a seal around the hole, between the roof and the bracket, which will stop any water from being able to pass through the hole. In theory it is still possible for water to ingress around the head of the bolt and down the helix of the thread, so to reduce this risk we used a high shore hardness rubber washer to seal between the bracket and the head of the fastener.
We used M5 well nuts which suggest a hole size of 10mm, however this was far too big in our experience and it’s easy for the head of the well nut to get pulled through the hole (this happened a few times and was super frustrating!). We drilled the remaining holes at 9.5mm and this was a much better fit. The ideal hole size for an M5 well nut would probably be somewhere between 9-9.5mm.
Once the holes are drilled and the well nuts were in place, screw the solar panels into place.


Flexible solar panels
Once you’re happy that the solar panels will definitely fit, you should attach them to the roof of your campervan using a suitable adhesive such as Sikaflex 522. It’s strongly recommended that you ensure there’s an air gap below your solar panels (i.e. they’re not stuck flat to the roof of your van). This will greatly increase the lifespan of the solar panels. You can do by glueing them onto the highpoints on your roof, and any low points can help to create the required air gap.
Installing the cable seal
Your cable seal should be positioned somewhere suitable for the cables to enter on the inside of your van. If you’re using a Renogy cable entry housing, you will need to purchase a rubber grommet separately to cover up the sharp edge of the hole and protect the cables. If you are using a Scanstrut cable seal, this is provided with the seal.
You might need to purchase a solar panel extension cable to allow the cables to reach the cable seal. You should then use a MC4 to charge controller cable to connect your solar panels to your charge controller.
We would recommend purchasing a Victron solar cable at twice the length required to reach from your solar panels to your charge controller. This can then be cut in half to provide two cables with an MC4 connector on one end, and bare cable on the other end (to be connected to the charge controller).
If you are unsure of how to connect your solar panels together, have a read of our solar panel guidebook page which explains about wiring solar panels in series vs parallel.
Sealing the holes
The Scanstrut cable seals are self sealing using a gasket, so no extra sealing is required. If you’re using a Renogy cable entry housing, you will need to seal this using a combination of mastic tape and Sikaflex 512.
If you’re installing rigid panels with L brackets, we would also recommend covering any solar panel fasteners with silicone to ensure there’s no chance of water ingress.
How to convert a campervan
Want to know exactly how to convert a campervan? Our 331 page bestselling book, The Van Conversion Bible, covers all aspect of a van conversion, from planning your layout to a step-by-step build guide.

Did you guys go back and seal the M5 nuts after installing or were you confident the rubber nut and washer was enough? Cheers
Hi Sean, we used some silicone to ensure everything was adequately sealed – better to be safe than sorry! 😅
Are 4 l-brackets enough for larger solar panels like your JA Solar 340W panel, or should I use more? Thanks!
Hey Pip, For panels larger than ~175W it’s recommended to use 8 brackets to spread the load and secure it in the wind. Hope that helps!
When you put the M5 well nuts on the roof. Can you see them from inside the van because the roof sheet it’s very thin. Do you think they need some bolts from inside to secure them or the screws are strong enough. Thanks
Hi
l have a pop top fibreglass roof should l insulate between a flexible panel and roof. if so what is best.
many thanks
Hi Stewart,
We wouldn’t recommend insulating between the roof and a flexible solar panel, but we would advise insulating below the fibreglass roof (inside the van).
We hope this helps and good luck with your build!
Hi I have flexible solar panels on the roof of my Cockburn Holdsworth Oddysey. I installed them with stud type brackets bonded to the roof. The studs pass through eyelets in the panels allowing an air gap between panel and roof.