
How to wire a campervan electrical system
Wiring and installing the electrics is arguably one of the most complicated and daunting jobs in your van conversion. We have spent hundreds of hours learning about campervan electrical systems in order to write our book and develop our electrical system design service.
In this article we talk through everything we did in our own Sprinter campervan electrical system and the products we bought. We also explain how to size different components and show you an example wiring diagram so that you can learn how to wire a campervan electrical system. By the end of this article, you’ll be one step closer to understanding how to convert a campervan.
Campervan electrical system components
Below is a list of all of the electrical components we bought for our campervan electrical system. Next, we’ll go into a more detail about to how to wire a campervan, as well as how we decided on battery size, number of solar panels, and the size of our inverter.
Main components
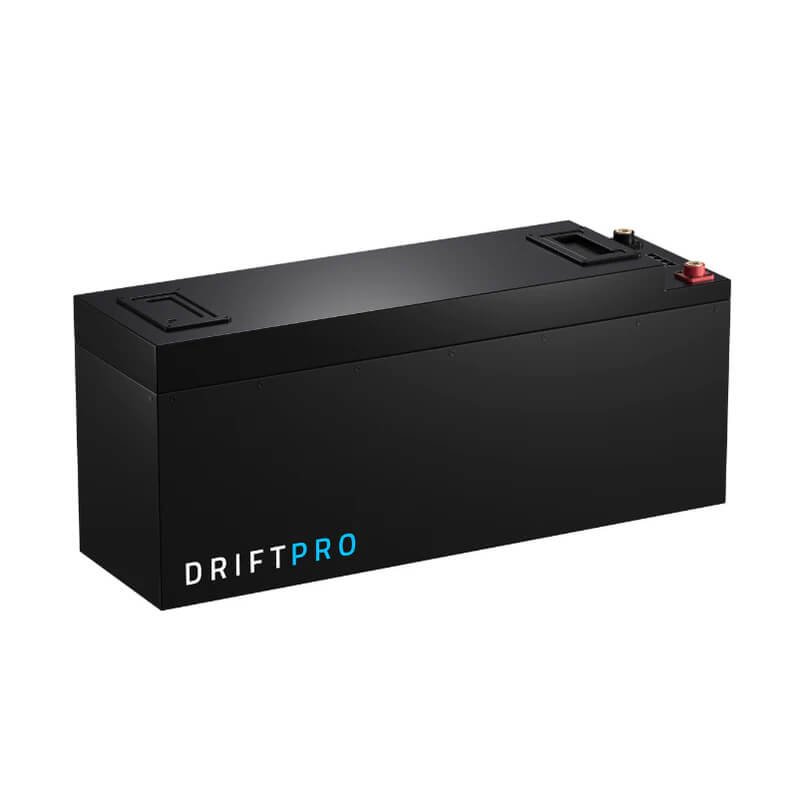
After spending some time living in our van in the UK, we decided to upgrade our battery bank to 2x 216Ah TN Power lithium batteries. This allowed us to access much more of our total battery capacity, and gave us a weight saving of 50kg!
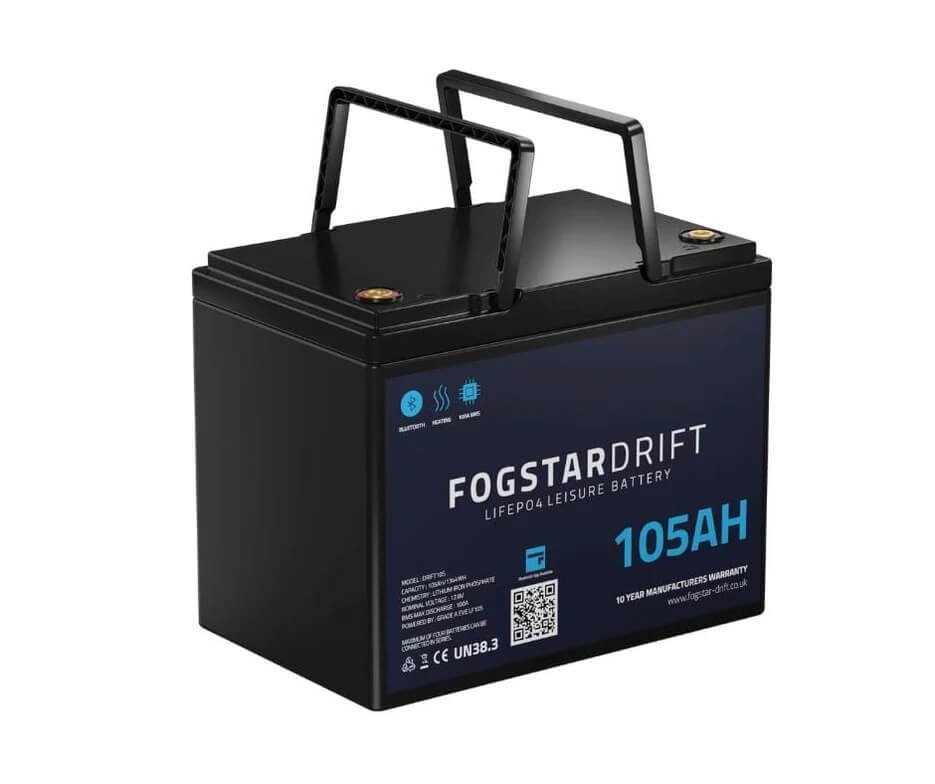
We now include Fogstar Drift batteries in all of our systems, so we would recommend using these.
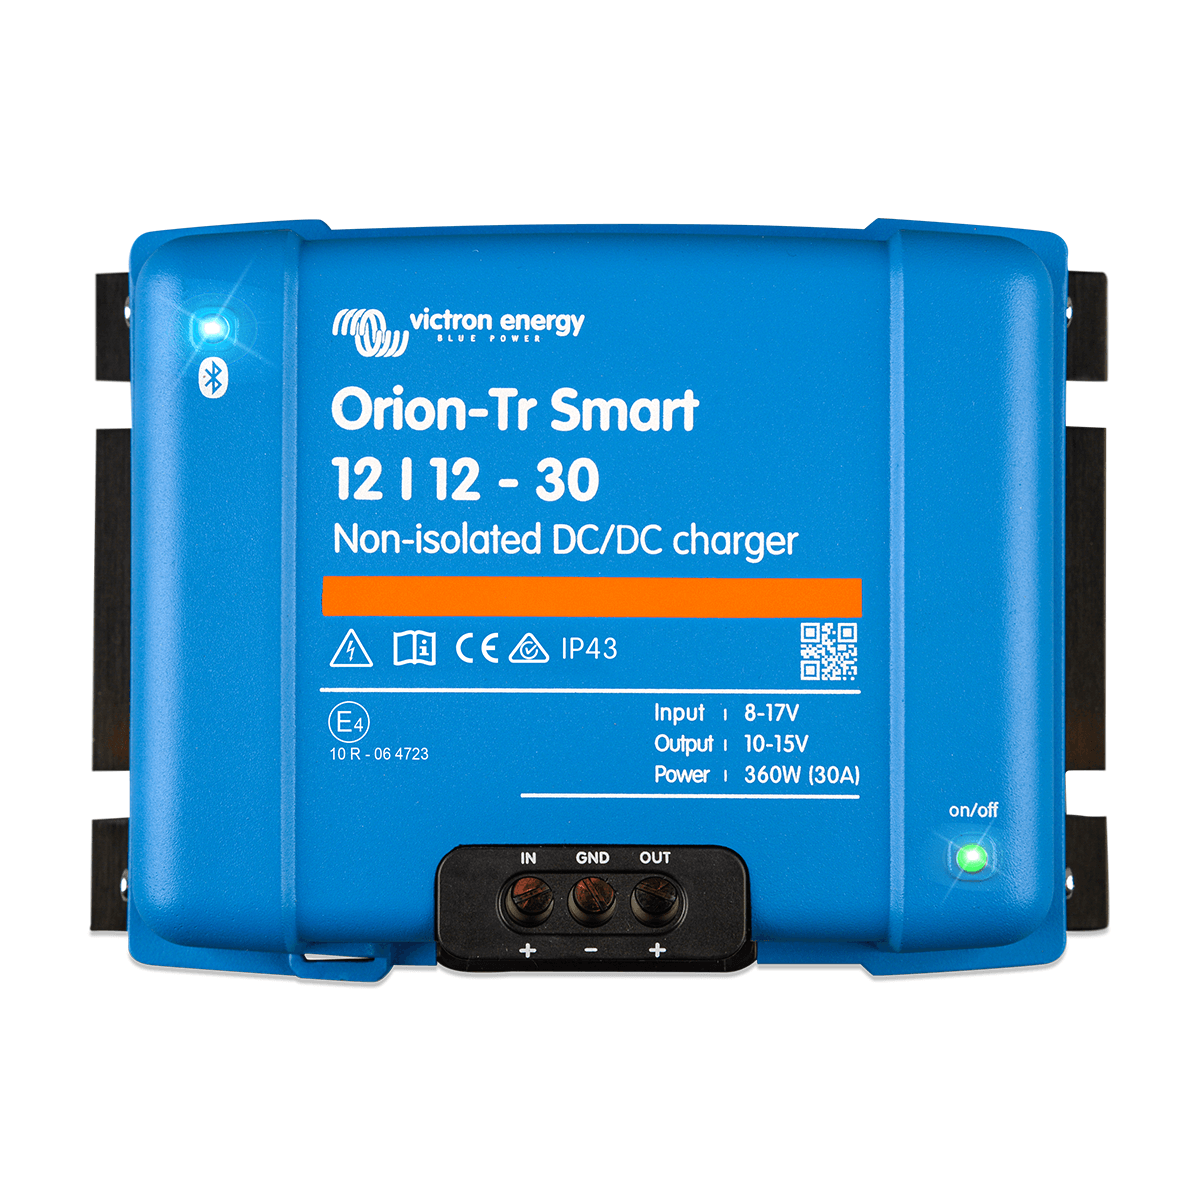
As we live in our van full-time fully off-grid, we needed to ensure we would be able to effectively recharge our leisure batteries, even when the sun isn’t shining.
This is why we installed a 30A battery to battery charger, which allows us to recharge our leisure batteries via our vehicle alternator as we drive.
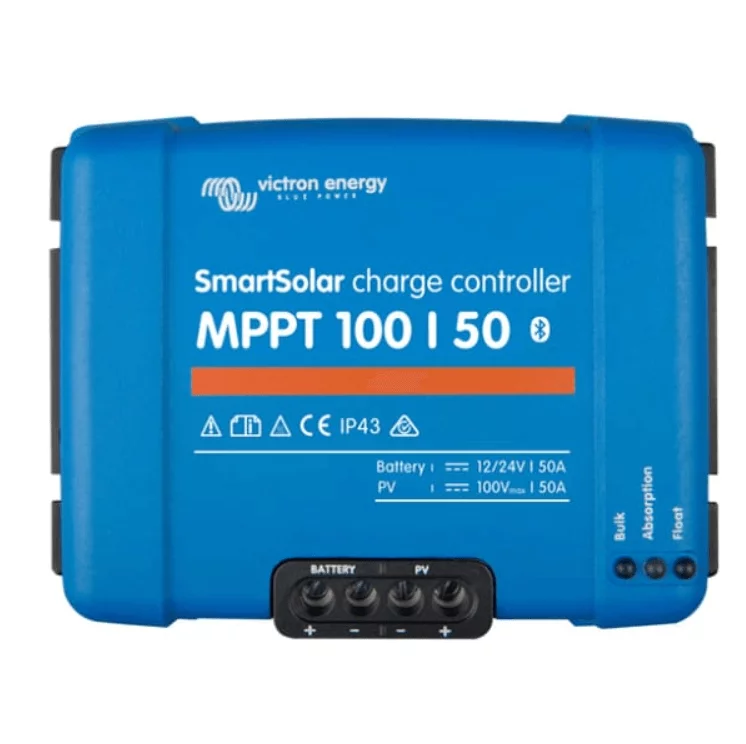
The Victron Energy MPPT 100/50 charge controller allows us to recharge our leisure batteries via our solar panels.
MPPT charge controllers are much more efficient than PWM charge controllers, and the SmartSolar range allows you to connect via your phone to monitor exactly how much charge you’re getting.
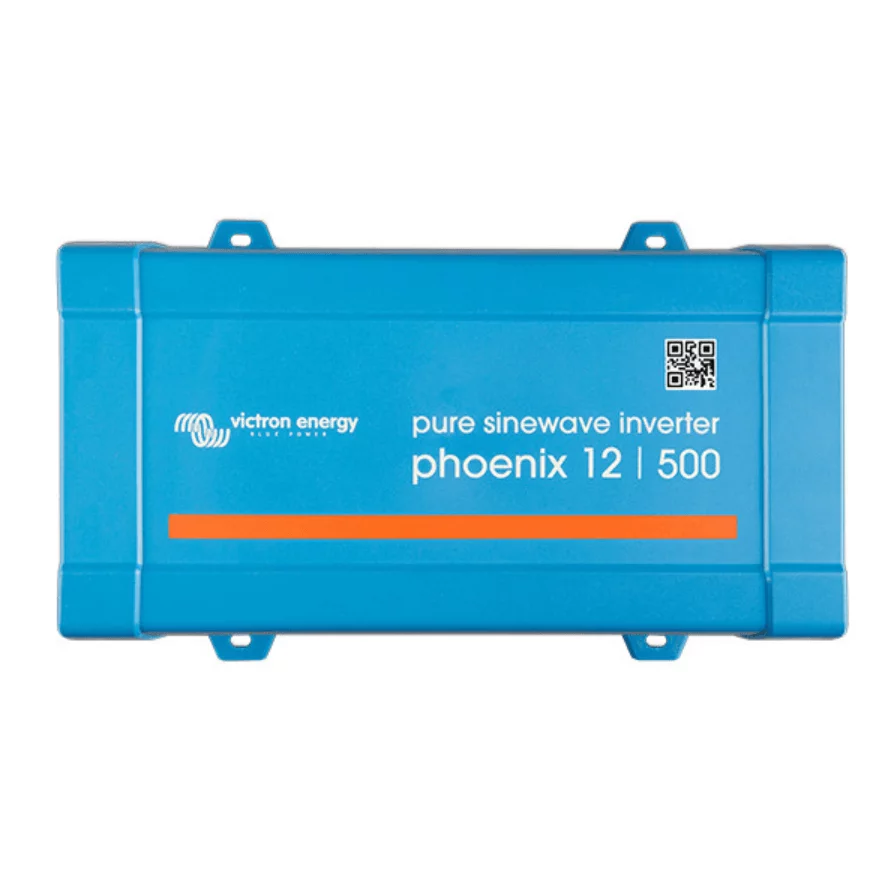
As we work remotely from our van, it’s important that we can power some 230V appliances such as our laptops and camera charge. Our Victron Energy Pure Sine Wave 500VA inverter allows us to power up to 500VA of mains appliances whilst fully off-grid.
We also have a number of 12V appliances such as our water pump and our fridge.
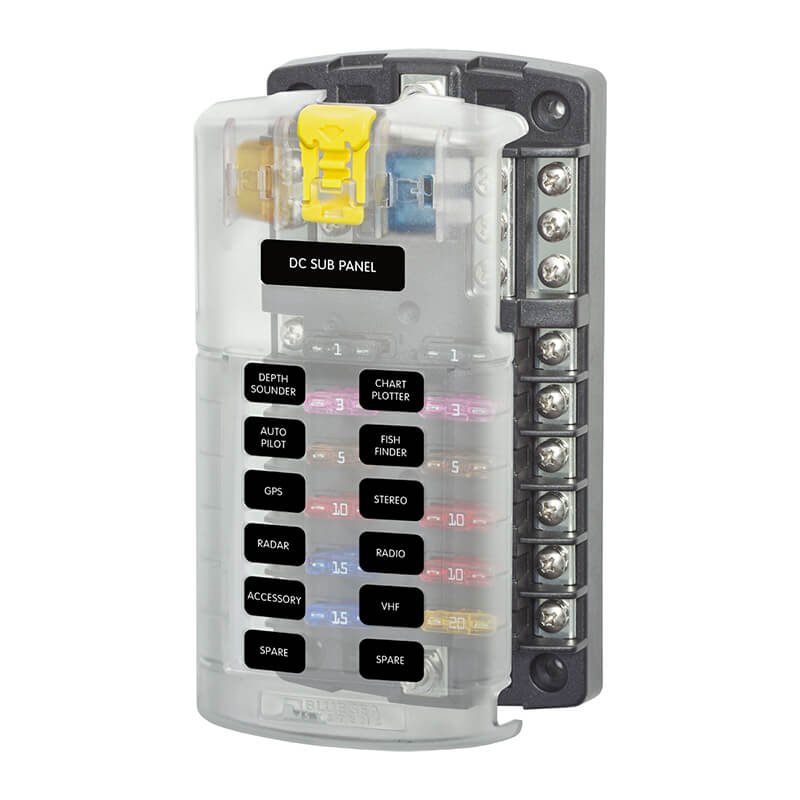
The Blue Sea 12V fuse block allows you to connect up to 12 different 12V circuits connected to your electrical system.
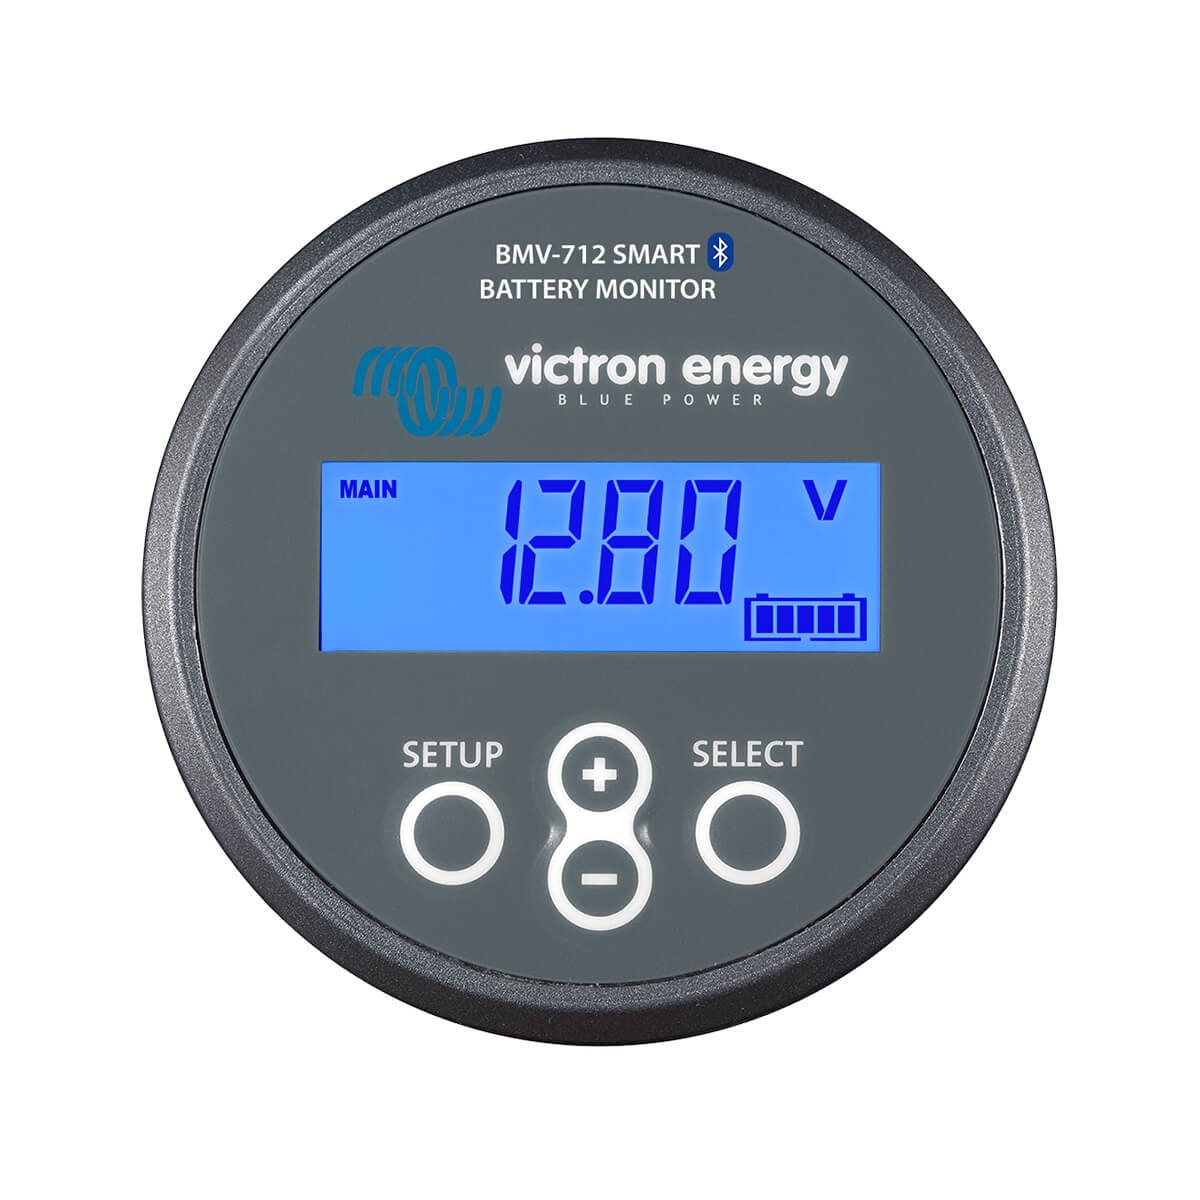
One of the most important parts of an electrical system is the battery monitor. Our Victron BMV smart battery monitor allows us to monitor our battery state of charge, as well as incoming and outgoing loads via the Victron Connect app on our phones.
Solar setup
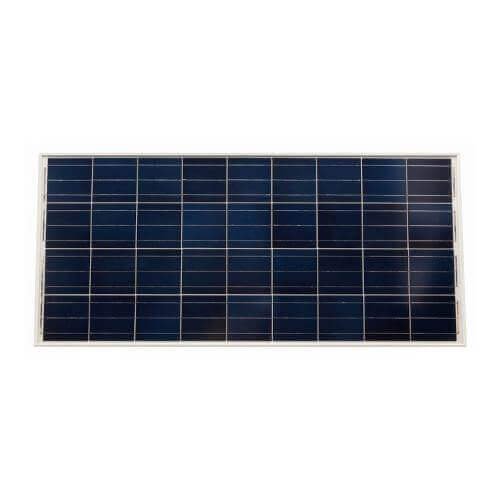
We installed three 100W Renogy solar panels on the roof of our campervan to give us a total solar array of 300W. However, we’d recommend the Victron 115W solar panels.
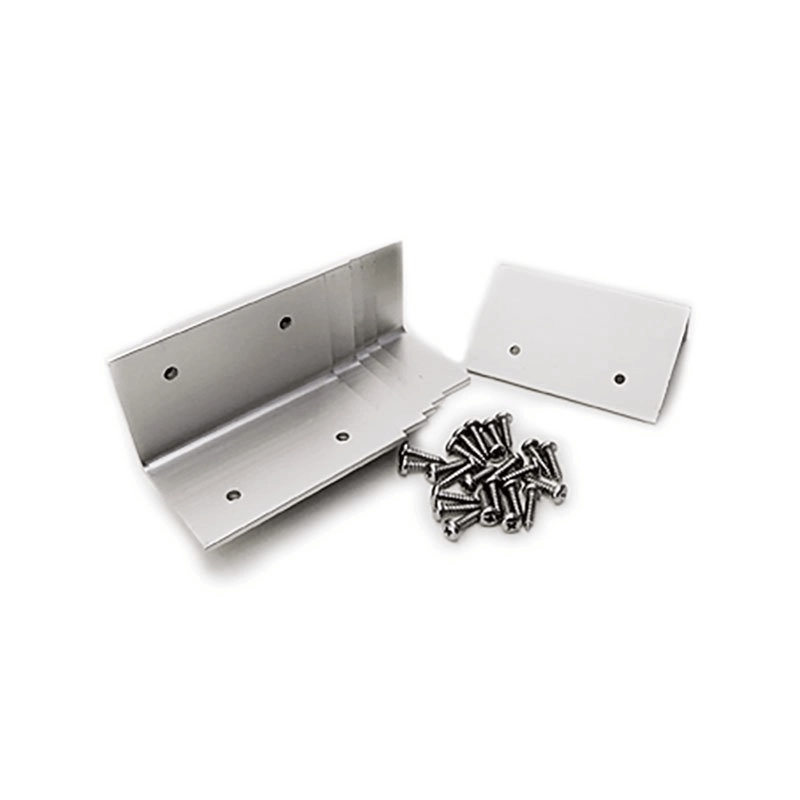
Solar panel L brackets allow you to install your solar panels with a mechanical fixing by screwing through the roof of your van.
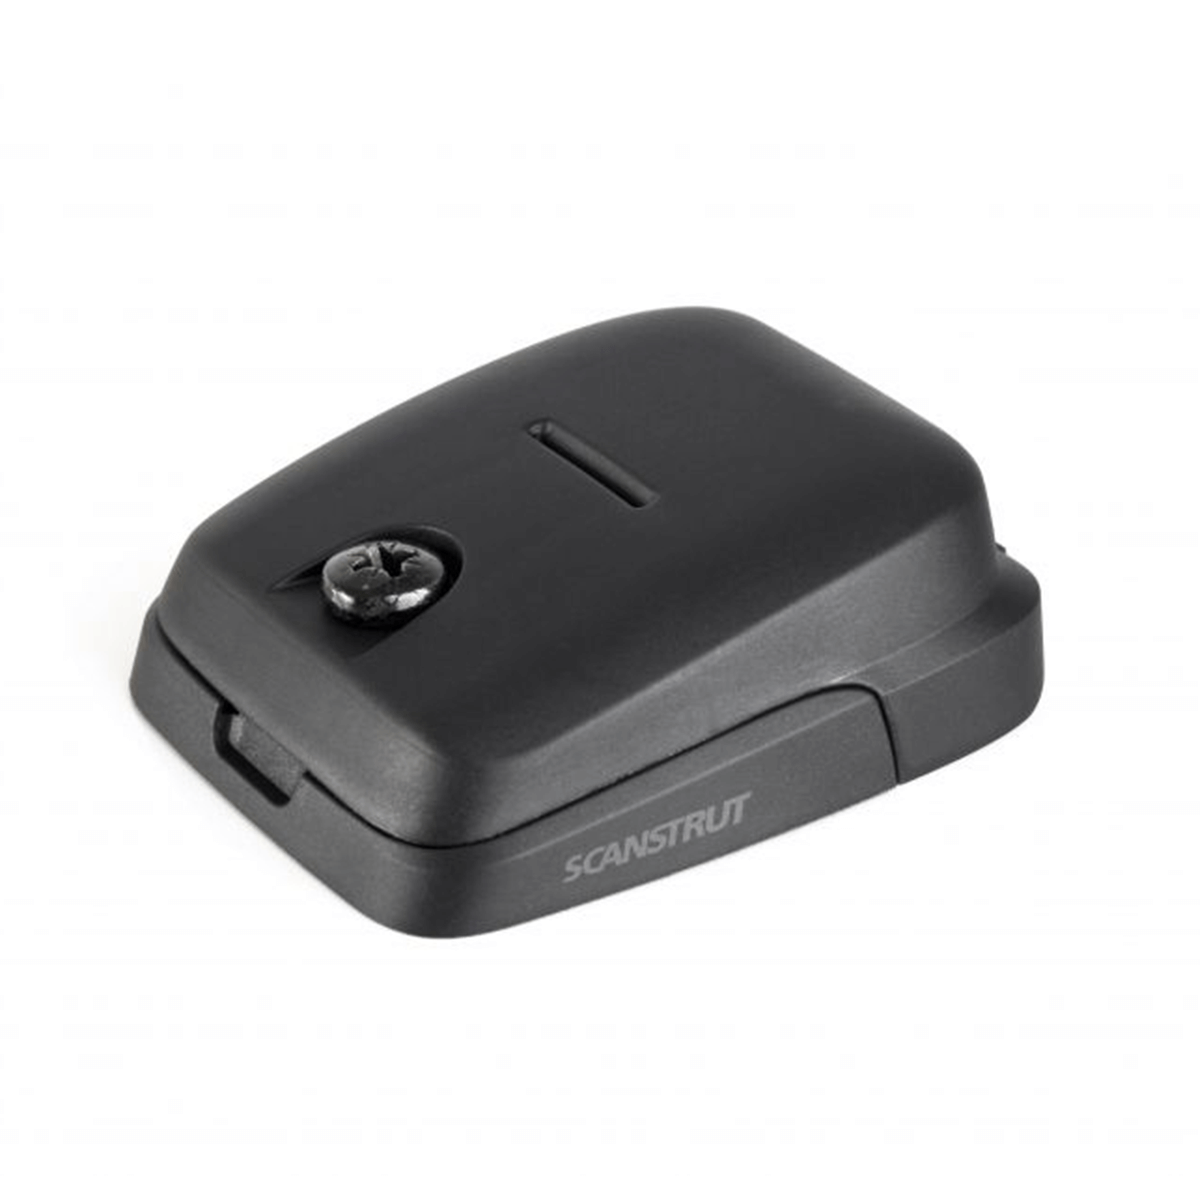
The Scanstrut cable seal allows you run cables from your solar panels to your charge controller without running the risk of any leaks. We sell Scanstrut cable seals in a variety of formats.
Lighting components
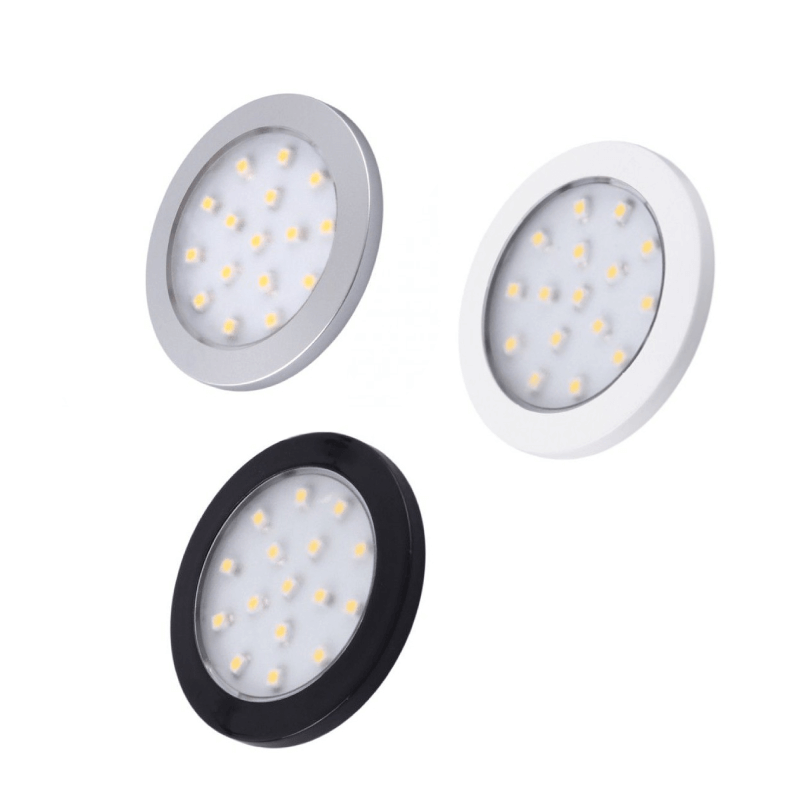
We wired in a set of fairy lights to a light switch so we could have a permanent ambient light source! Additionally, we installed 10x 3W spotlights in our van, 6 in the kitchen and 4 in the bedroom. We went for a 230 lumen, white finish, warm white light.
We opted for Dowsing & Reynolds light switches as we love their rocker switches. We also purchased pattress boxes for each light switch.
We have a number of different 12V light options available in our webshop, similar to what we used in our own van.
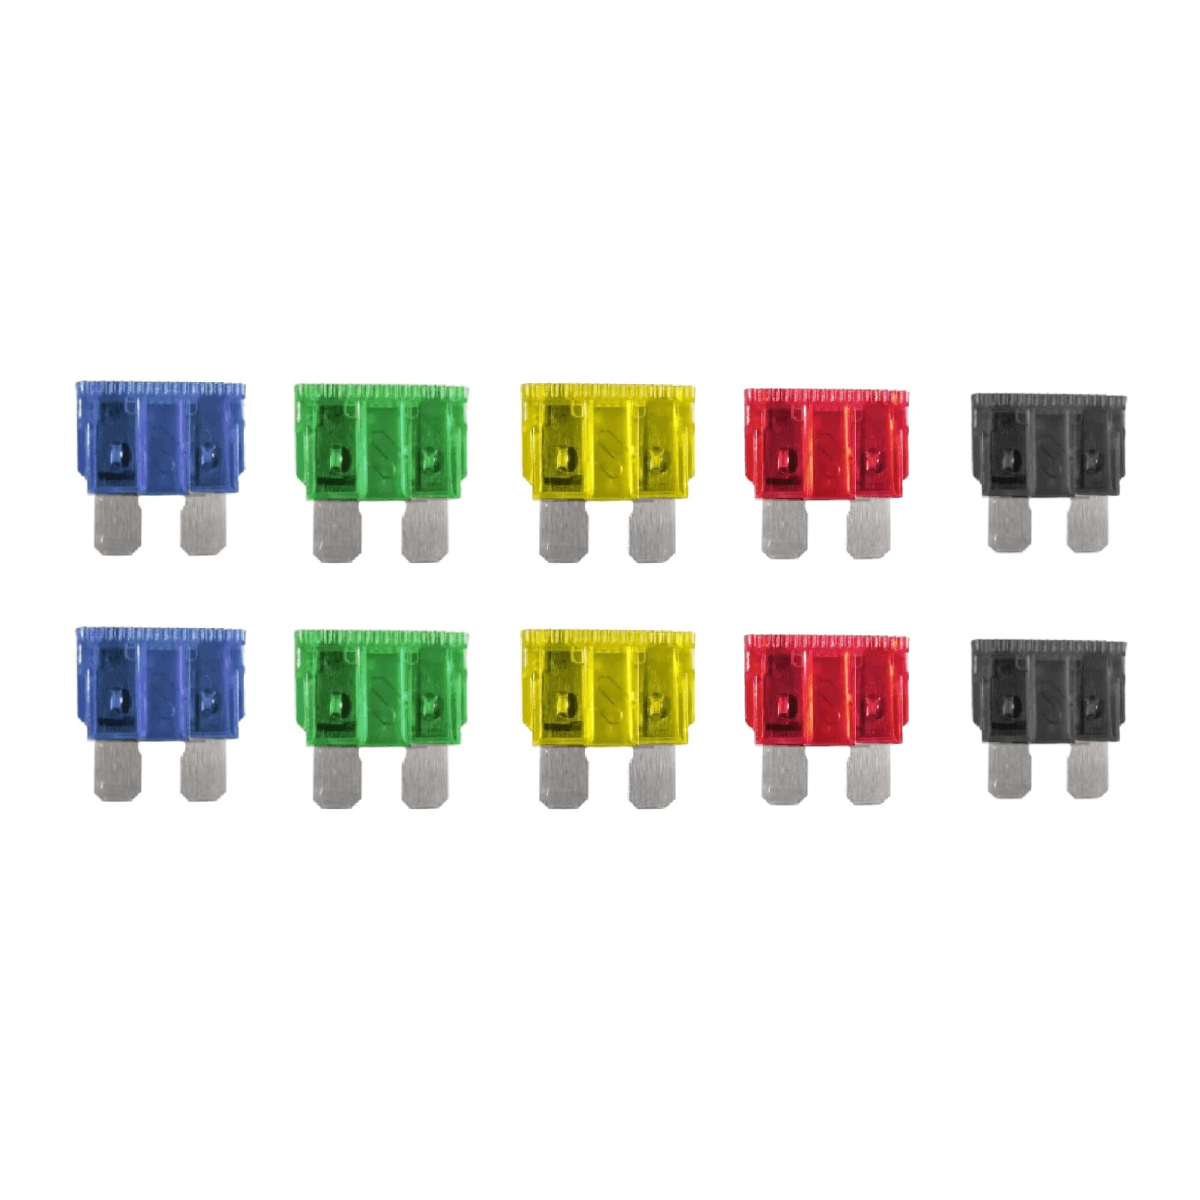
Wires, connectors & wiring accessories
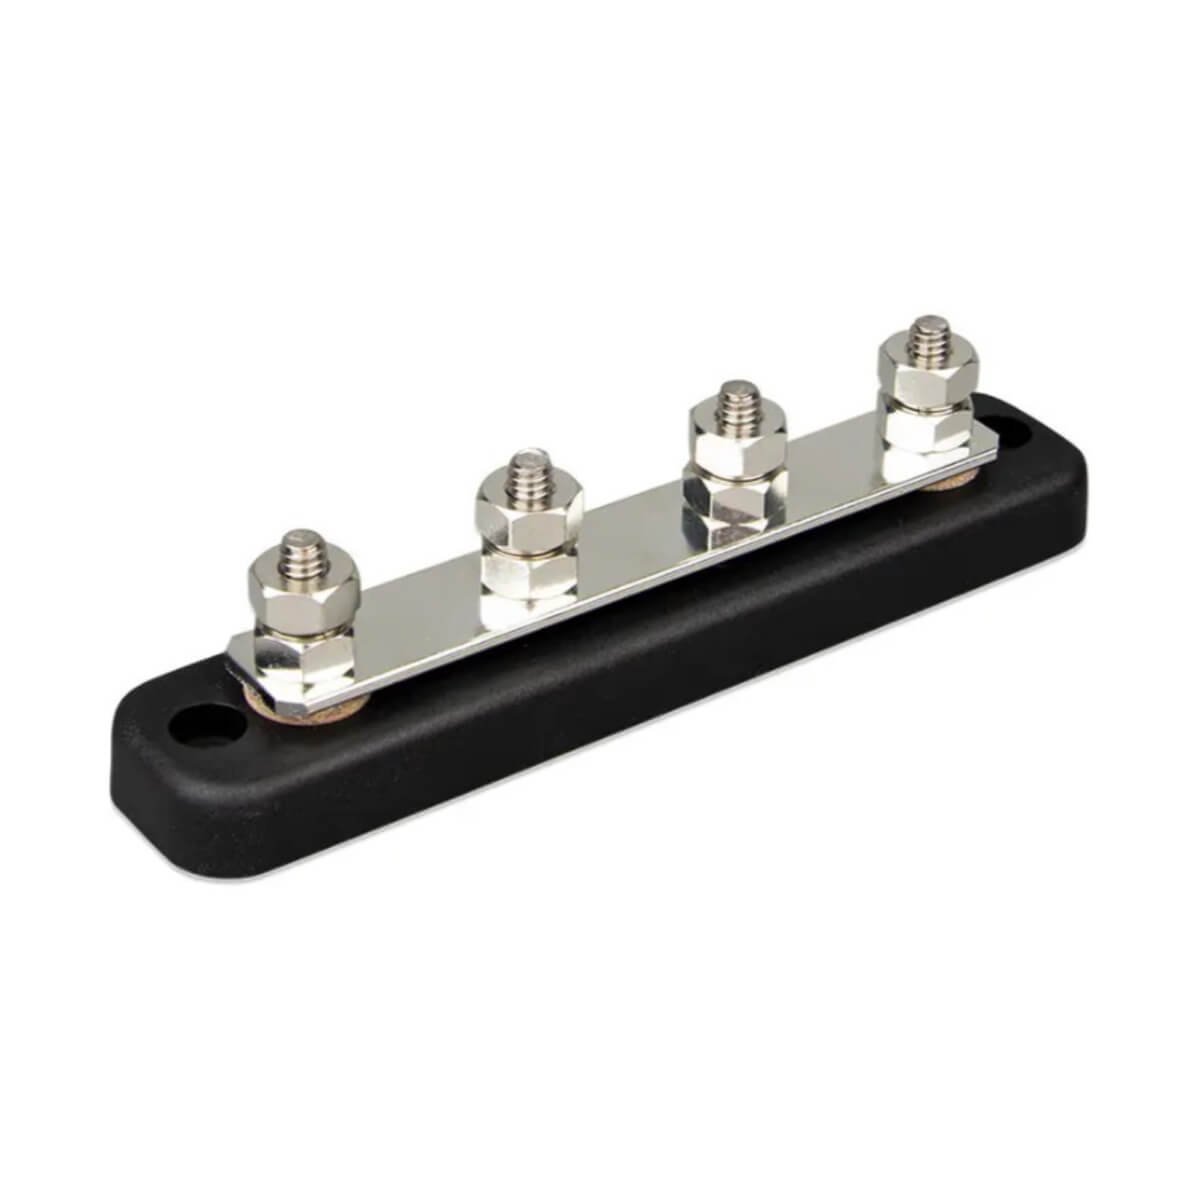
There are a number of wires, connectors and other accessories you’ll require to wire your campervan electrical system. Many of these products, such as busbars, wires and switches all need to be sized according to the total current rating of your electrical system. Below are some of the accessories we used to wire our campervan electrical system:

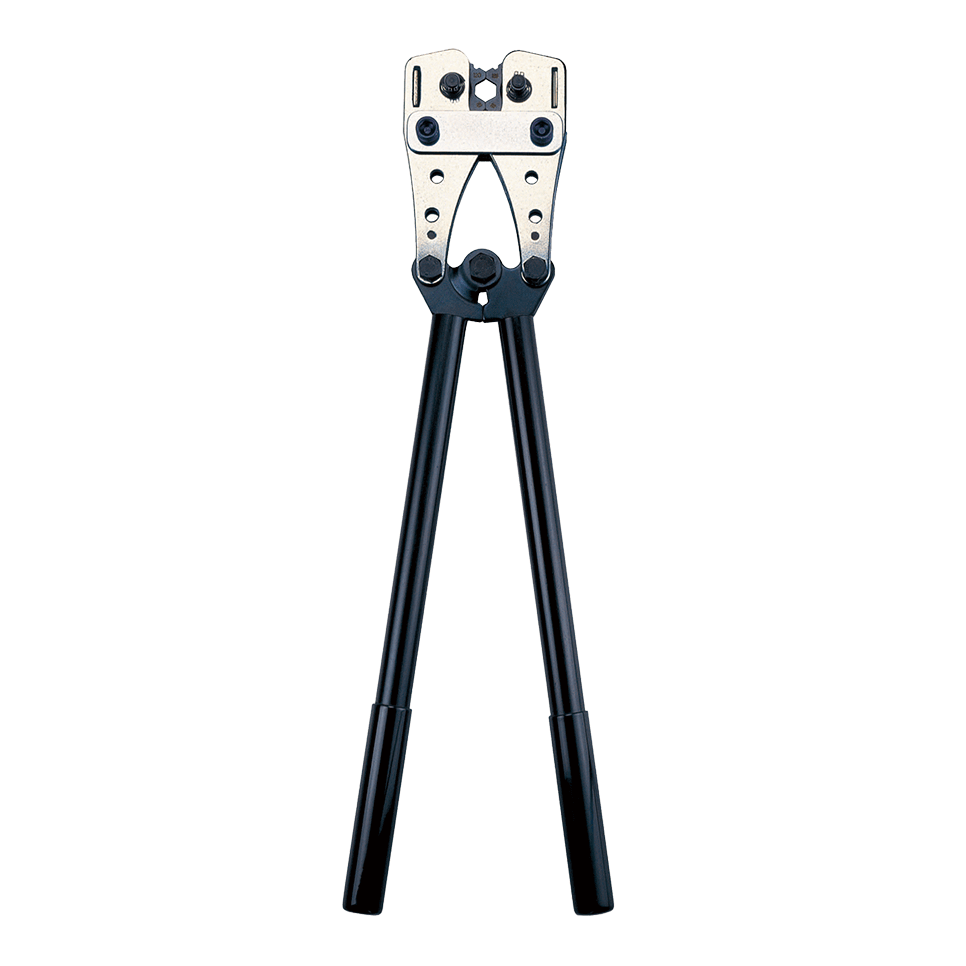
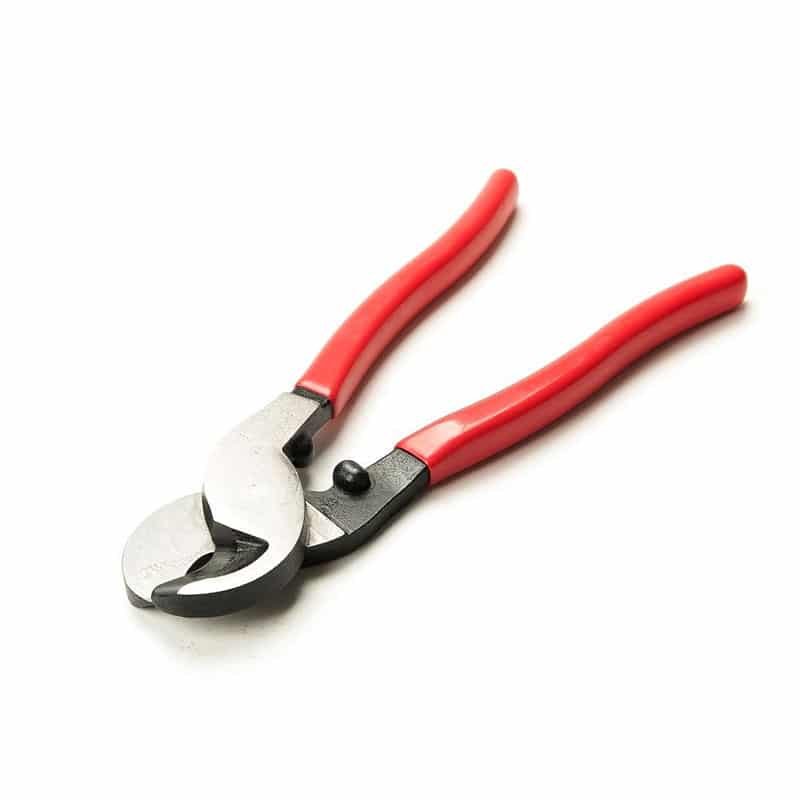
Tools
Finally, we made sure we had all of the tools we needed to install our system.

Sizing leisure batteries and solar in your campervan electrical system
There are several parts of your electrical system that will all need to be sized according to your total power usage and how you will use your campervan. Solar panels, battery to battery chargers, inverters and leisure batteries all come in various different ratings and capacities, so it’s important to calculate what you think you will need to work out what’s required for your electrical system.
Calculating leisure battery size
First, you should calculate the size of leisure battery bank you will require, as this will in turn affect the rest of your electrical system. We worked this out by making a list in a spreadsheet of all the appliances we planned to use in our van, and then calculating the amp hours for each appliance using the following equation:
Wattage / voltage = amp hours (Ah)
Where the voltage is 12V (the voltage of your batteries), and the wattage is the wattage of each appliance. You should calculate the total amp hours used by each appliance per day (Ah/day) by multiplying the amp hours by the hours the product will be used for per day. Adding all of these together will give you your total estimate Amp hour usage per day.
The wattage value you use for each product should be the average wattage the product uses when on, rather than the max wattage. E.g. the wattage of our fridge is ~60W, but it only uses around a quarter of this when averaged across the day. You should be able to find this average value from googling online, or alternatively you may be able to find the Wh/day figure for your appliance.
| Appliance | Qty | Wattage | Usage (hrs) | Ah/day |
|---|---|---|---|---|
| Fridge | 2 | 15 | 24 | 58 |
| Laptop charger | 2 | 61 | 10 | 2 |
| WiFi router | 1 | 3 | 24 | 5 |
| Phone charger | 2 | 10 | 7 | 6 |
| Speaker | 1 | 20 | 1 | 1 |
| Spotlights | 10 | 8 | 8 | 5 |
| Fairy lights | 1 | 3 | 8 | 2 |
| TOTAL | 78 |
We calculated our total power usage as 78Ah/day. We then add a 20% factor of safety to this figure to account for any days with higher power usage, giving us a total power usage of 94Ah/day.
To calculate your required battery bank size, you need to consider a couple of key factors: how you will use your campervan (how many days you want to spend off-grid at a time), and the type of batteries you are installing.
Campervan usage
Your campervan usage will dictate the number of days off-grid you should account for with your battery capacity. There are 2 main considerations – how often you will use your campervan, and how you will use your campervan (fully off-grid, only on campsites, or mixed use between the 2).
The combination of these 2 factors can help you decide the size of battery bank you should install. For example, as we knew we would be using our campervan fully off-grid, and we would be living in our van, we wanted to ensure we would have at least 3 full days of power off-grid without any charging. This meant that in the case of poor weather for a few days (no charging via solar) and staying in one spot (no charging via the alternator / B2B charger), we would still have enough power to see us through.
Say you will regularly spend time on campsites with access to electric hookup or only use your van for weekends away. In this instance, you may be able to decrease your battery bank to only handle 2 days off-grid without charging. However for the majority of people, we’d recommend aiming for at least 3 full days of power. To be safe, we specced our vans to be able to deal with 4 full days off-grid without charging.
This meant that we needed to multiply our total power usage of 94Ah/day by 4 to give us a required total usable capacity of 376Ah/day.

Leisure battery type
Different types of leisure batteries can be discharged by different amounts, so this will affect the total battery capacity you will need to purchase. Our page on campervan leisure batteries covers all the considertions you need to make before buying a leisure battery.
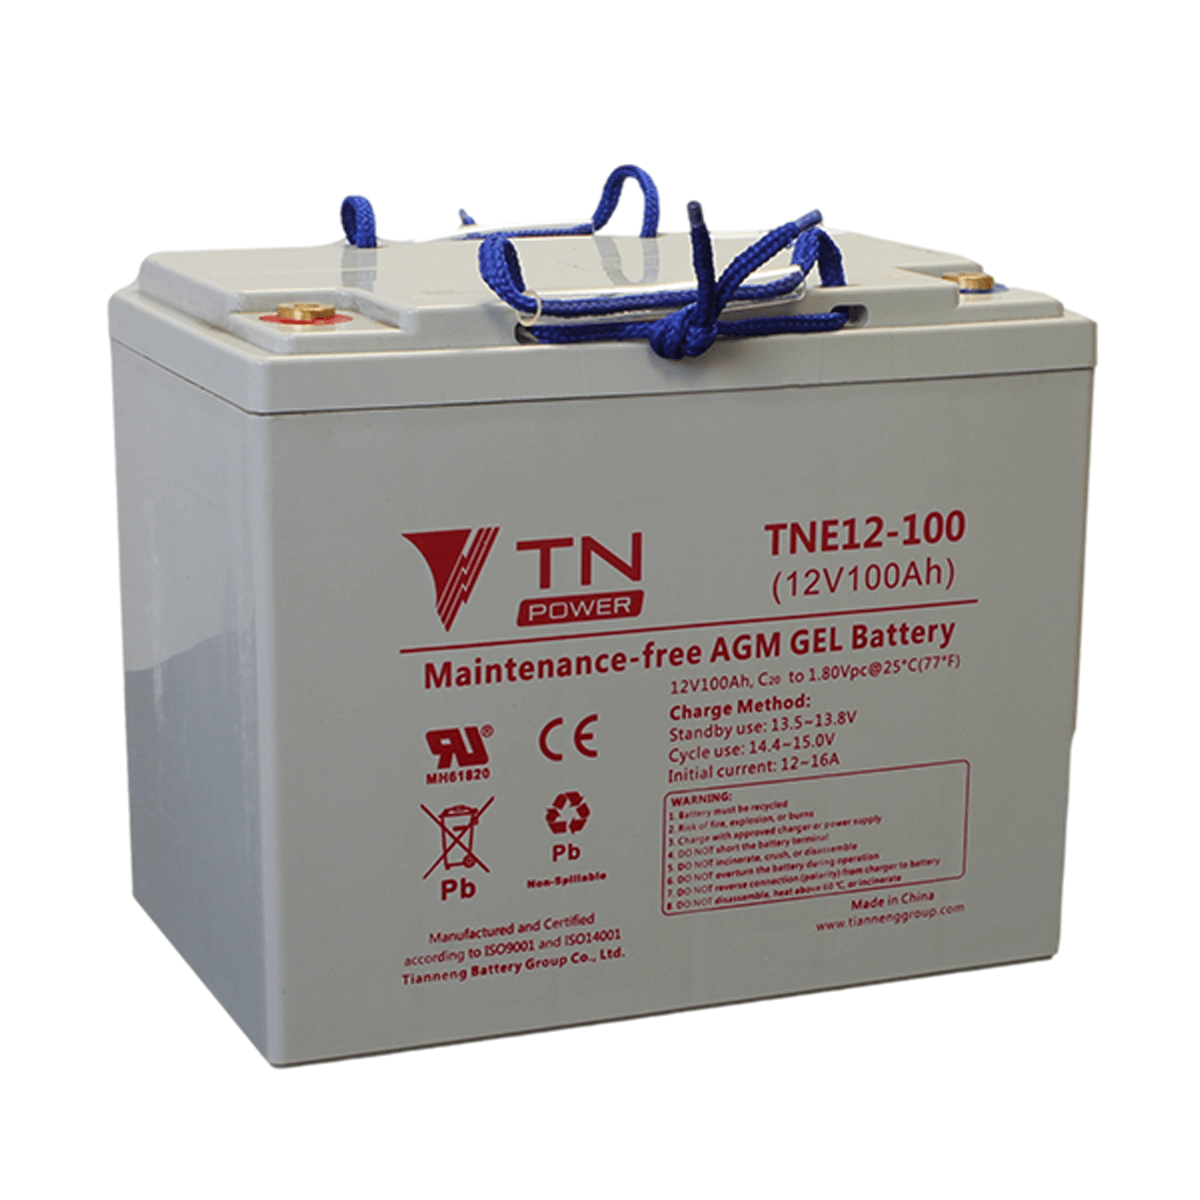
The 2 most popular leisure battery types for campervans are AGM leisure batteries and lithium leisure batteries. As a good quality AGM leisure battery can now be purchased for a similar price as a high quality sealed lead acid battery, we would suggest opting for AGM over sealed lead acid.
You will need to consider a couple of factors to help you decide between AGM and lithium batteries for your campervan. You should think about how long you plan to keep your van, how much of factor space and weight are in your conversion, and what your budget is.
The wattage value you use for each product should be the average wattage the product uses when on, rather than the max wattage. E.g. the wattage of our fridge is ~60W, but it only uses around a quarter of this when averaged across the day. You should be able to find this average value from googling online, or alternatively you may be able to find the Wh/day figure for your appliance.
Lithium leisure batteries are typically around 50% smaller and lighter than their AGM counterparts, but they are also around 4x more expensive. Lithium leisure batteries also have a much longer lifespan, but you may find that the lifespan of AGM batteries is perfectly adequate for your usage.
For example, if you plan to use your campervan for weekends away and 1-2 week holidays, then an AGM battery bank could last around 8-10 years. However, if you will use your campervan for full-time van life, then an AGM battery bank may only last around 3 years. If you plan to live in your van full-time and you will keep it for a number of years, then it makes sense to invest in a lithium battery bank so that you won’t need to replace your batteries.
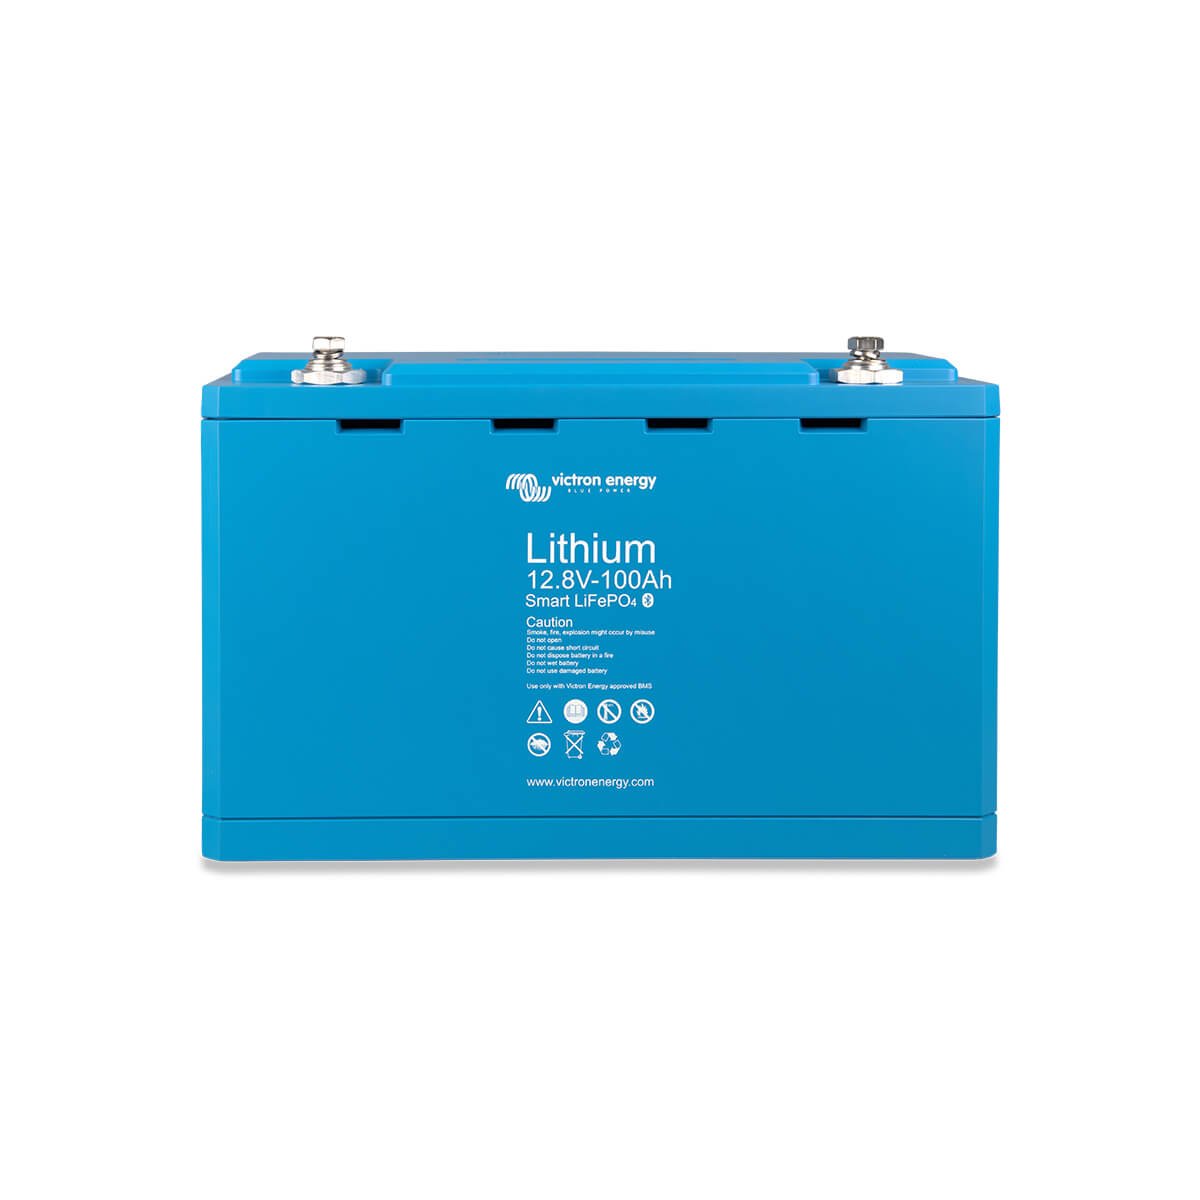
Below you can see a comparison of 3 different types of 100Ah leisure battery: an AGM option, a budget lithium option, and a more expensive lithium option.
Once you’ve decided the more suitable leisure battery for your usage, you can work out the total battery bank capacity that you require. As we mentioned previously, different types of leisure battery can be discharged by different amounts (this is called depth of discharge, or DoD), and so this needs to be factored into your battery calculation.
| Battery type | Max DoD | Divide by |
|---|---|---|
| Sealed lead acid leisure battery | 50% | 0.5 |
| AGM leisure battery | 80% | 0.8 |
| Lithium leisure battery | 90-97% | 0.9 |
As we knew we would be living in our van full-time for a number of years, we opted to install a lithium leisure battery bank. So we divided our total usable capacity of 376Ah/day by 0.9 to get a total required capacity of 417Ah. We therefore installed 2x 216Ah TN Power lithium batteries, giving us a total battery capacity of 426Ah.
You can read more about lithium leisure batteries and if they’re right for you in our lithium leisure battery article.


Calculating solar array size
Once you have calculated your total leisure battery capacity, you can calculate the total solar array you will require to effectively recharge. You will have already calculated the total usable capacity of your batteries in Ah, but now you will need to know it in watt hours (Wh).
Amp hours x voltage = watt hours (Wh)
Where voltage is 12V, the voltage of your batteries, and amp hours is the total usable capacity of your leisure batteries. So our total watt hours worked out as:
376Ah x 12V = 4512Wh to fully recharge batteries
Simply divide your watt hours by the total hours you would like to recharge in to calculate your solar array size.
Watt hours x hours to recharge = solar array wattage
As there is an average of 8 hours of sunlight per day, if we wanted to be able to fully recharge our batteries from 10% to 100% in a day, we would do:
4512Wh / 8 hours = 564W solar array
However, it’s unlikely that you would ever need to fully recharge your leisure batteries in a single day, as you should have hopefully specced a battery bank that will last at least 3 full days without charging. You should also have other methods of charging, such as shore power hookup or a battery to battery charger.
We knew we could fit around 300W of solar on the roof of our van, so to check how long this would take to fully recharge our batteries we did the previous calculation in reverse:
4512Wh / 300W = 15 hours to fully recharge our leisure batteries
We therefore installed 3x 100W Renogy solar panels. However, we’d recommend the Victron or JA Solar solar panels as we’ve found Renogy very unreliable to work with.
Campervan electrics leaving you confused?


Calculating solar charge controller size
Once you have decided on your solar array size, you can calculate the size of your solar charge controller. Victron solar charge controllers have 2 main ratings: a maximum voltage and a maximum amperage. Each charge controller also has a maximum PV array size in watts.

Read more about charge controllers on our dedicated solar charge controller page
If you’re wiring your solar panels in series, you need to add together the voltage of your solar panels and the amperage remains the same. If you are wiring your solar panels in parallel, you need to add together the amperage of your solar panels and the voltage remains the same. To understand more about solar panels and whether you should connect them in series or parallel, check out our page dedicated to solar panels.
The max open circuit voltage of the 100W Renogy solar panels is 22.3V and a max current of 6A, so as we would be wiring our solar panels in series, this would be 67V and 6A. This means that we would need the 100/20 charge controller (as the smaller charge controllers have a max array size below 300W).
Luckily, we managed to find the 100/50 charge controller for sale secondhand and unused on eBay, so we installed this in our electrical system instead.
Ready-to-go solar kits Designed by experts 🔧
Our kits are designed by engineers to be safe and robust. Plus – when you purchase, we’ll send you a free wiring diagram and installation guide.
Shop now
Our campervan wiring diagram

Our campervan wiring diagram can be used to understand how to wire a campervan.
Our system consists of:
- Power coming in via a a battery to battery charger and a solar charge controller
- Power going out via a 12V fuse box and a 500VA inverter
We chose to install an inverter in our campervan electrical system so that we could have 230V power in our van. This meant that we could wire in standard plug sockets via a consumer unit so we could charge laptops, phones, and anything else mains powered we might want to plug in. Below is a list of the appliances we’ve wired into our camper van:
12V appliances:
- Lights in the boot
- 2 fans
- Dometic CRX50 fridge
- Dometic CFX3 45 fridge
- Water pump
- LPG Propex 2000 heater
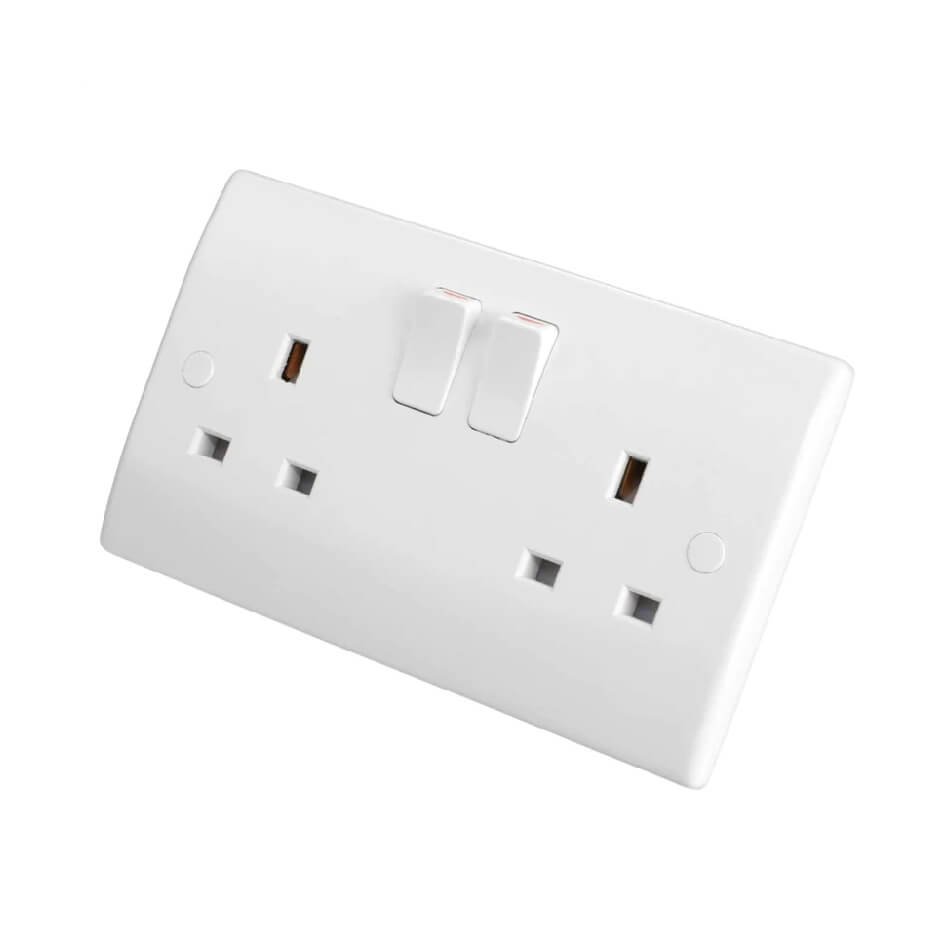
230V appliances:
- 3 double plug sockets
- 1 single plug socket
- 10x 3W spotlights
- Fairy lights
- Sparker for hob
Important note about split charge relays: If you have a Euro 5 or a Euro 6 engine you will not be able to use a standard VSR (voltage sensing relay) to charge your batteries, as they have a ‘smart’ alternator which drops below 12V after around 30 seconds, meaning it will not provide the required voltage to a VSR to charge your leisure batteries. You will instead need to purchase a B2B (battery to battery) charger to charge your leisure batteries from your starter battery. Although there are other options available (such as the Durite 0-727-43 ‘smart’ VSR), these are not advised as they can damage batteries, in particular AGM and gel, due to overcharging.
What size inverter do you need?
Your campervan inverter takes the 12V power coming from your batteries and converts it to 230V so that you can run regular mains power appliances such as laptop chargers.
There are 2 types of inverter available:
- Quasi (modified) sine wave
- Pure sine wave
Quasi modified sine wave inverters create an approximation of the waveform, whereas pure sine wave inverters recreate it exactly.

Quasi sine wave inverters will be able to run basic electrical items such as kettles, hairdryers, laptops and blenders, but they’ll struggle to run certain appliances such as sensitive electrical devices. It’s therefore worth checking the appliances you plan to power before purchasing an inverter.
Modified sine wave inverters are much cheaper than pure sine wave inverter, but they can also make a buzzing noise when certain appliances are plugged in and are typically less efficient. We installed the Victron 500VA pure sine wave Phoenix inverter.
To work out what size inverter you need, simply add together the maximum wattage of each 230V appliances you want to use in your campervan.
The wattage of your inverter also has a knock on effect on the rest of your system – wire gauges, busbar and switch sizes, etc. This means that the larger the inverter, the higher the cost, both from the product itself, but also its effect on the rest of the system.
Our total wattage worked out at under 200W, however we chose to install a 500VA inverter as the price difference between the 250VA and the 500VA inverter is negligible. This future proofs our system and means that if we want to use slightly higher wattage appliances in the future, this will be possible.
For more information, have a read of our article: What size inverter do I need for my campervan?
Most inverter manufacturers use watts (W) to specify inverter power. However, Victron use volt-amperes (VA) instead. VA describes apparent power, whereas W describes real power. The distinction between these can be important when designing your electrical system. To learn more, check out this article, where we discuss the differences between VA and W and how this affects your choice of inverter or inverter/charger.
We would recommend opting for a model such as the Victron Phoenix inverter, as these are pure sine wave and have built-in protection in case you plug in an appliance which exceeds the total wattage of your inverter. A cheaper inverter will simply break when you do this, but the Victron inverters will simply cut out and sound an alarm.
A word of warning – cheaper inverters often advertise their peak wattage rather than their continuous wattage. This means that an inverter advertised as 3000W may only be able to maintain this for a number of minutes. The Victron inverters advertise their continuous max operating wattage, and state their peak wattage separately (for example, our 500VA Victron inverter can maintain a peak wattage of 900VA for up to 5 minutes).

Ready-to-go inverter kits Designed by experts 🔧
Our kits are designed by engineers to be safe and robust. Plus – when you purchase, we’ll send you a free wiring diagram and installation guide.
Shop nowOur finished campervan electrical system
After we had sized our leisure batteries, solar array, inverter and battery to battery charger, we had to calculate the size of all of our cables, fuses and busbars and switches.
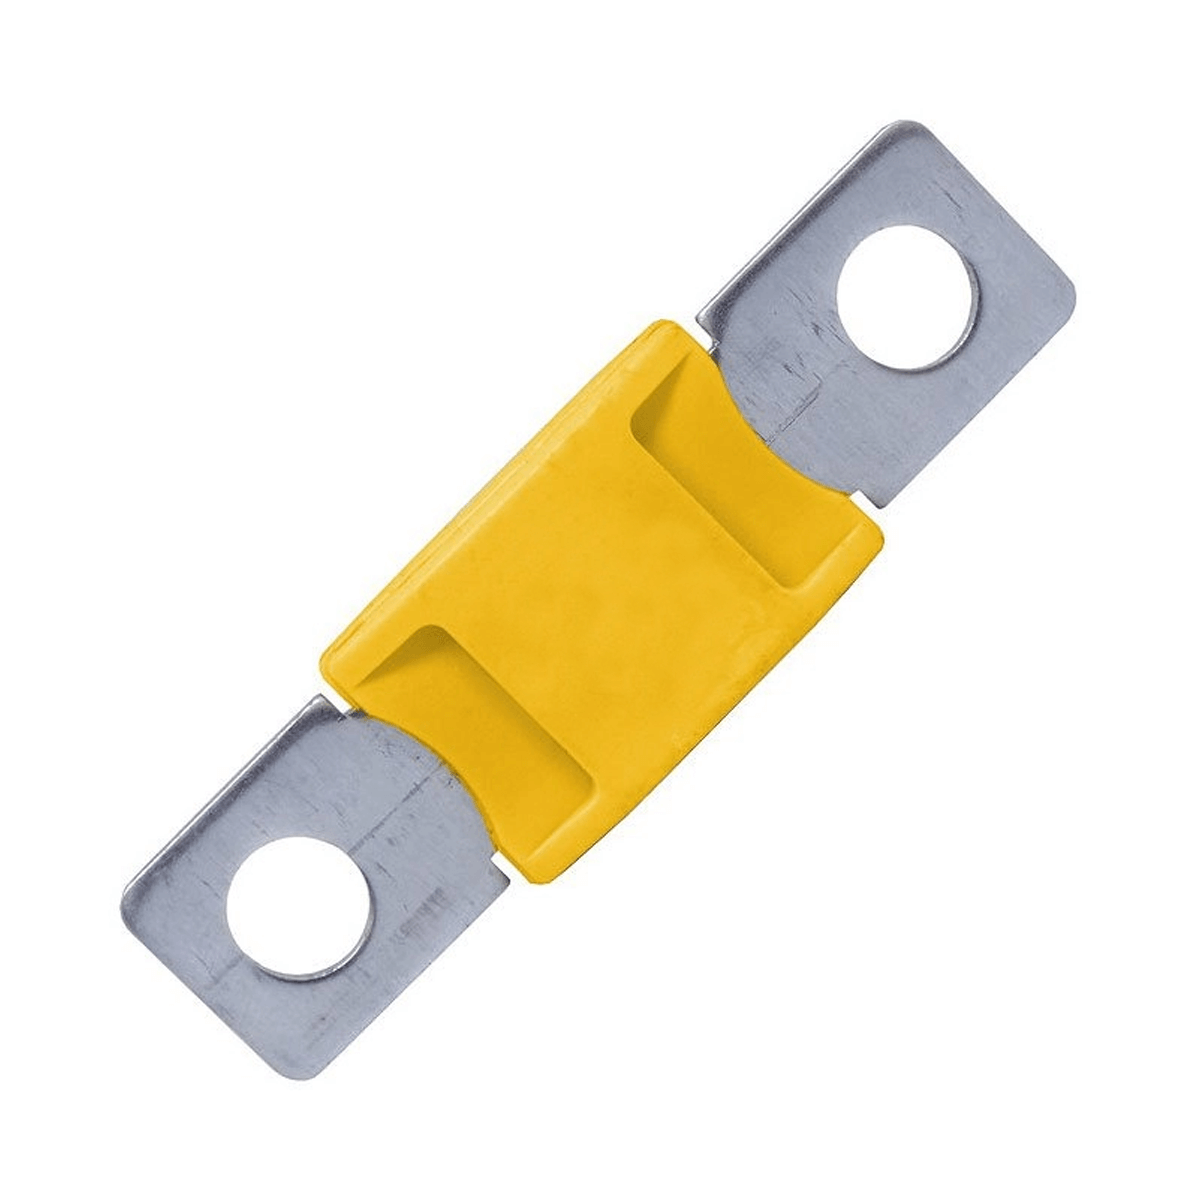
Busbars and cables should be calculated based on the maximum current of your system. Fuses should be sized according to individual appliances and components (many of these will be specified in the product manual). Cable gauge can be calculated based on the current rating of each component and the total length of the cable.
Once all of these have been correctly calculated, you can install your electrical system! We created a systems board to mount all of our individual components to, with cut outs to run cables through. We also included a little control panel for our gas level sensor, water pump switch, thermostat and battery monitor. However, you may wish to mount these separately somewhere more visible or easily accessible.
Below you can see the finished product:
Confused about what you need?
After writing our book, we realised that the area of a van conversion that people are the most nervous about is the electrical system. That’s why we created our free electrical system design service. Simply fill out a form about your usage and requirements and we’ll help to design your perfect system!
Campervan electrics leaving you confused?
How to wire a 2 way light switch
A 2 way light switch controls a light from 2 different sources. We were keen to wire our 4 bedroom spotlights and fairy lights into a 2 way system so that we could control them both from the 3 gang light switch by the van door (which also has a 1 way switch to control the main 6 spotlights), and from the 2 gang light switch by our bed. We knew this was making things complicated for ourselves…but we’ve never been good at making things easy!
Below is a wiring diagram for how to wire a 2 way switch. As well as running a ‘power’ wire from your 12V fuse box or your inverter (depending on if you have 12V or 230V lights) to your switch, and wire from your switch to your lights, you will also need to purchase 3 core + earth cable to run between your light switches. This has a black, grey, brown and earth wire. You will need to connect the negative of the power wire and the negative of the light wire together outside of the light switch.

What size of cables did you get for your 12v lights? Did you get them in B&Q? Thanks in advance.
It will depend on the distance between your lights and your fuse box and also the amp rating of the lights you purchase, but typically 1.5mm2 cabling should be sufficient. You’re best ordering from eBay as B&Q tend to be really expensive for most things vs buying online!
Hi guys
At what stage did you first fit your electrics? Before or after insulation & lining? Cheers
Hi Tom, we installed our electrics after insulating but before cladding. This means that if you ever needed to access your wiring, you would be able to remove some cladding to reach it 🙂 hope that helps!
Hi. My question is simple but I do not know the answer, can you help. My VW T5 van has two existing light in the rear. They have 3 cable going into the lights (brown, brown & red, and brown & black). I would like to swap these lights for spotlights but the new light only have two cables ( red and black). What do I do with the third cable. Do I earth it to the metal of the van or canI ignore it altogether?
Hi there, it’s likely that the existing light is wired into your vehicle’s starter battery. It’s a good idea to run any lights and other appliances off a leisure battery rather than your vehicle battery as you could end up draining the starter battery and not being able to start your van. Hope that helps!
Thanks for your reply and yes I am going to run all lights etc off a leisure battery. Its just that with these two existing lights, I want to change to spots. But like I mentioned they have 3 wires whereas the spots have two. What do I do with the third wire coming from the starter battery. Can I safely discard it? Or should I earth it to metal?
Hi Paddy, unfortunately we wouldn’t be able to comment on the existing cabling, I’m not sure what the brown wire would relate to. Usually in automotives, a lone red wire would be the ‘live’ cable and a lone black wire would be the ‘neutral’ cable. We’d suggest following the wires and checking where they connect at the other end so you can be certain what each cable relates to. Thanks
Great blog guys, very informative and really well presented. I just had one question: Is there a reason why you went for the 50amp solar charge controller with a 300w solar system? From reading around it seems that 30amp would do the job, but I may be missing something… Is it so you have the option of adding more solar panels in the future? Cheers!
Hi Dom, thanks for your message! When calculating the size of your solar charge controller, you should add a 25% factor of safety to the current of the solar panel. So the panels are 5.72A each, which with a 25% safety factor added is 7.15A. This makes the total input current of the three panels 21.4A, so we went for the 100/30 charge controller. Hope that helps!
Great, that makes sense! Cheers for the quick response.
Hi, I absolutely love your van. The layout that I came up with is actually 80% the same as yours! (I still have to build it tho) I have a medium wheelbase van so I’m still trying to figure out how to sleep lengthwise I was thinking of making an extendable bed that you can pull out and rest on the backseats of the couches. So besides that my question about this article is can you please explain how you wired the wall plug sockets (the 230V ones) to the inverter? Do you just use a 3 wire AC cable? did you use a breaker box (consumer unit) with AC rcd’s? If so what Amps and what wire size? Did you connect several in parallel? does this effect the rcd amp size? I’m sorry for the many questions but I have been looking everywhere for a good explanation and can’t find it anywhere. Hope you will be able, anyways again very nice camper and happy travels!
Hey, thanks for your message! Yes, you should wire any plug sockets into the inverter via a consumer unit containing RCDs or MCBs as protection. This essentially acts like the 12V fuse box does for the 12V circuit. You can either wire each plug socket into its own RCD/MCB, or you can wire them in a ring circuit and connect them to a single RCD/MCB. You will need to use 3 core cable that’s a suitable thickness for the distance you’re covering in your van, and ensure it’s stranded rather than solid core. 2.5mm2 is usually sufficient for plug sockets, but you’ll need to double check this for the distance you’re planning on covering, as this affects the wire thickness you will need. Typically a 16A MCB can be used for a socket circuit, but it’s worth double checking this for your exact scenario 🙂 hope that helps!
Hi guys- love the van! Can you explain what you did to the computer fans to wire them into the system as they come with motherboard connector plugs!
Hey Caroline, we snipped the connector plugs off the end and wired it into the 12V fuse box via a switch to turn it on and off. Ours also had a yellow cable which is to control speed, but we didn’t connect this to anything. Hope that helps!
Great post as always guys. Curious where you keep your leisure battery? We’re trying to figure out the electrics just now but don’t want too much cable running from starter battery through the van. Thought it would be best to keep the leisure battery as close to starter battery as possible. So complicated!
Hi Jo, our leisure batteries are inside our bench seating, however if we were to do this again I think we’d put them in the boot space, as it gives them more room to breathe and means they can be next to all of your other electrical components. It’s fairly standard practice to house the electrical system in the boot space of the van. Thanks!
Hi, thanks so much for your blog and insta – it’s helping us loads with our van build! I was just wondering how your downlighter circuit worked. Did you splice the wires and connect in an extra wire with bullet connectors? I’ve heard of different methods (e.g. splicing the wires to add in an extra cable or essentially running the cables in parallel so that you attach 2 wires to each downlight). Sorry if this question is a bit confusing and thanks so much for any help you can provide! Isabelle
Hi Isabelle, yes we did it exactly as you suggested, using bullet or butt connectors to join one light to another using an additional piece of wire to bridge between each light on both the positive and negative sides. We felt that using a butt connector to join the two wires before going into the light was more robust than trying to jam both wires into the connection point on the light. Hope this helps 🙂
Hi, how did you install your computer fans ?
We wired them into our 12V fuse board via a switch. We cut a hole in the roof the van which we attached a mushroom vent to, and then the computer fan was mounted beneath this. Hope that helps!
Hi. Can I ask why you put computer fans in please???
Hi Carole, we installed them as ventilation to promote air circulation. Thanks!
Hi there – the link in your components list for Victron Energy MPPT 100/30 charge controller is broken… I’ve tried Amazon but there’s a vast array of them… I’m not sure what one to choose! Do you have a link please? Many thanks, Arlene
Hi Arlene, thanks for getting in touch! I have just updated the link in the article and have also included a link to it below in our shop. We are price matched on all Victron equipment and have free delivery 🙂 https://climbingvan.co.uk/product/victron-energy-charge-controller-smartsolar-mppt-100-30/
Hey Climbers!
We’re currently building our conversion (with plenty of help from your book!) and wanted to know; how do you wire the consumer unit to the inverter?
Thanks!
Hey Luis, we’ve just dropped you an email with a couple of illustrations that should hopefully help! Thanks, Charlie & Dale
Hi there. Great site BTW. You say above you added the voltage of your solar panels as voltage is added in parallel but amps stay the same. But your linked solar page says the opposite. I’m guessing from another answer that you went for the parallel option, or did you just want a controller that would allow either series or parallel? Thanks.
Hi Simon, sorry for the confusion! We have made a typo above, voltage is added when solar panels are wired in series and amps stay the same. This is what we did – if you wire in parallel, on cloudy days you can struggle to get enough voltage to charge. The voltage of a single 100W panel is around 22V, so if you wire in parallel you will only have a total of 22V. On a cloudy day you may only achieve half of this, and ~14V is required to charge. Hope that makes sense!
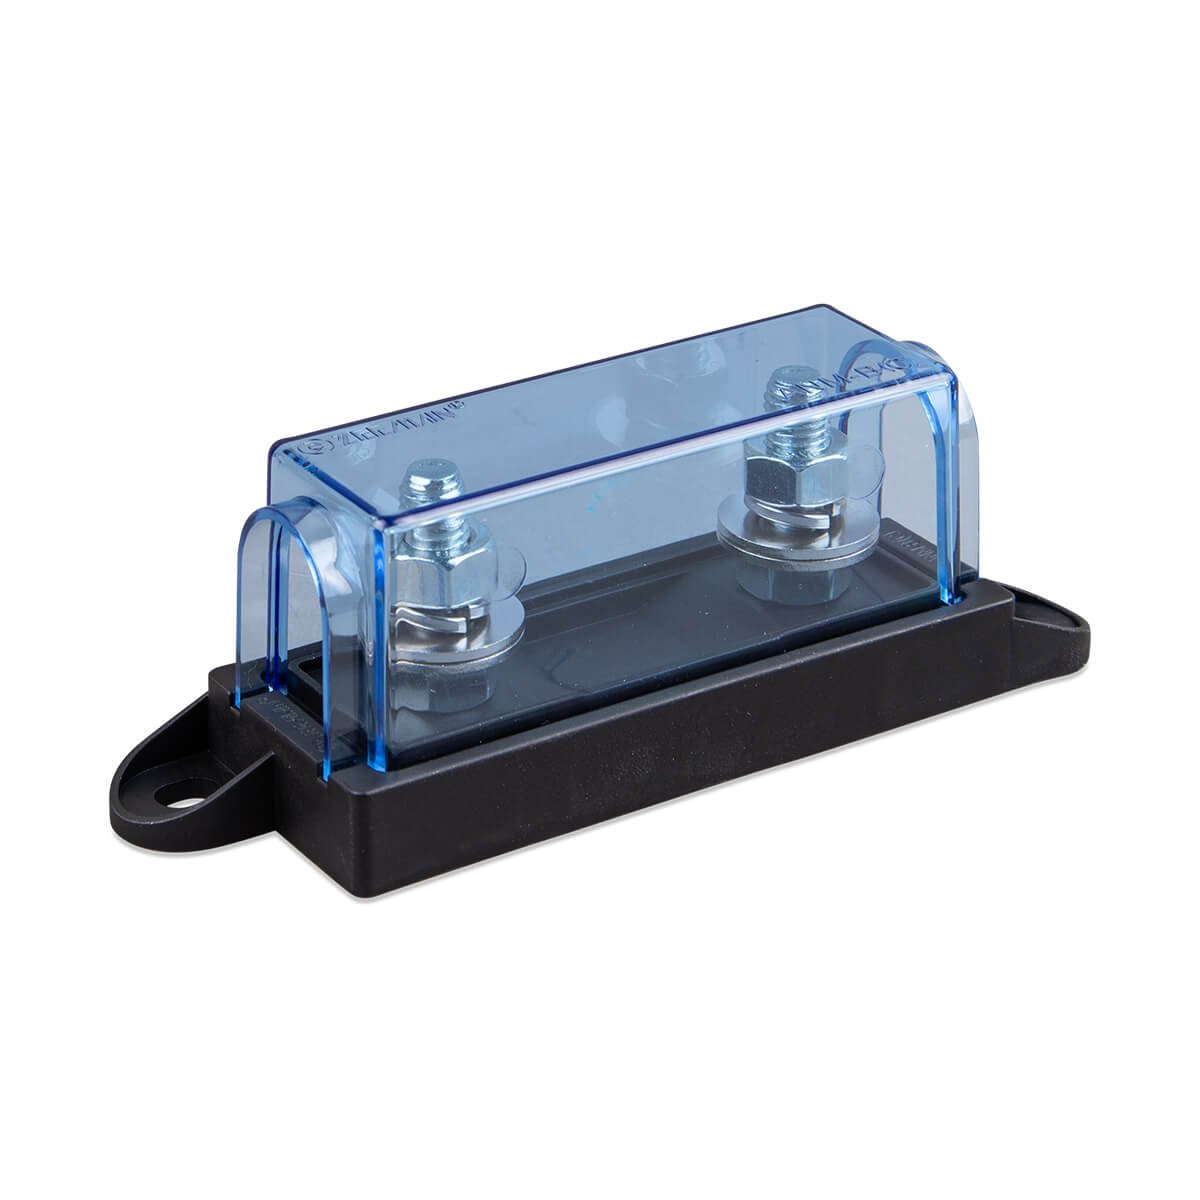
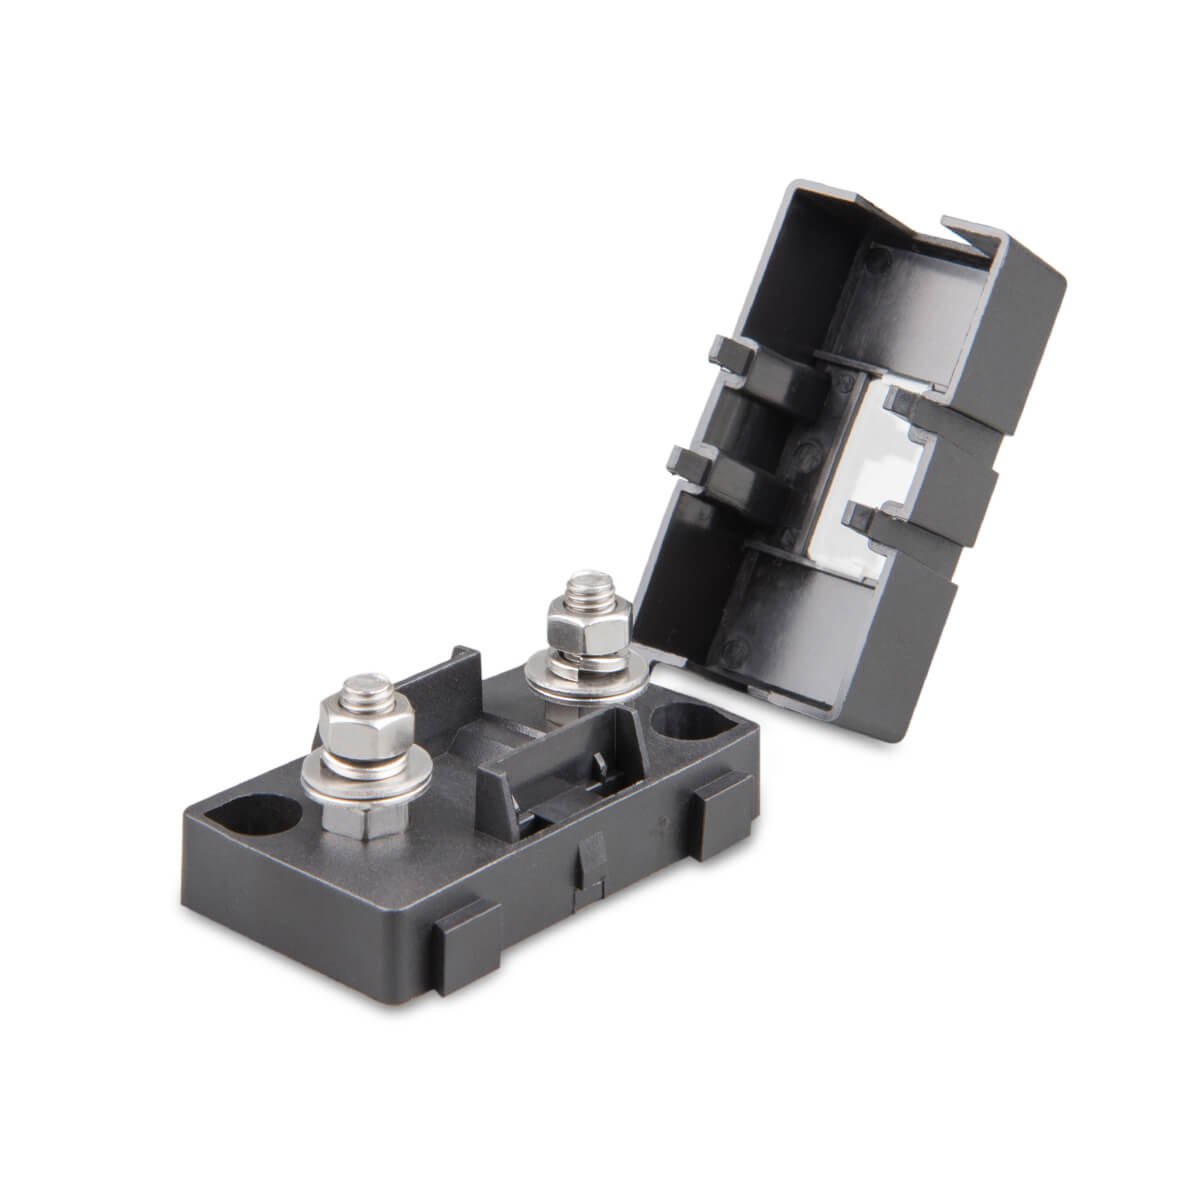
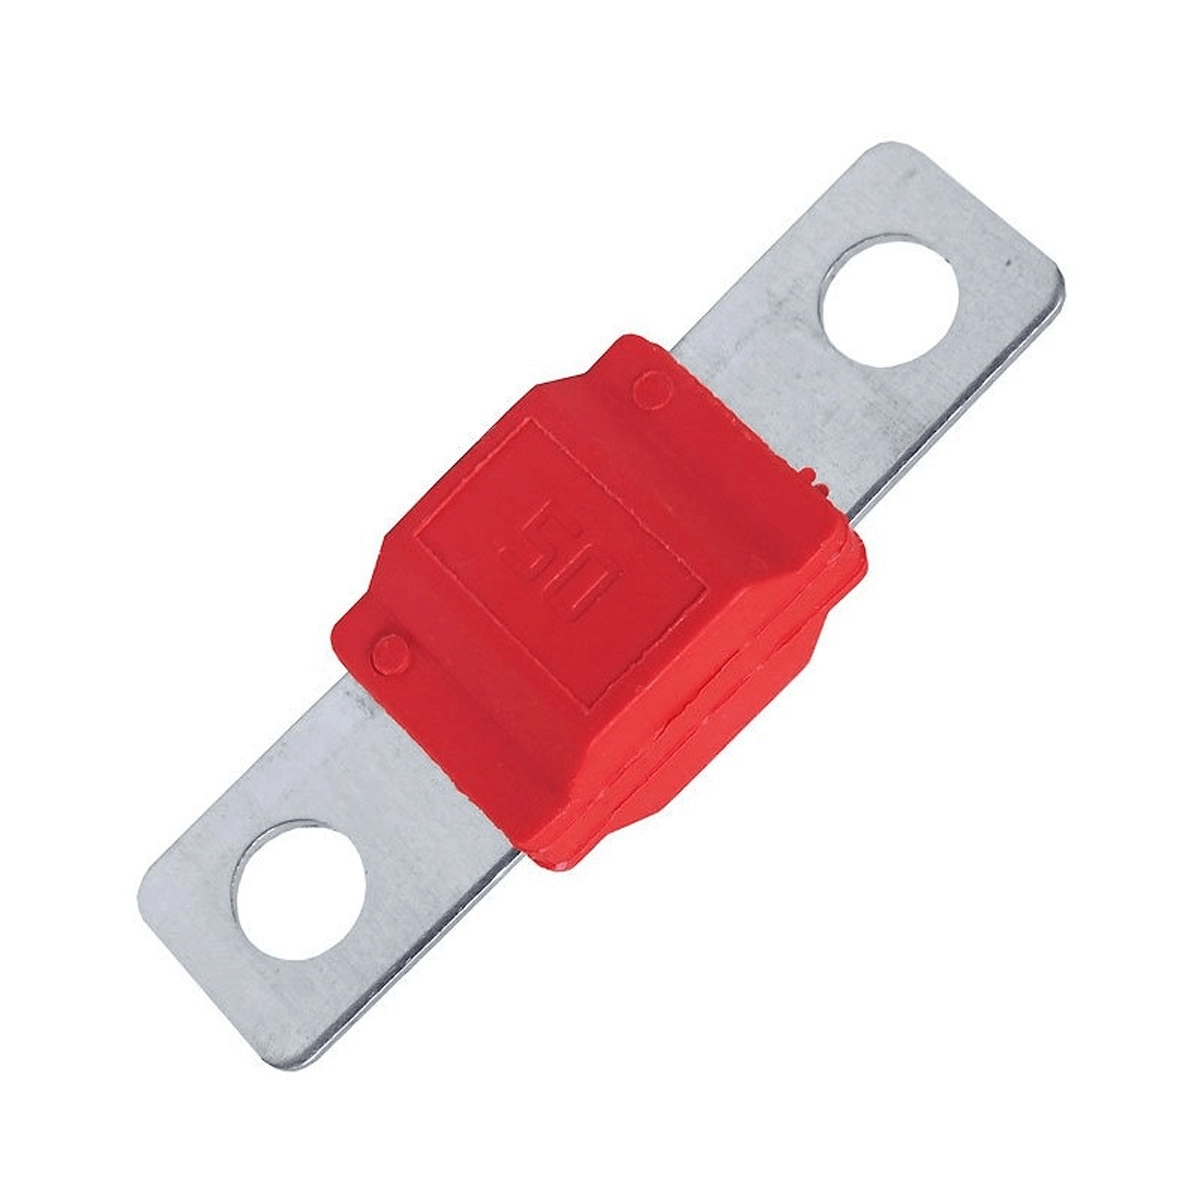
Hiya I am currently doing the wiring of my van but are coming unstuck on the midi fuse part of the wiring how do I work out what size fuses to use ??
Hi Harriet, you enquired about our Nomadic Energy electrical design service but we never heard back from you – if you purchase all of your components through us, we will let you know exactly what size fuse is required for every part of your system and provide all of these, as well as explain how to install everything 🙂 if you have our book, The Van Conversion Bible, we also explain how to size fuses on page 76. Thanks!
Hi Guys thanks for so much good really useful clear content. I’m just embarking on a conversion myself& the wiring is one of the most daunting aspects. I just have one quick question, I would also like to wire a 2 way switch for some lights and I noticed in your description you said it would require a 3 core plus earth cable, however when I look at the wiring diagram you have supplied, I can only see 3 cores between the two switches? It’s possible I’ve missed something really simple so apologies if thats the case! Any help greatly appreciated. Many thanks. John
Hi John, the earth isn’t shown on the diagram and just needs to be connected at either end to the earth in the switch. Also just wanted to mention our new electrical system design service Nomadic Energy in case it’s of use! We can help to design your electrical system as well as provide a free wiring diagram and installation booklet, so depending where you are in the process, it may be of use 🙂 thanks!
Hi, love your book !
I have a 1978 Westfalen VW T2 Bay van that was delivered from California ( with some sand in it) am trying to bring it up to date and make it safer with a little bit of modernising such as installing a leisure battery, getting the fridge to work, single socket 230v shore supply from existing installed socket. Doing nothing to the existing 12v lighting system apart from adding 2 overhead lights when in bed. I therefore already have some of the electrical system installed, would you be able to price up what I would need to have installed with a wiring diagram ? Existing system seems to be working fine, I just want to improve on it – safely. I am being a skinflint and do not want to pay for a full rewire (not necessary) with the unnecessarily replacement of certain parts that are working fine.
Hi Tim, glad to hear you’ve been enjoying our book 🙂 if you pop us an email at [email protected] with all of the components you already have as well as the exact functionality you require, we can put together a quote for all of the products you need. We would usually recommend you go through our service Nomadic Energy, however as you already have quite a few of the components, it’s probably easier to just discuss via email. Thanks!
Hi there,
Making good use of your electrical system kit!
I had a question about the wiring of startee battery to leisure batteries…
I was going to house all electrical components in the back of the van – however am now at the dilemma of where to run the cable from ban battery to leisure. By running it over the sliding door this will be approximately tripling the length of the cable – do you think this will have much impact?
Many thanks,
Ally
Hi Ally, I’ve replied to your question via email 🙂 best wishes!
Hi both,
I wanted to ask about using PC fans for ventilation. It seems like a really good way to save some money vs ceiling light/fan! Do you simply mount one the “right” way round and one the opposite and have them on the same switch? I’m thinking of putting them on a dimmer switch to vary the speed if they are too noisy. Would you do anything differently to how you installed yours?
Hey Dom, thanks for dropping us a message! Yep, you are correct, it’s simply a case of mounting one fan in one direction and one in another. We find that they work pretty well, the only thing I would say is that they are very much only for ventilation and not for cooling. The airflow is fairly low velocity so it won’t keep you cool if it’s stinking hot outside, but it does do a good job of circulating the air and keeping it fresh inside. Good luck!
Hey guys!
I’m just in the process of planning my electrical system and I ‘think’ I have my head around it, with much help from your resources. The only thing I was wondering is what circuit breakers you used? They’re included in your circuit diagrams but I couldn’t seem them mentioned in this post or listed as a component.
Thanks in advance 🙂
Hi Ian, do you mean the brand of the circuit breakers or the size? The size will depend on each component that it’s protecting, and can be calculated using the same logic as calculating the fuse size. We just used breakers from eBay as we found these to be decent quality, and the Blue Sea ones are very expensive! We’d recommend using Blue Sea for things like switches, 12V fuse box etc as the build quality is much better than those found on eBay, but for breakers eBay seems to be fine. BTW we now have an electrical system design service called Nomadic Energy that you might find useful, or if you’ve already finished designing your system, we have lots of electrical system components for sale in our webshop that might be of use to you. Best wishes!
Ah my apologies! I was confusing myself (as per). It was actually the Victron Battery Protect I was wondering about as I couldn’t see it in your initial wiring diagram. I assume you’d need it in between your leisure batteries and positive bus bar, but then that would stop the VSR from being able to charge the leisure batteries wouldn’t it? Unless you placed it before the 12v fuse box?
Hi Ian, ah yes you’re right the Battery Protect isn’t in our wiring diagram. It sits between the 12V fuse box and the busbar to act as battery protection from the 12V loads. All of the other components such as inverters etc you can programme this in the settings, but this isn’t possible for the 12V hence the requirement for the Battery Protect. Hope that helps 🙂
That makes perfect sense! Thanks so much 🙂
With this set up did you feel you didn’t need to include an option to charge from a site based electrical connection? i.e. do the panels create enough charge to keep the batteries charged
Hi Alex, as we spend our time pretty much fully off-grid we didn’t include shore hookup. We are able to charge sufficiently from our battery to battery charger and our solar panels. As we have retrospectively increased our battery capacity, ideally we would have more solar, but we are still able to get enough from what we have. It’s fine to not include shore power as long as you spec enough solar capacity and the correct size battery to battery charger. If you need any help with your electrical system, you might find our electrical system design service Nomadic Energy helpful. We’ve also got a webshop that stocks electrical products including a lot of Victron and Blue Sea products, and we’ve just been through and updated all of our pricing so we should be the cheapest on everything. Thanks!
Hi, Thanks for making a great book and being a great source of help 🙂
I live in Norway. If ordering through the Nomadic Energy service, I would get taxes in addition to the price of the items and shipping costs. Right?
This would be the same as ordering through e-bay?
Would shipping to Norway also be free?
I am re-doing an older build and have a couple of items that I can re-use. Can I request to change the parts-list a little if necessary? (Would still need all the main components).
And then, one technical question: My two 12V starter batteries are wired in series. That means the voltage would be 24V output (to my understanding). How does that transfer to considerations of a B2B charger for the leisure battery?
Thanks!
Hi Daniel, thanks for your message! As Norway isn’t in the EU, I believe that your order wouldn’t include VAT, and then you would need to pay import VAT when the delivery reaches you (it would come from France). We would need to double check about shipping, but it should be free 🙂 it wouldn’t be a problem if you already have a couple of components you can re-use! If you submit an enquiry through our questionnaire, one of our off-grid engineers will be able to get back to you.
If you have a 24V output from your starter batteries, you will need a 24/12 battery to battery charger, as this will take the 24V from the starter batteries and convert it to 12V to charge the leisure batteries. Hope that helps!
Hi, I’m just wondering why a lot of people have a larger fuse before the inverter than the gauge of wire would indicate? We have a 1000W inverter, with a peak of 2000W, so expect it could draw ~130-140A. We are not expecting to need 1000W, more like 200W at most but thought we’d build in some extra capacity in case it’s required. We should use at least 35mm2 cable for 140A, in which case the fuse/circuit breaker should be rated lower so that fuse goes before cable does – shouldn’t it? But a lot of people put in 175A fuses between battery and inverter which is much higher rating than the wire – can you explain why? (I am intending buying some components from your site, Thanks!)
Hi Angela, a fuse should always be sized higher than the maximum possible output current of a subsystem, but lower than the current rating of the cable. If the fuse has a higher current rating than the cable, the cable will melt before the fuse blows. If you’ve seen examples where the fuse has a higher rating than the wire, it’s just incorrect! Hope that helps 🙂
Hi. Hopefully you can clear something up for me. We bought a full electric system through you guys and we’re just getting started on the electrics. In your booklet you send out it says that you should not put your control panel with all the units attached directly above the batteries but in the pictures in this article it’s exactly what you’ve done. Could you clarify this for me please and explain why and what alternatives there are. Thank you.
Hi Gregg, I believe Kaegh should have responded to your email about this. But to clarify, it’s fine to mount the batteries under the electrical system as long as there is adequate space for ventilation. Best wishes
Hi! This may be a daft question, however on the 2 way wiring diagram, what do you do with the earth wire in the cable as the fuse box is already earthed and there’s no where to earth on the switches/I can’t see what you’ve done with it on the diagram? P.S. The book has been a god send!
Hi Grae, are you referring to the 2 way light switch wiring? If so, there is no earth cable, there’s the 12V positive and negative (black and red) and then there’s a cable which links the two switches as shown in the diagram. Hope that helps, and glad to hear you’ve been finding the book useful!
if the lights are 230volts and switches or light fittings are not class 2 (double insulated) then you will need an earth connection.
it’s good practice to install one anyway in case the fittings are changed
Hi, the guidance in this article is for extra low voltage (less than 48V) DC lighting. If you are using 230VAC lighting then a ground connection should certainly be made.
Hi! Thanks for the very informative post, its very useful. Was just wondering for you 230 volt system, you have a few seperate devices, like the spotlights, the fairy lights and the cooker sparker. Did you wire these all in the same ring circuit into 1 rcb (and then a seprate rcb for the sockets), or did you use individual rcbs for each device?
Thank you Matthew for your question. There are many different ways to wire 230V circuits in a van and what worked for us could be different for others. We often suggest people use a radial style circuit due to low power circuits for simplicity. Without knowing your setup it would be hard to make a suggestion though.
how do i connect a incoming supply (campsite) 240v to a lesiure battery in the van to supply lights , sockets and a small fridge whilst also charging the lesiure battey please.
Hello Glynn, that is a good question – the answer is to ensure you pick a suitable size charger for your system. If you would like help deciding what to go for, you can contact us directly here